
Image Gallery
Every show image in one place: cast portraits, all ten episode stills, locations, creatures, publicity, production photographs, and evidence props. Select an image to enlarge it, or follow its article link for the story behind it.
50 images
Ensemble Publicity
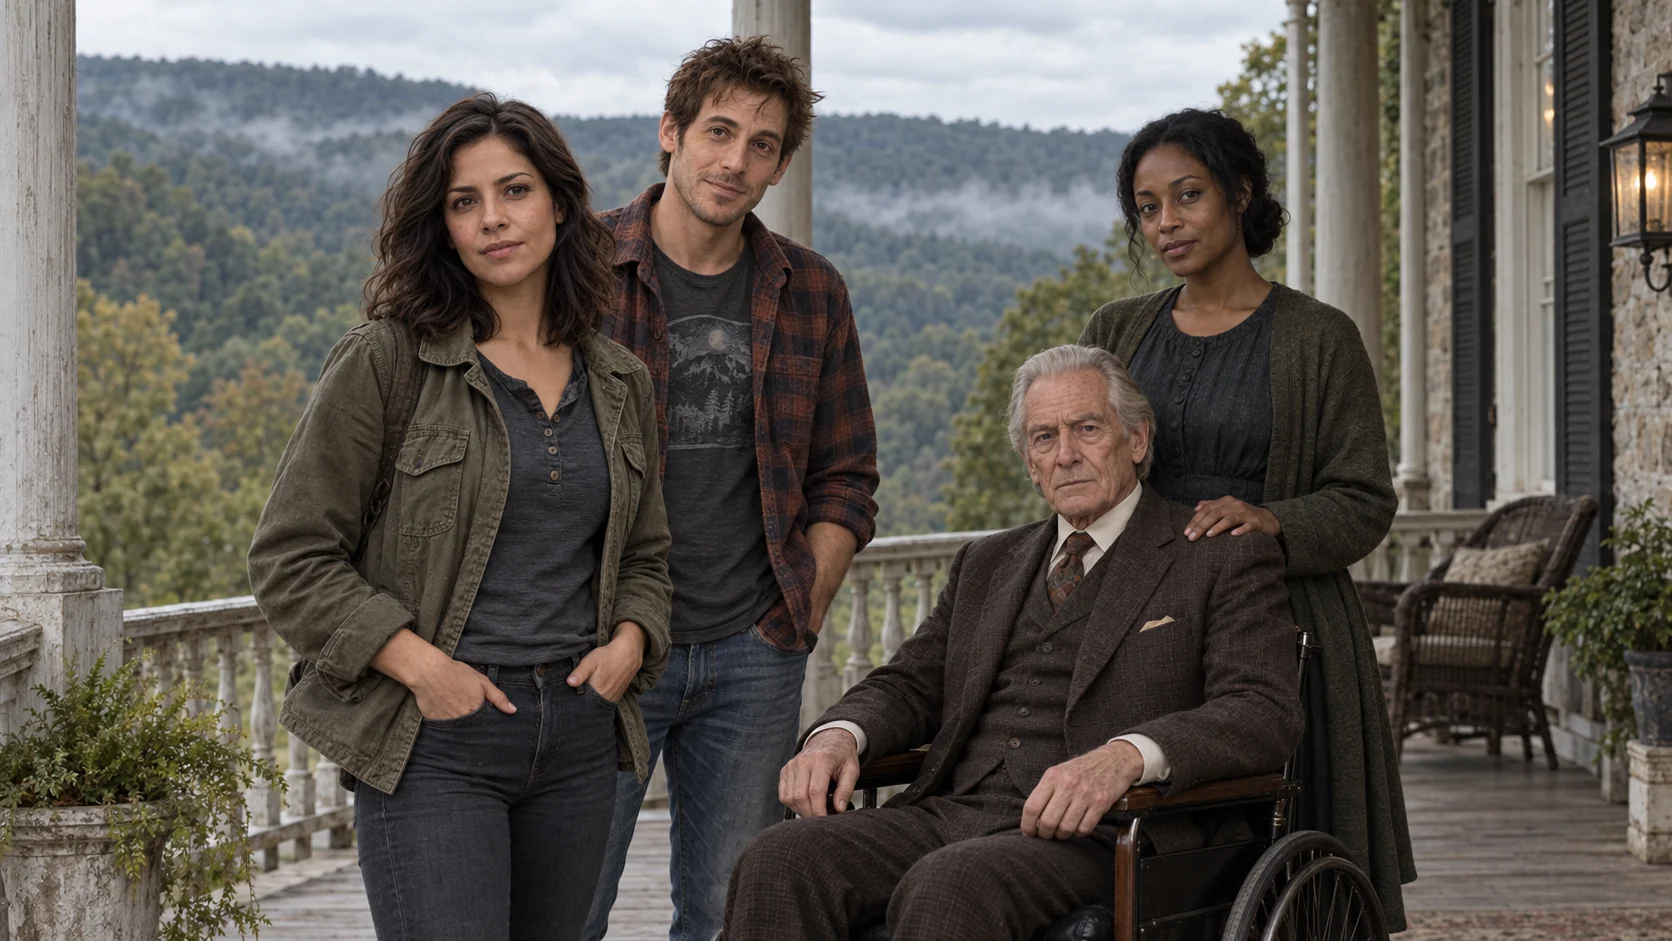
Abigail Fleming, Benji Margolis, Clara Sterling, and Thaddeus Beaumont — Season One ensemble publicity photograph.
Read the related articleSeason1 Poster
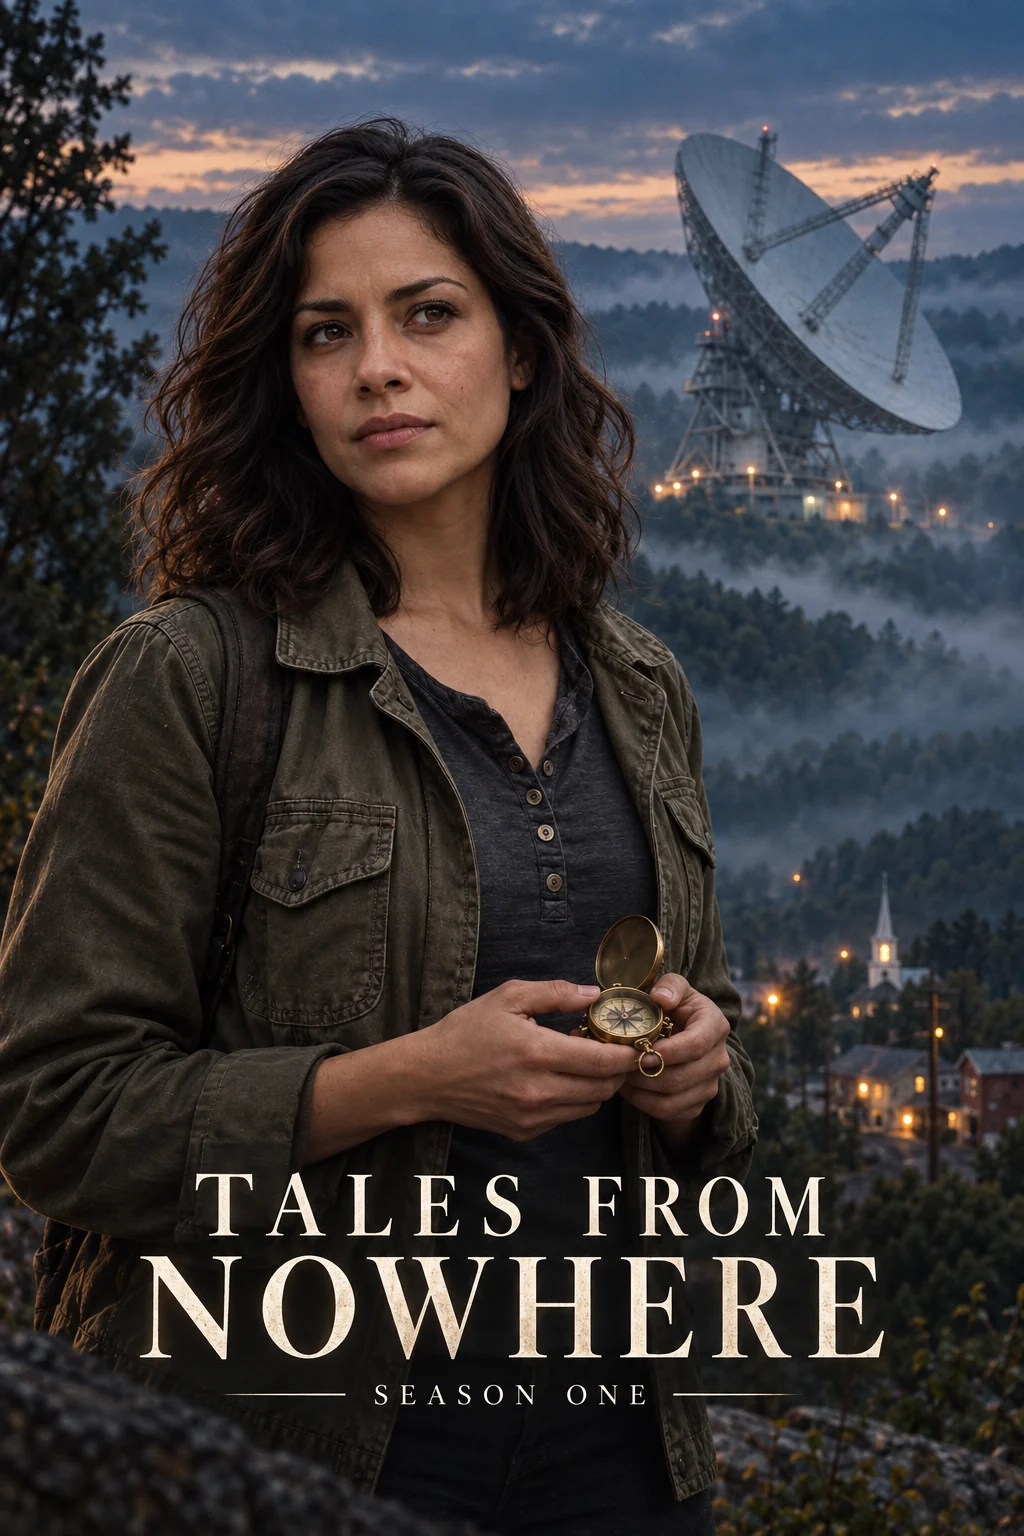
Season One poster: Abigail Fleming above the valley and the Big Ear.
Read the related articleAbigail Jimenez Fleming
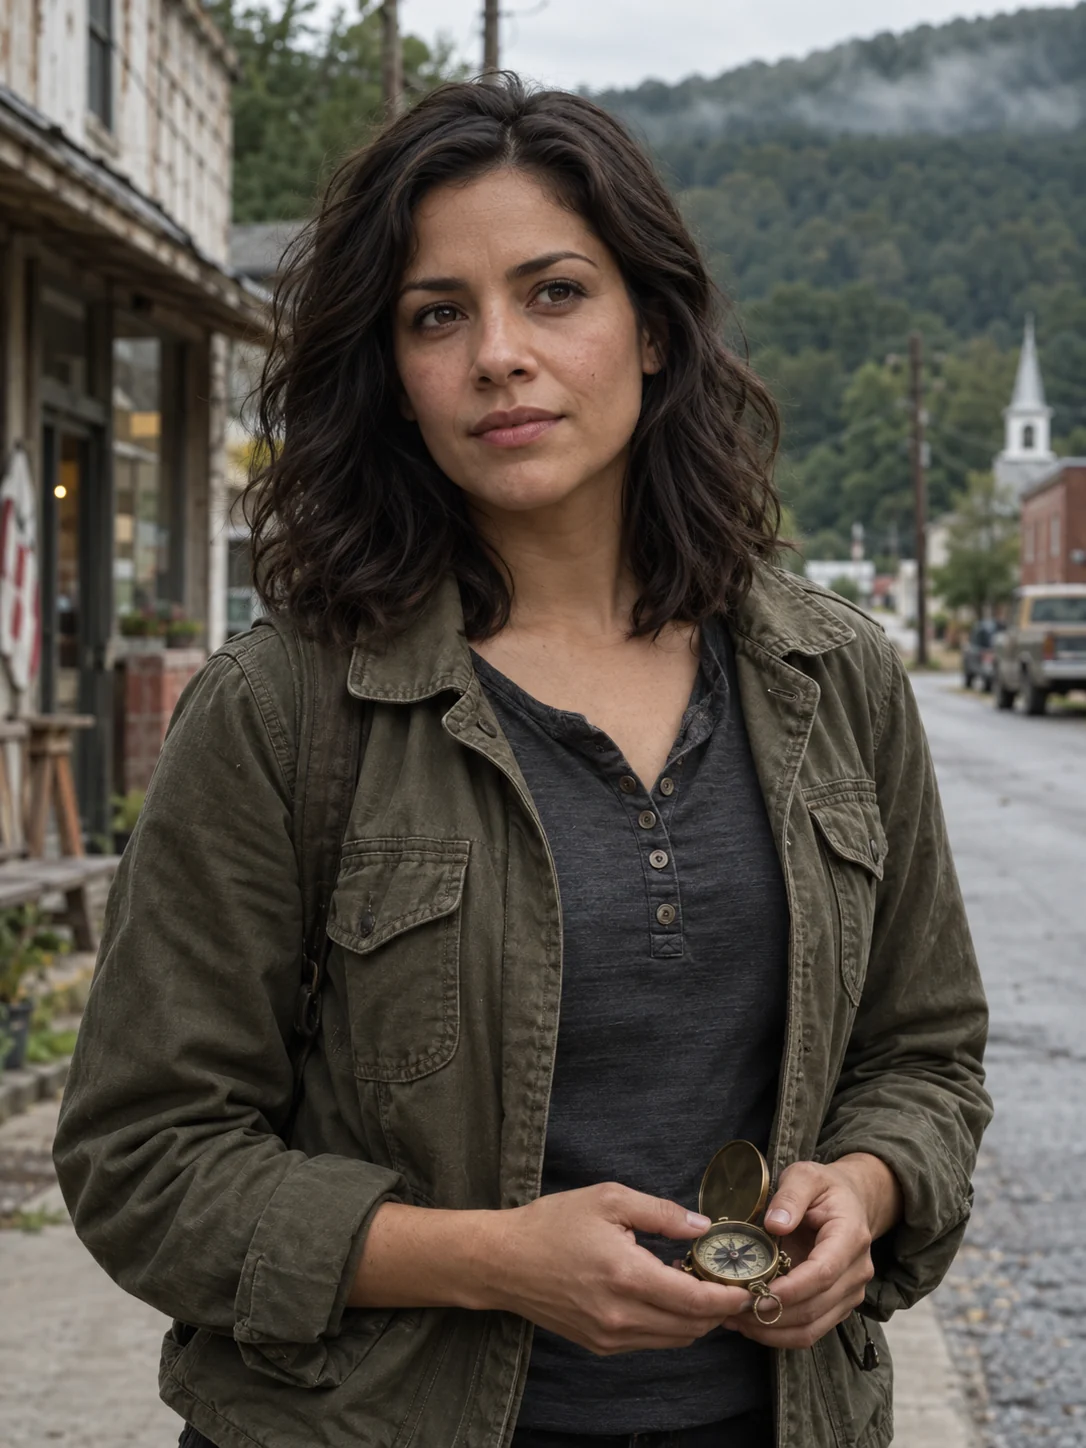
Abigail Fleming, Season 1 location portrait.
Read the related articleAsher Drake
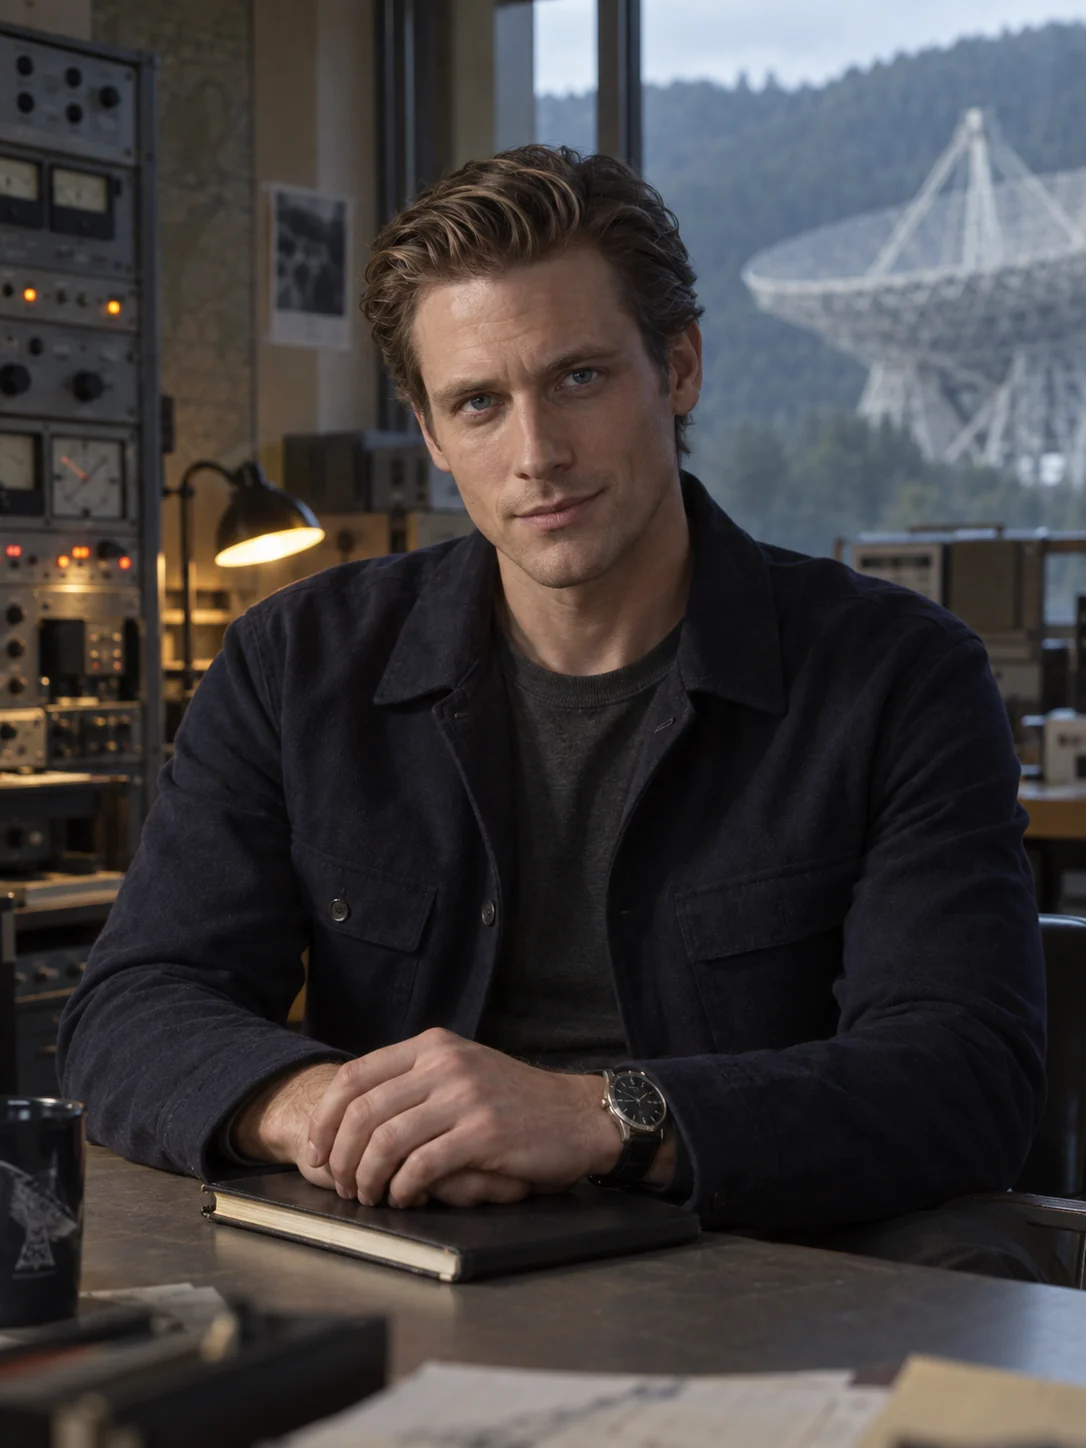
Asher Drake at the Big Ear.
Read the related articleBenjamin "Benji" Margolis
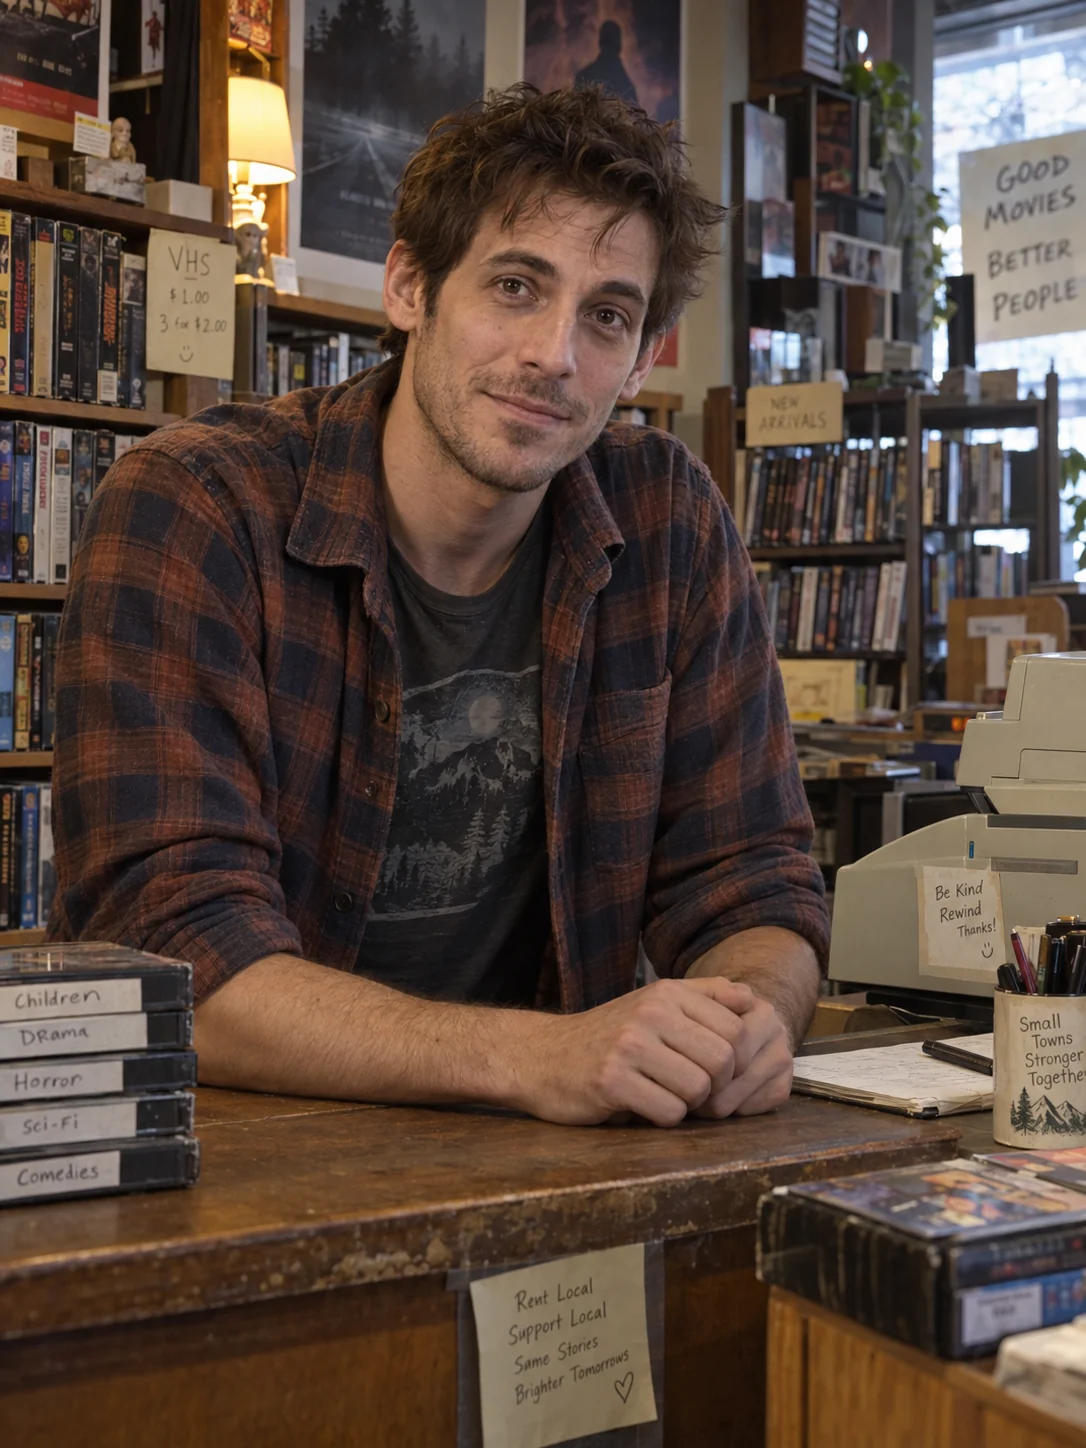
Benji Margolis at the video-store counter.
Read the related articleClara Sterling
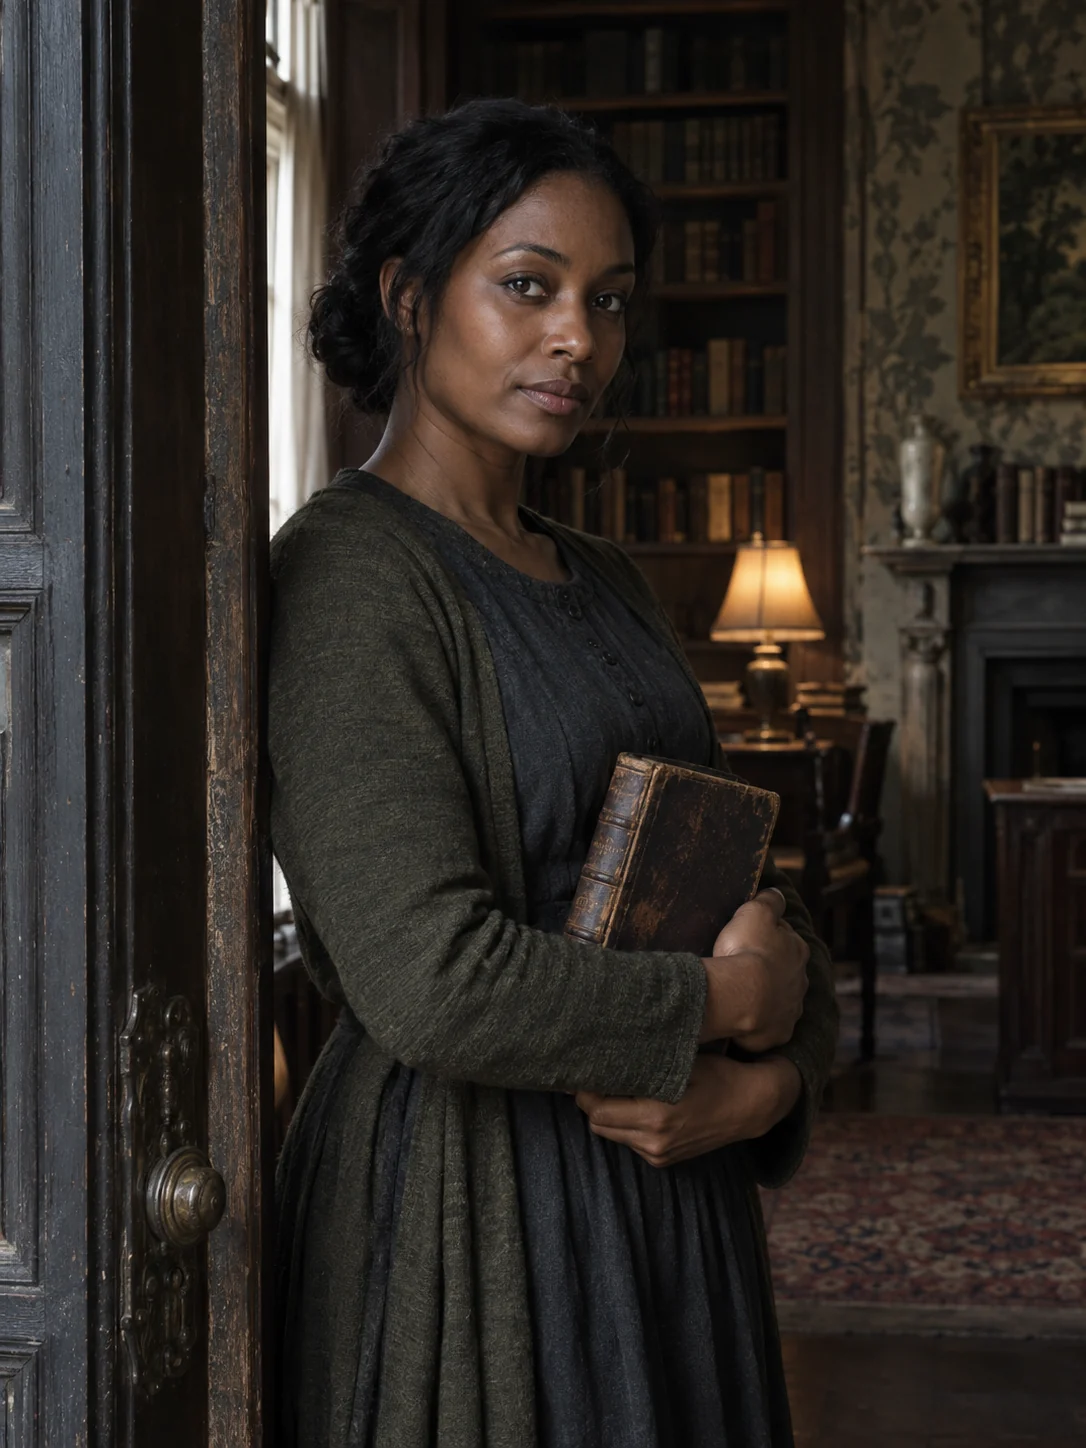
Clara Sterling at Beaumont Manor.
Read the related articleDr. Ian Bailey
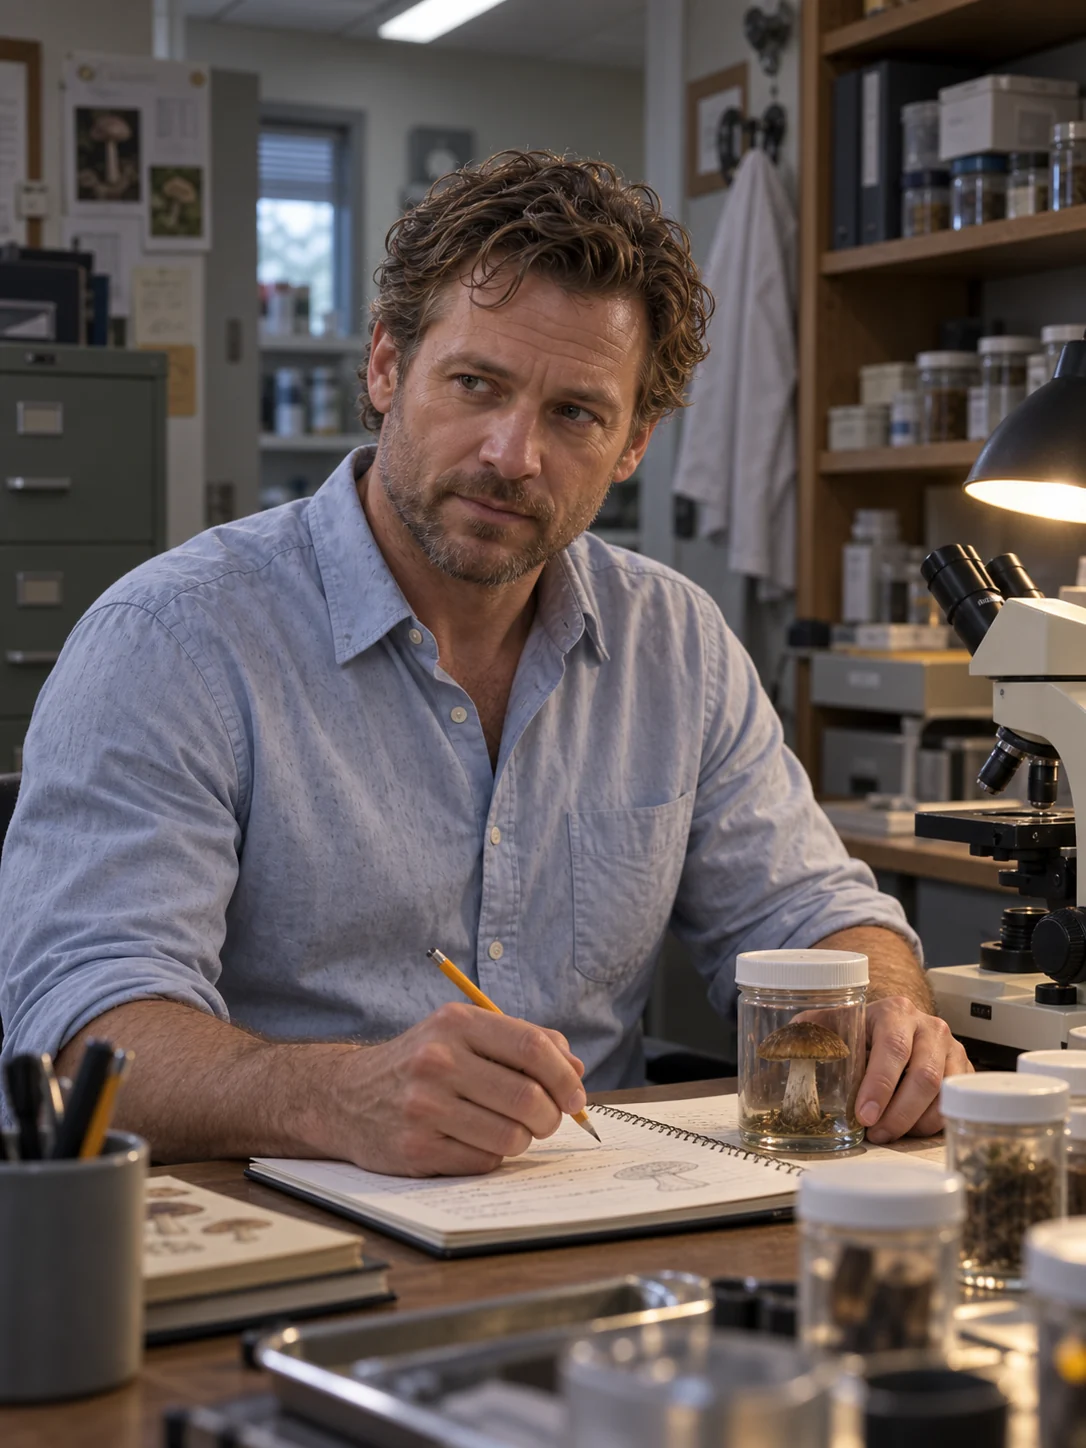
Dr. Ian Bailey examines a specimen in his clinic workroom.
Read the related articleDr. Jennifer Bailey

Dr. Jennifer Bailey in her consulting room.
Read the related articleKeiko Nakamura
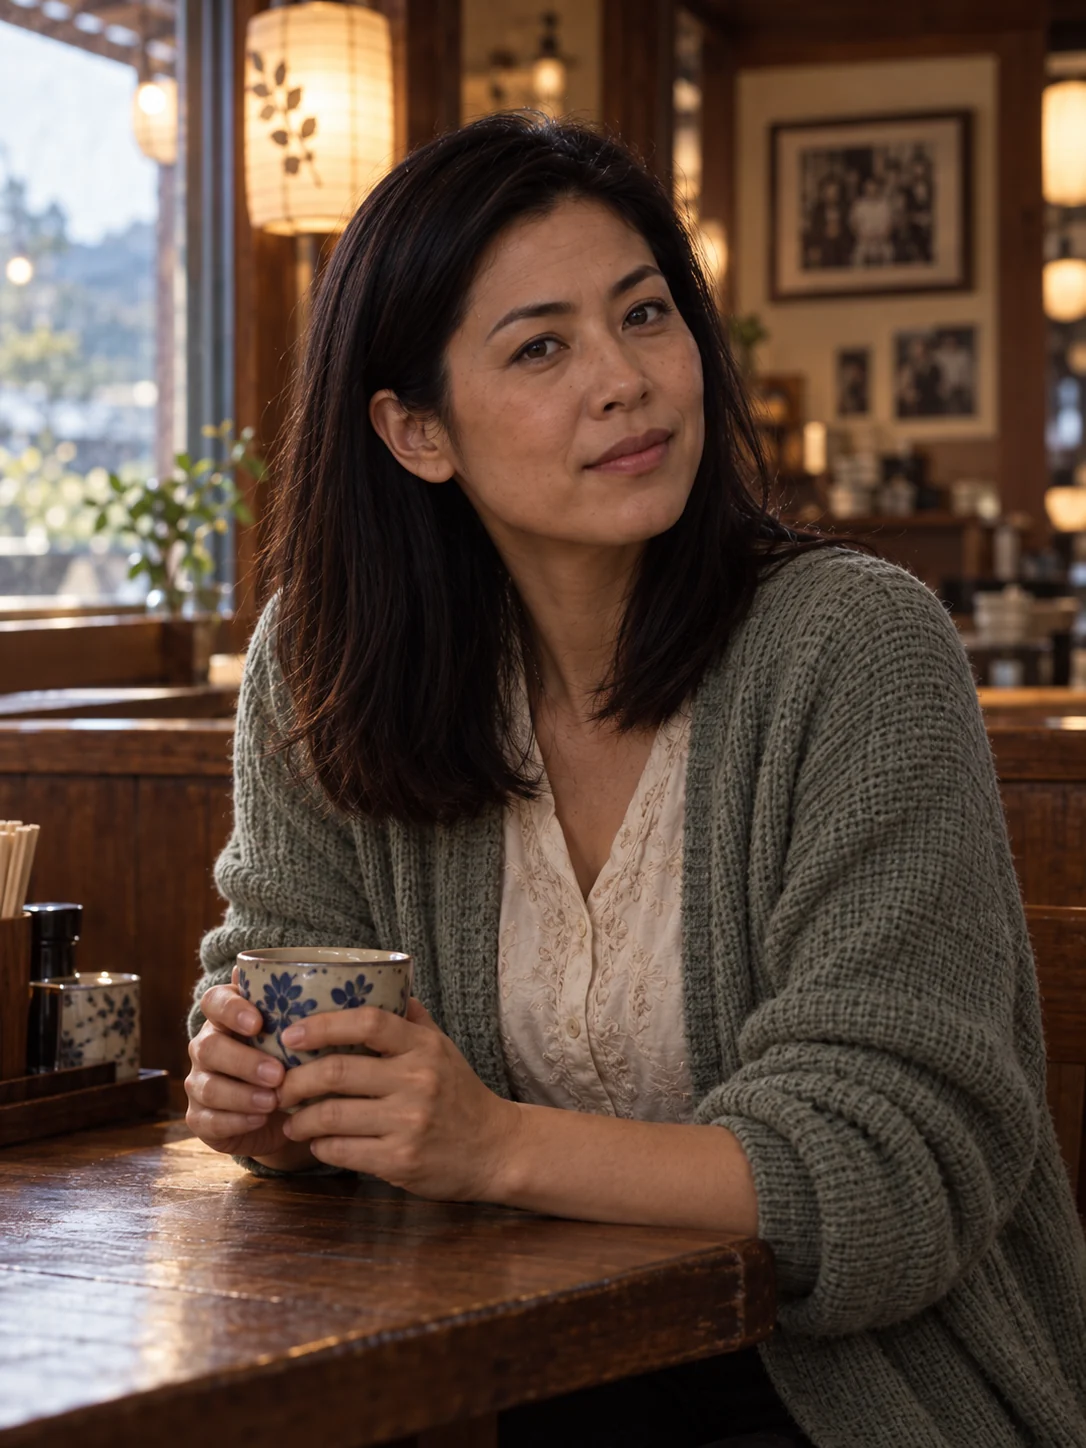
Keiko Nakamura at the family restaurant.
Read the related articleSasha "Nova" Black
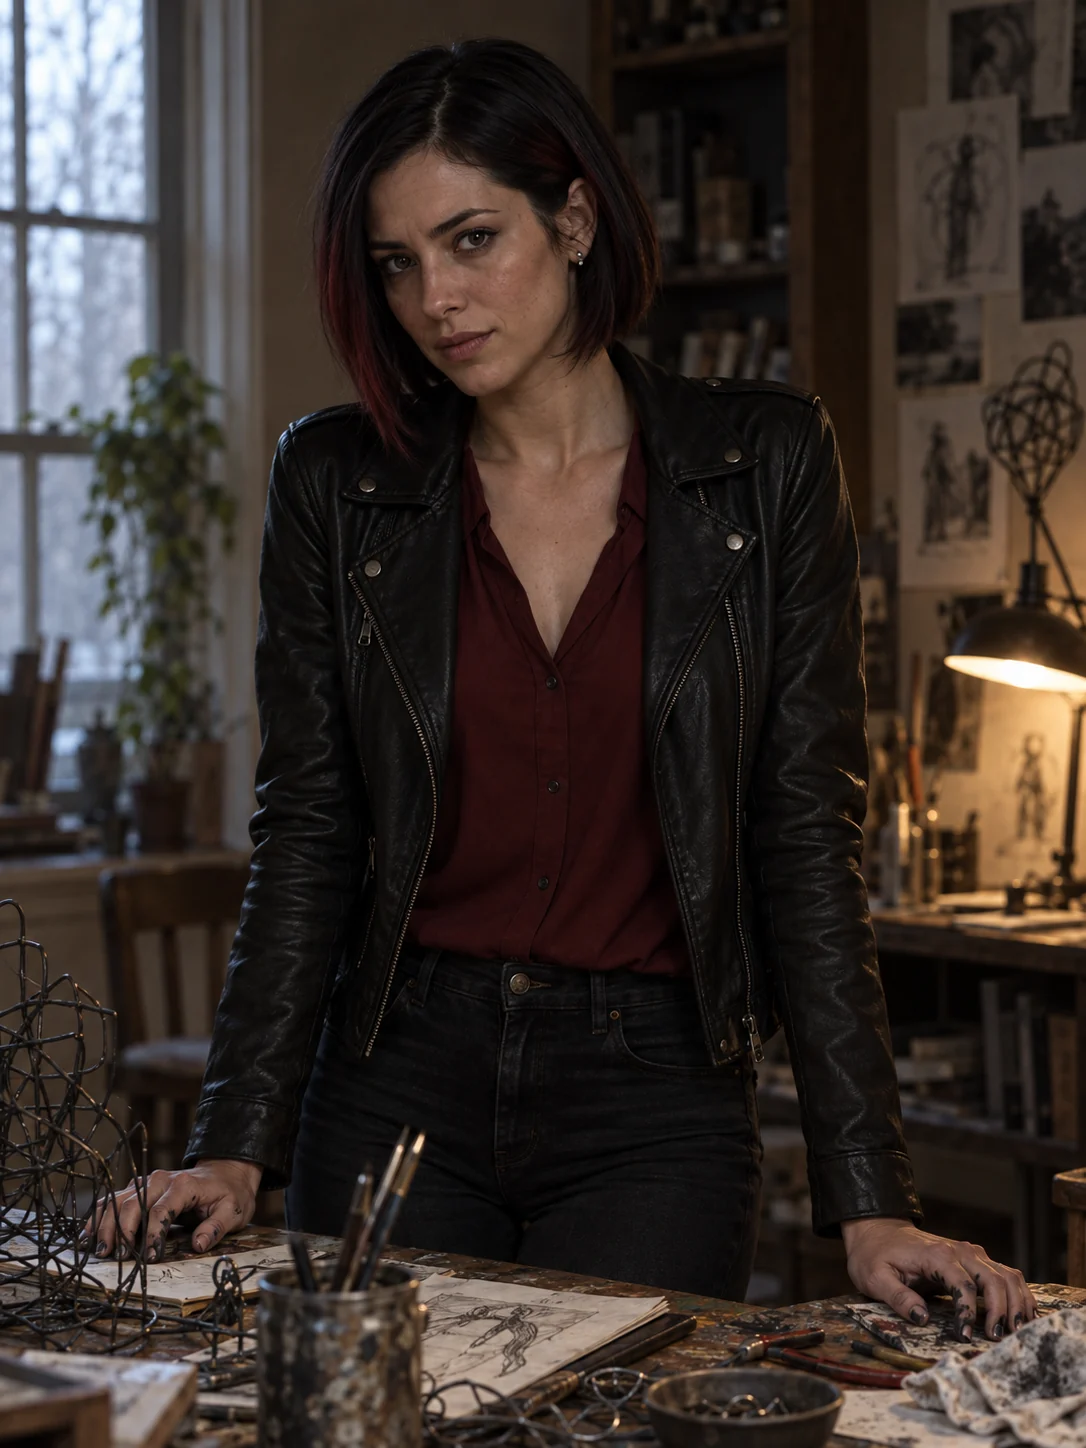
Sasha Black in her art workspace.
Read the related articleSatoshi Nakamura
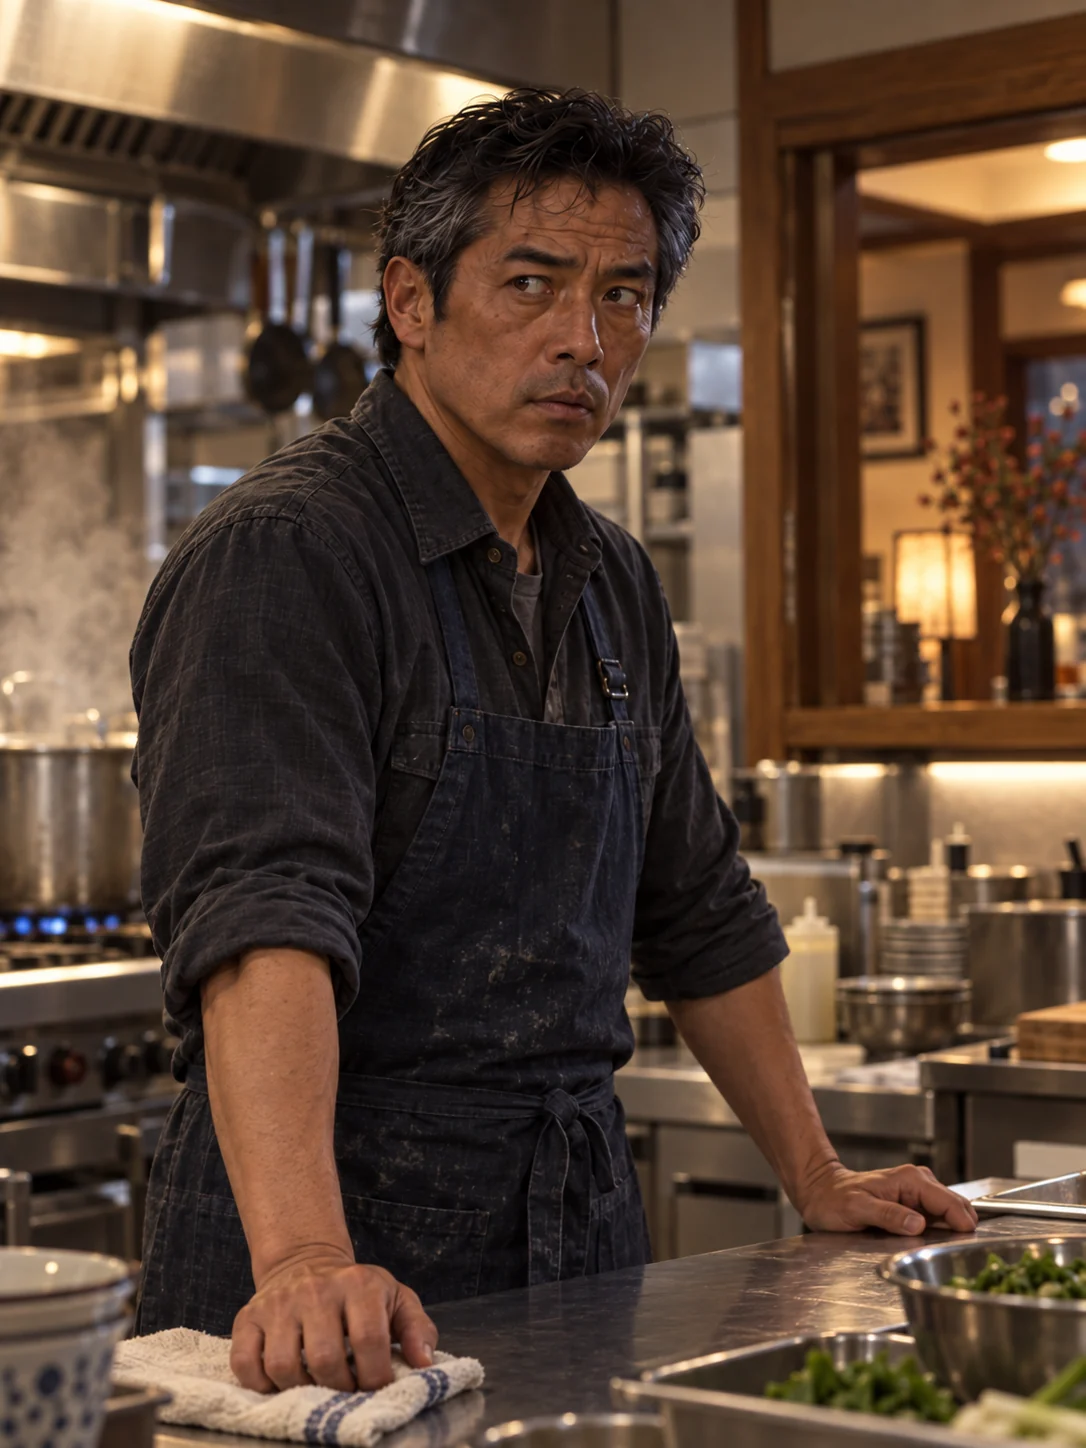
Satoshi Nakamura in the restaurant kitchen.
Read the related articleThaddeus Beaumont
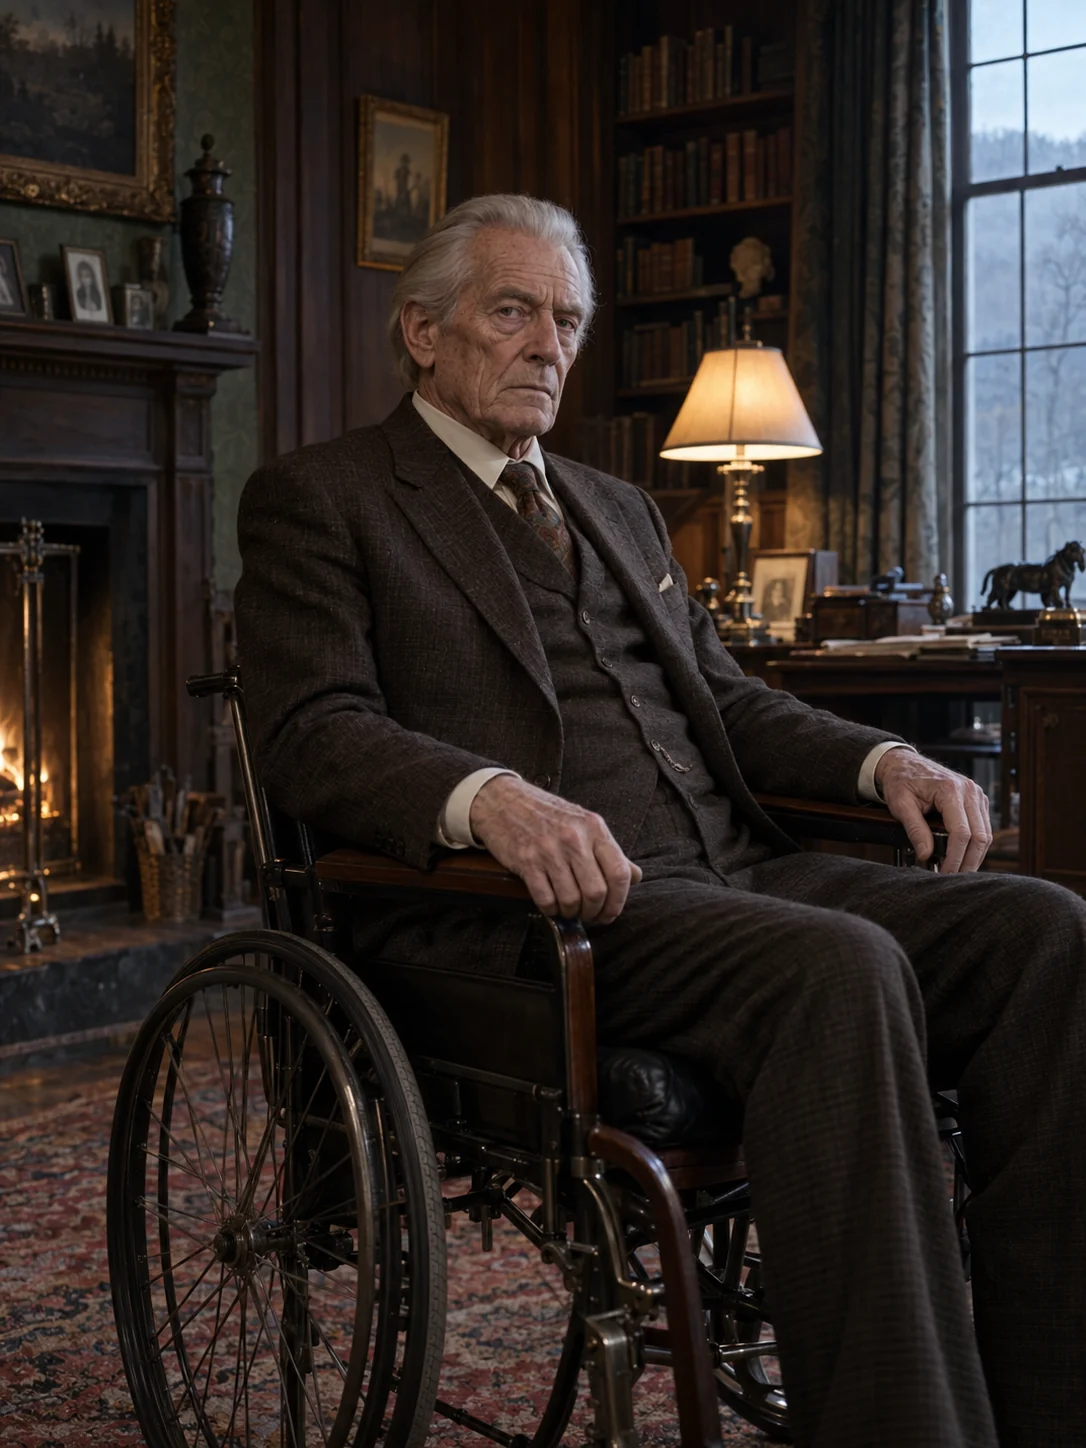
Thaddeus Beaumont in his study.
Read the related articleWillow Bailey
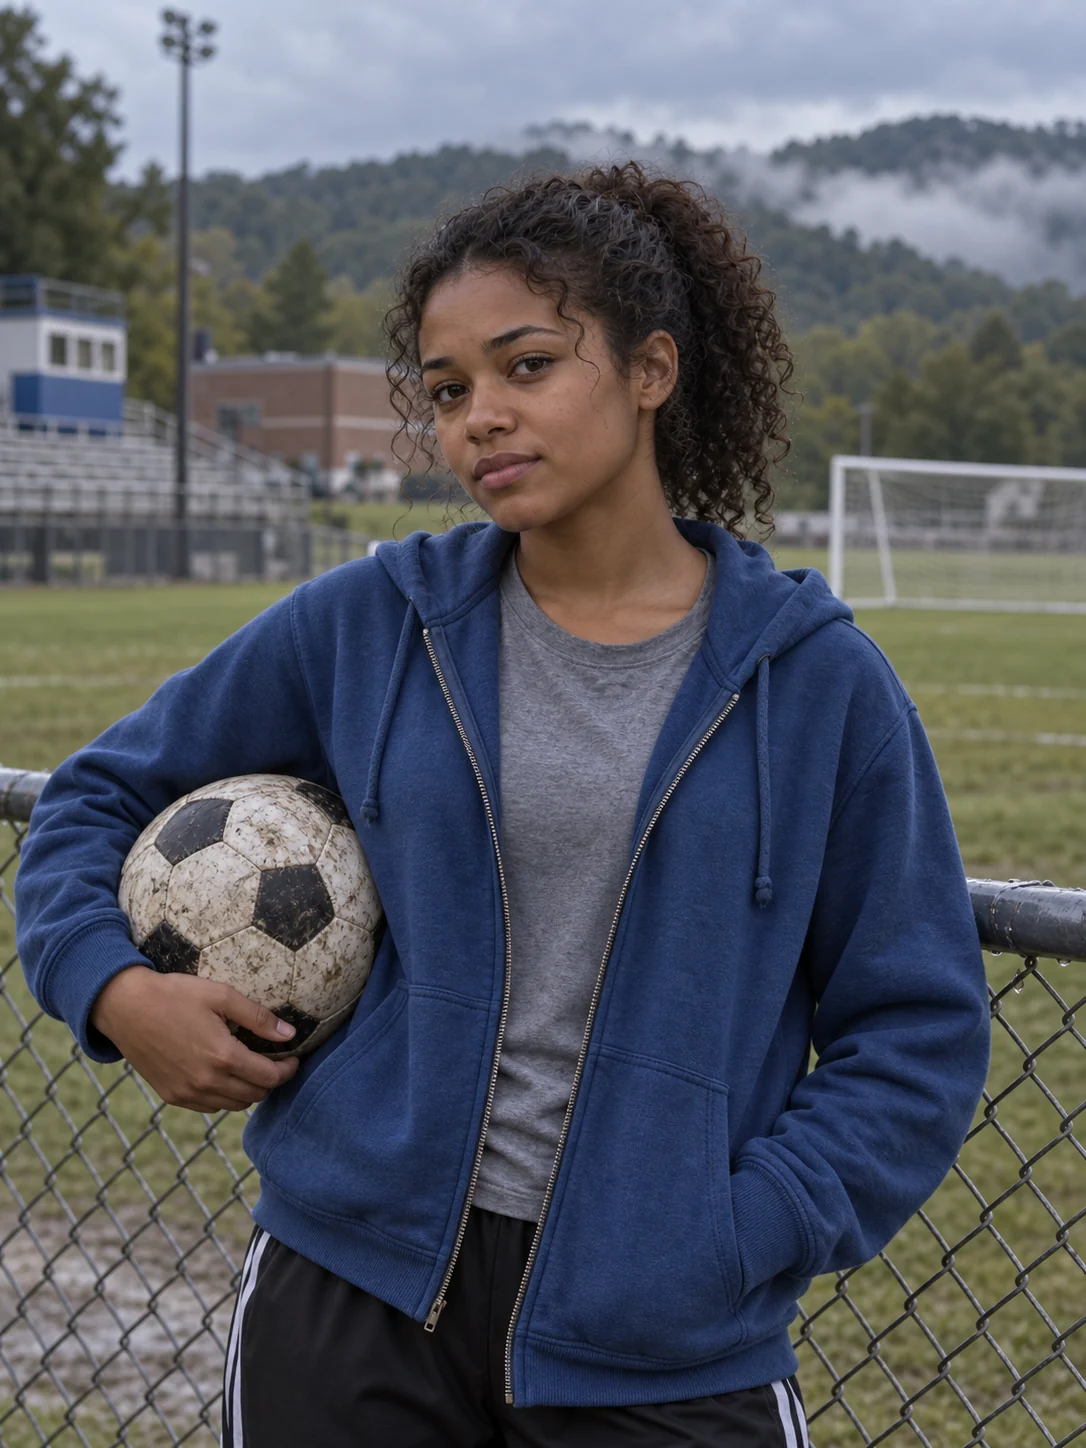
Willow Bailey at the school soccer field.
Read the related article"Welcome to Nowhere"
Show image · spoilers
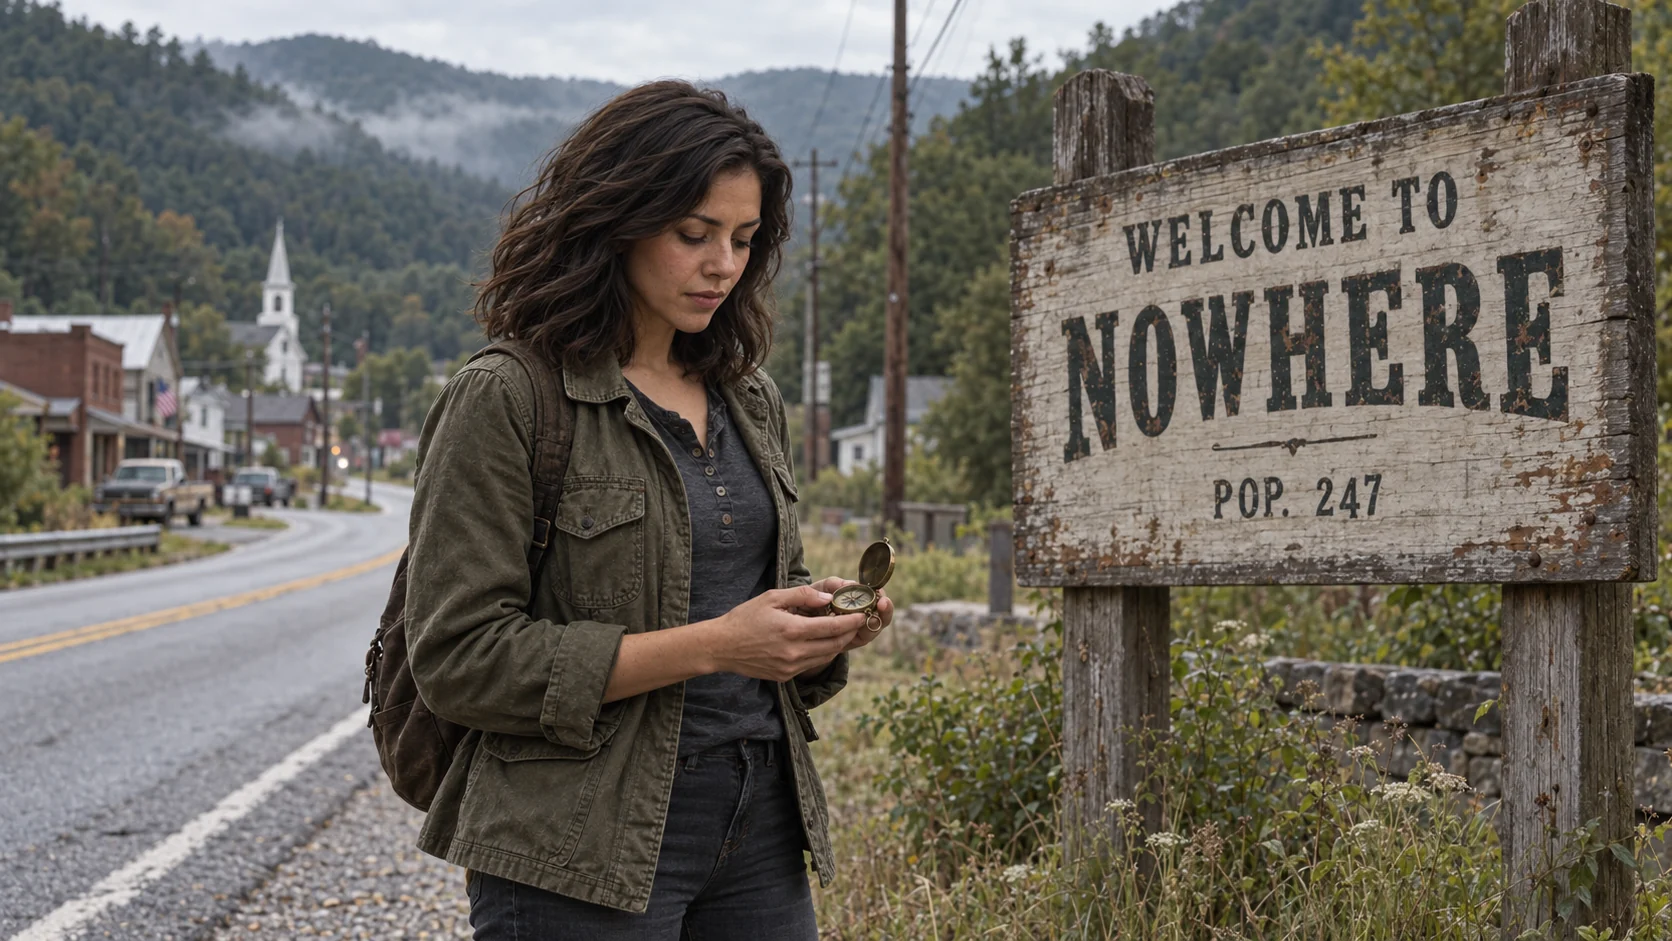
Abigail checks her brass compass beside the Welcome to Nowhere sign
Read the related article"The Wendigo Frequency"
Show image · spoilers
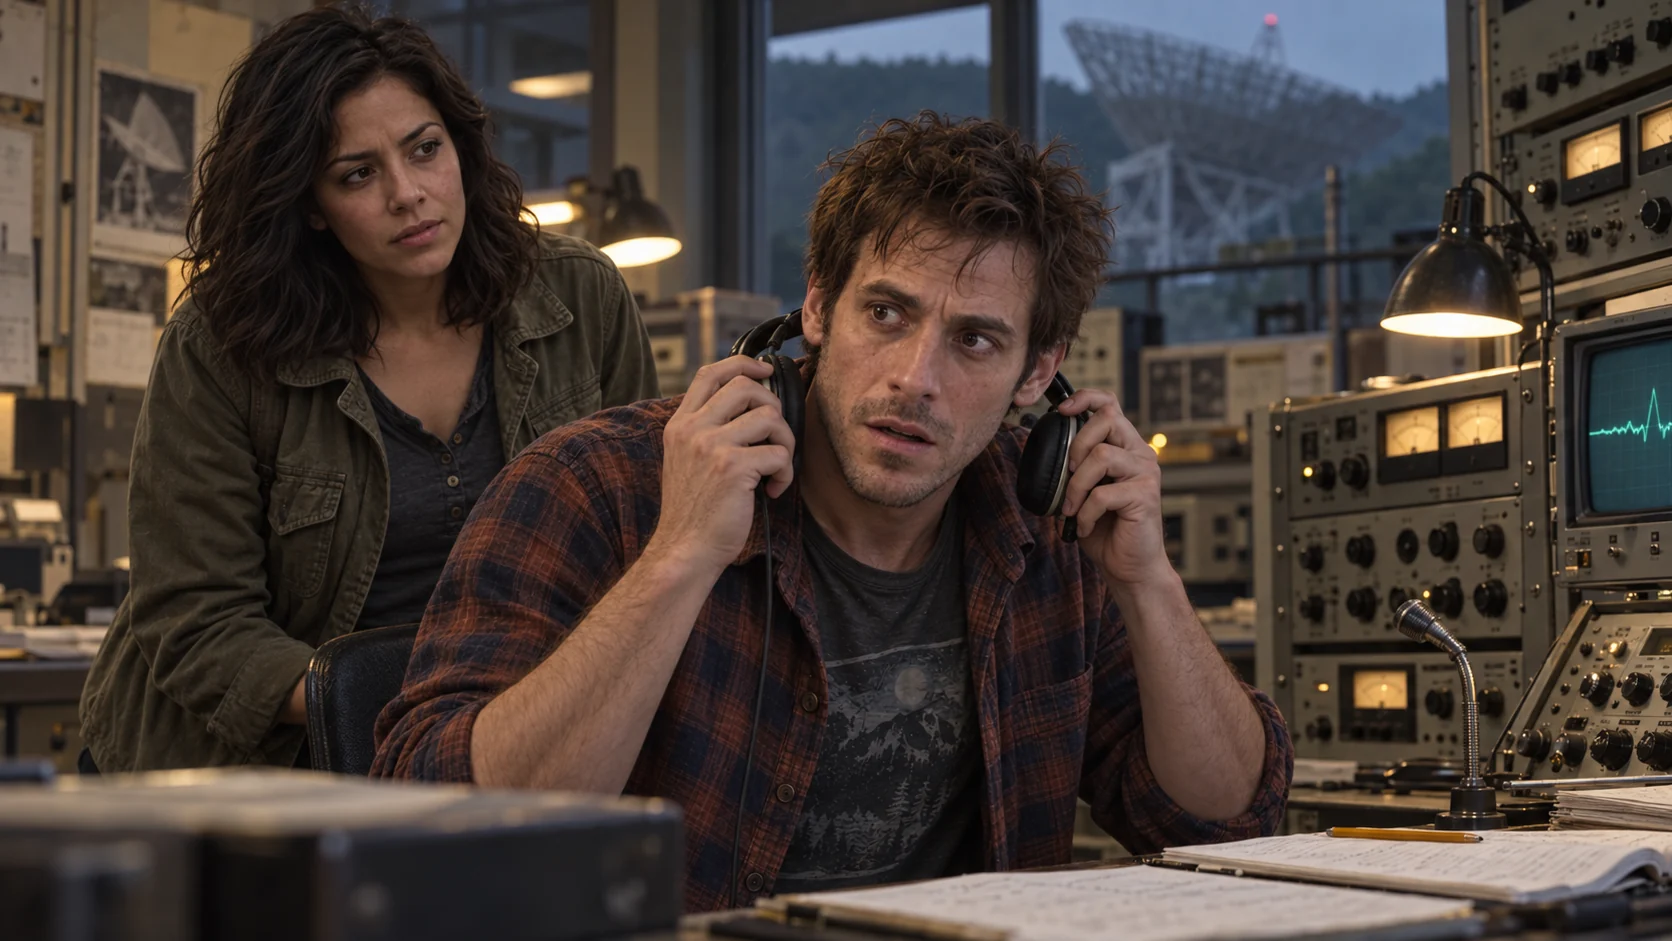
Benji hears a voice through the Big Ear equipment as Abigail watches.
Read the related article"The Whispering Woods"
Show image · spoilers
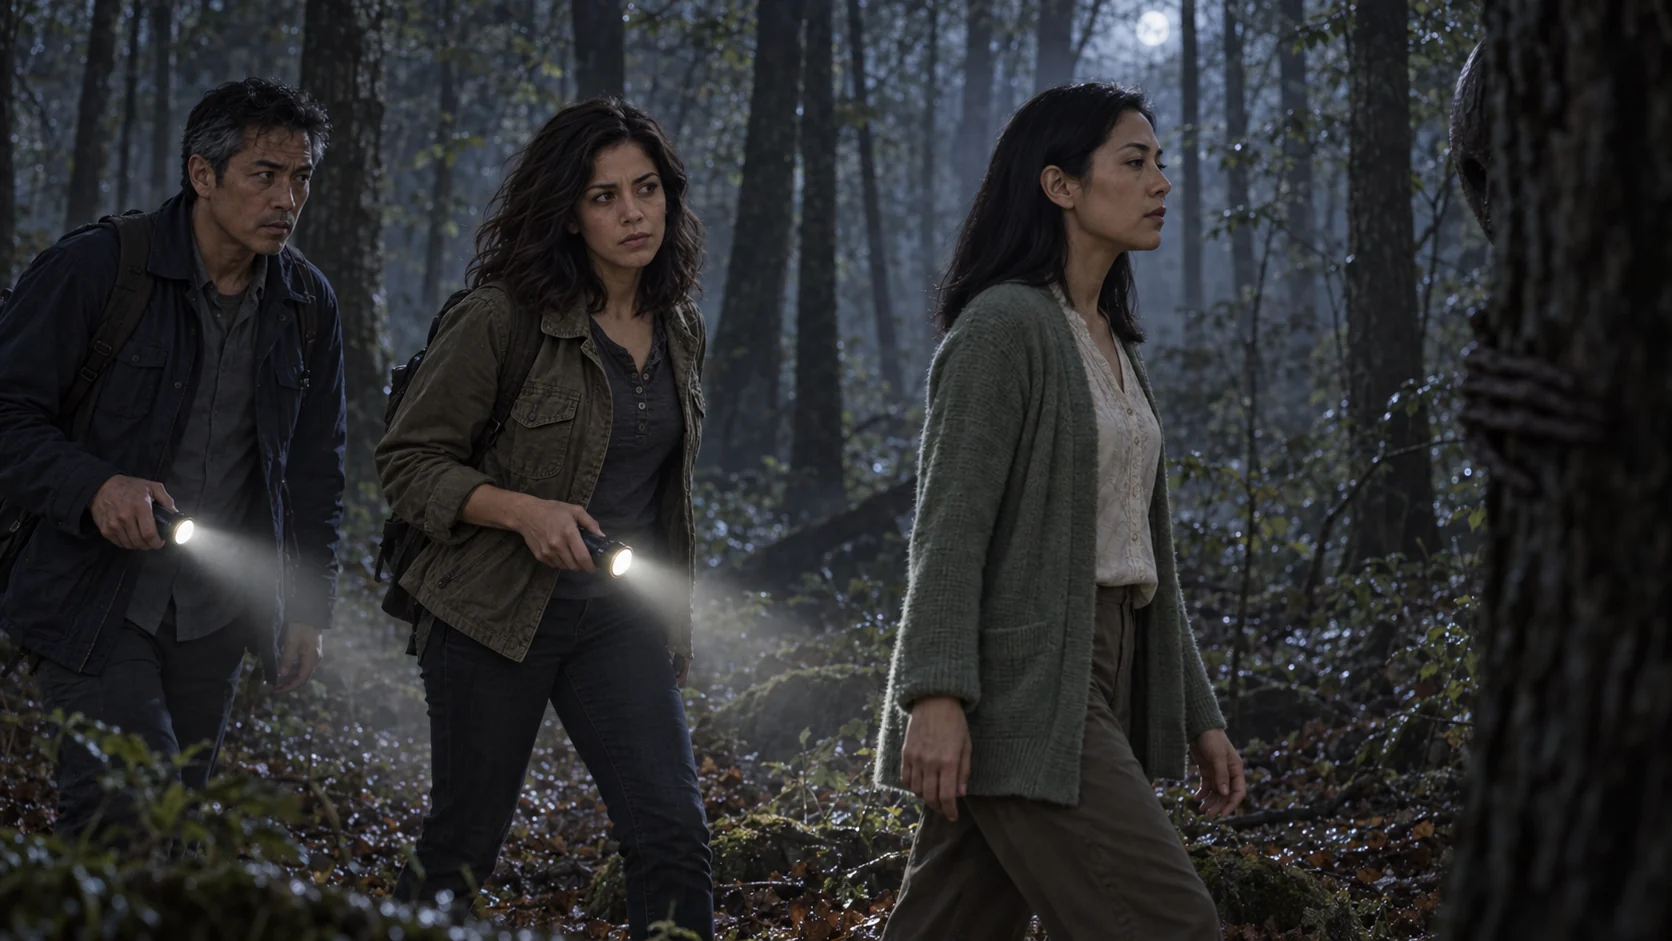
Abigail and Satoshi follow Keiko into the woods.
Read the related article"Echoes of the Past"
Show image · spoilers
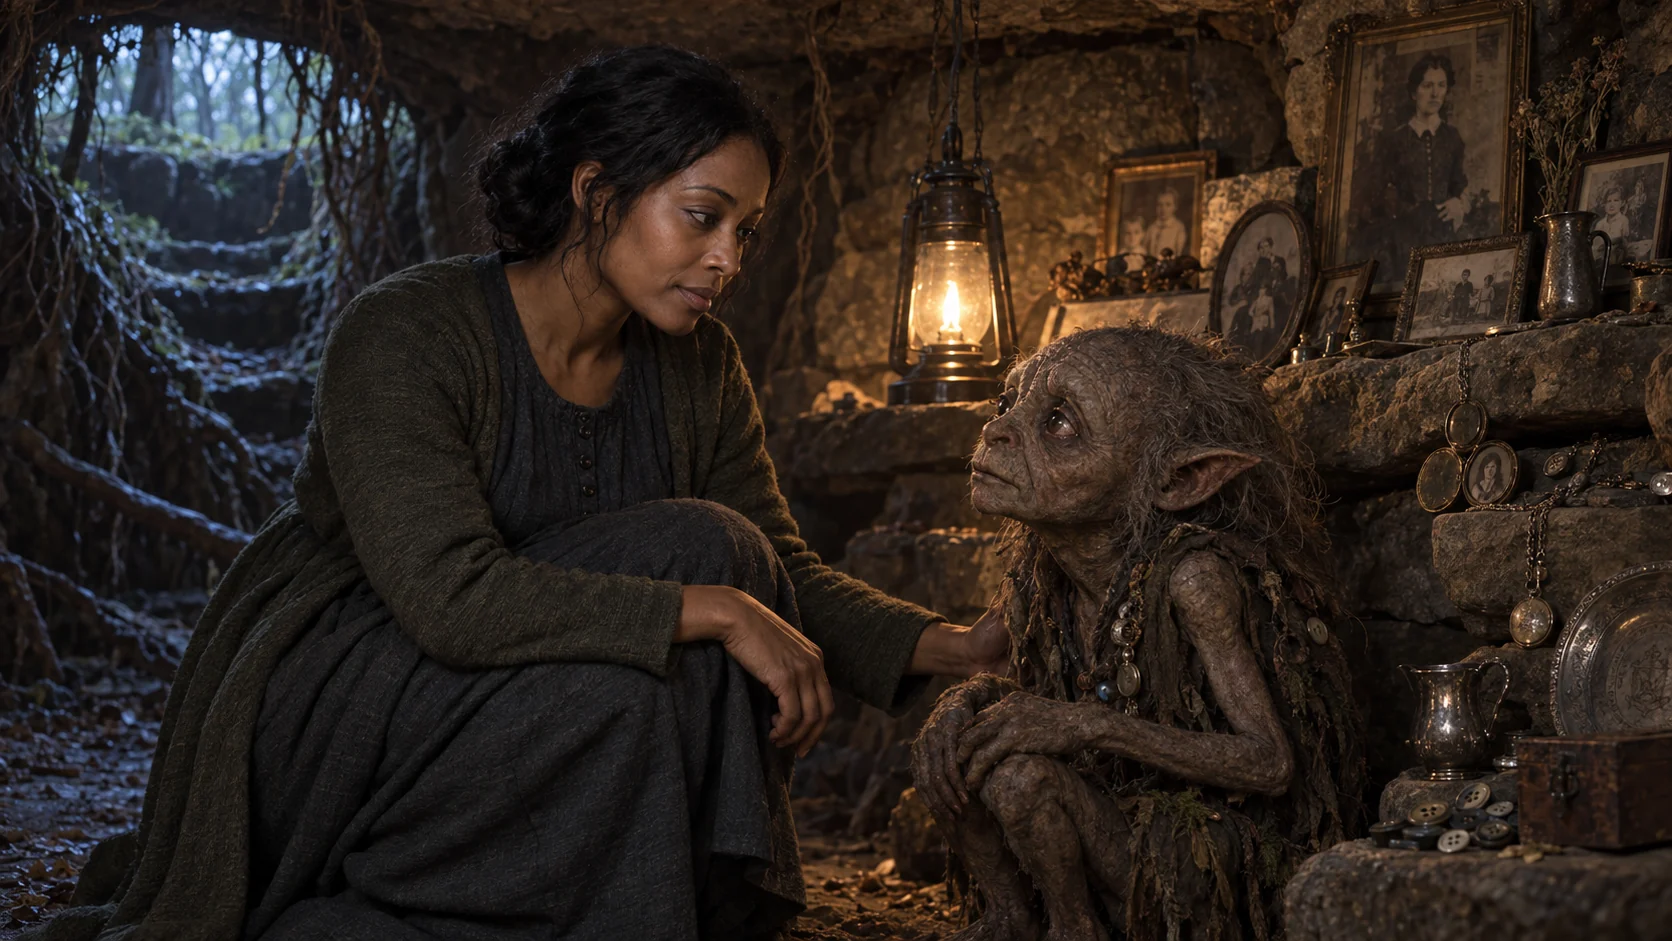
Clara meets a Pukwudgie beside the memory shrine.
Read the related article"Trauma Storm"
Show image · spoilers
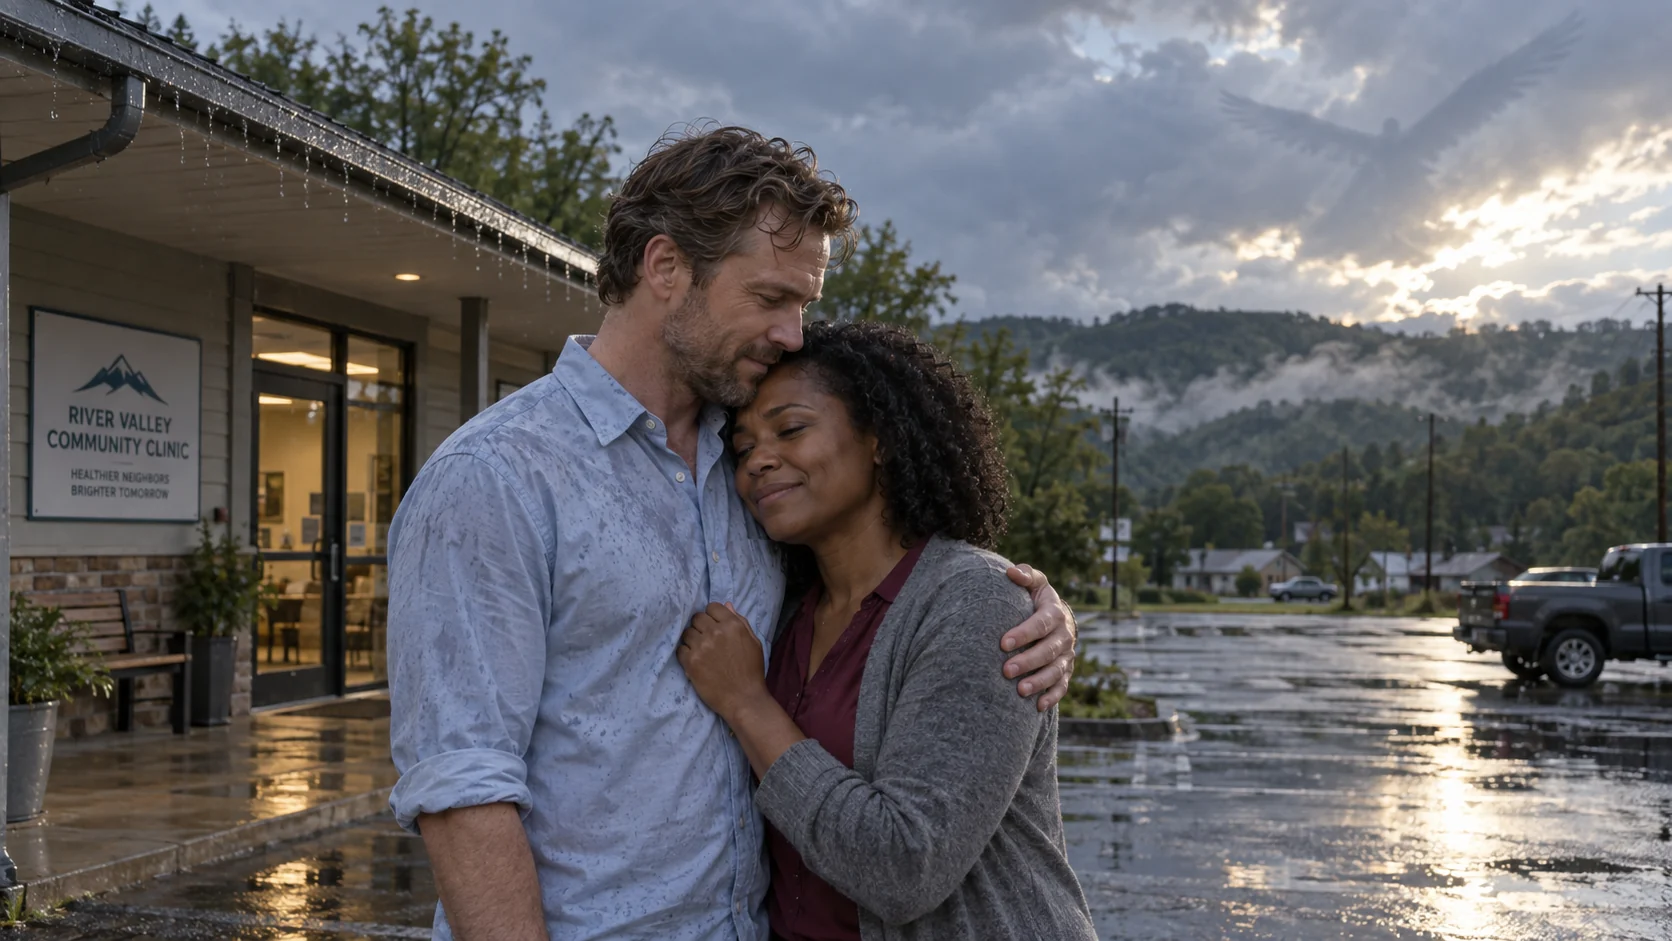
Ian and Jennifer reconcile outside the clinic after the storm.
Read the related article"The Skin Walker"
Show image · spoilers
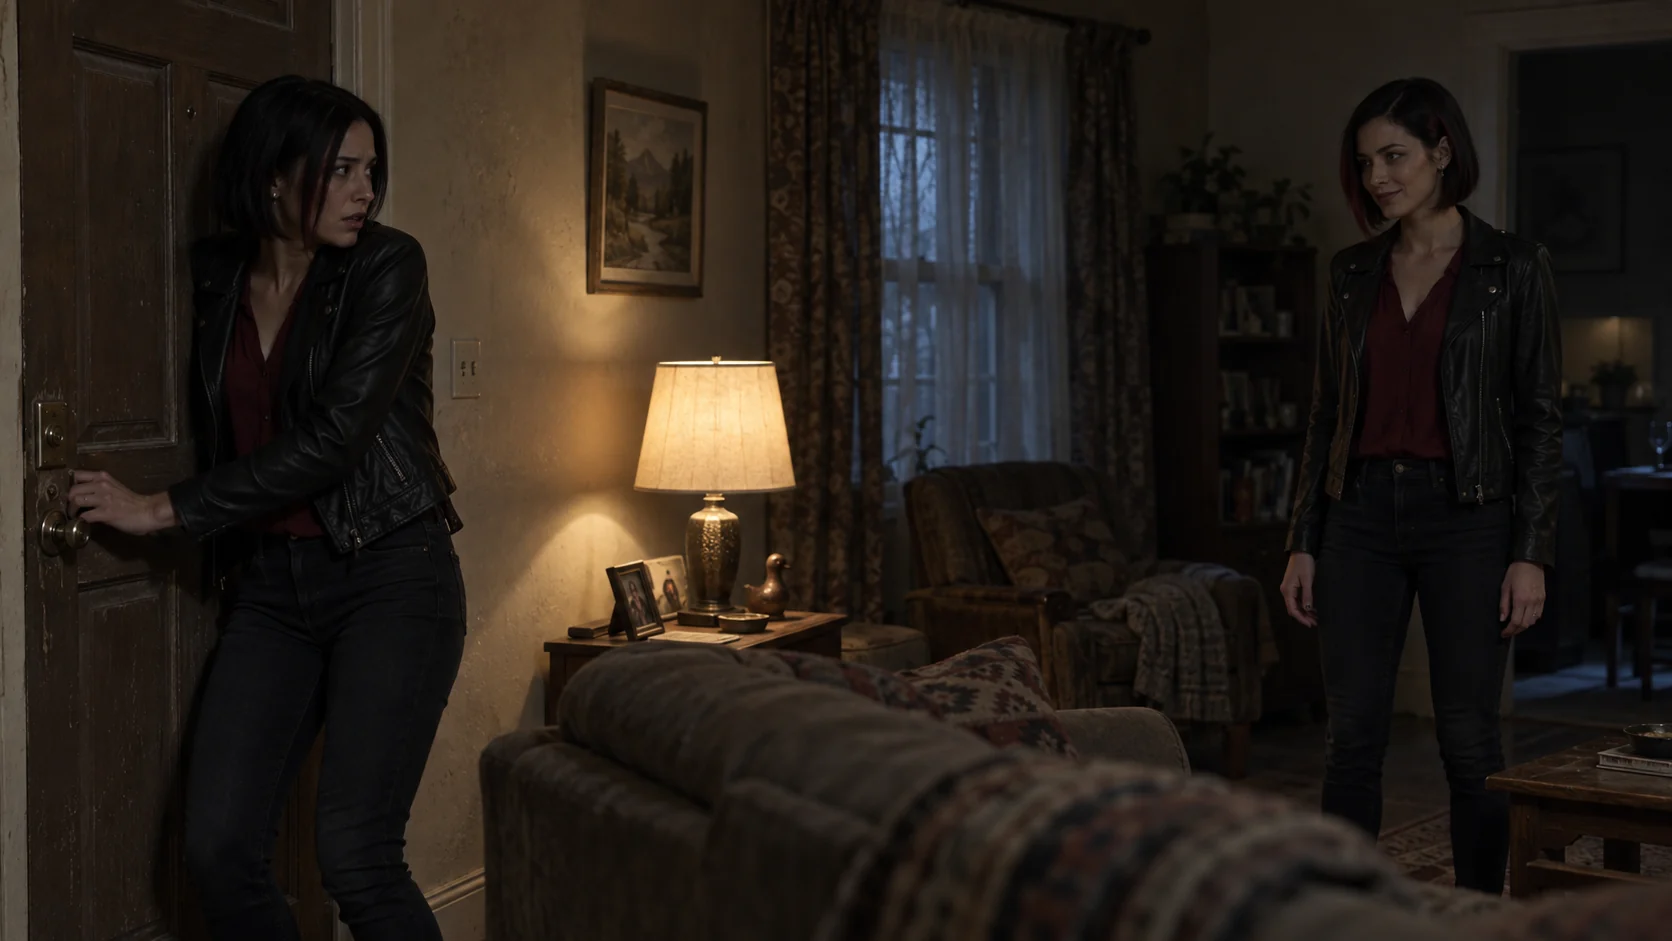
Sasha comes face to face with a shapeshifter wearing her appearance.
Read the related article"Family Reunion"
Show image · spoilers
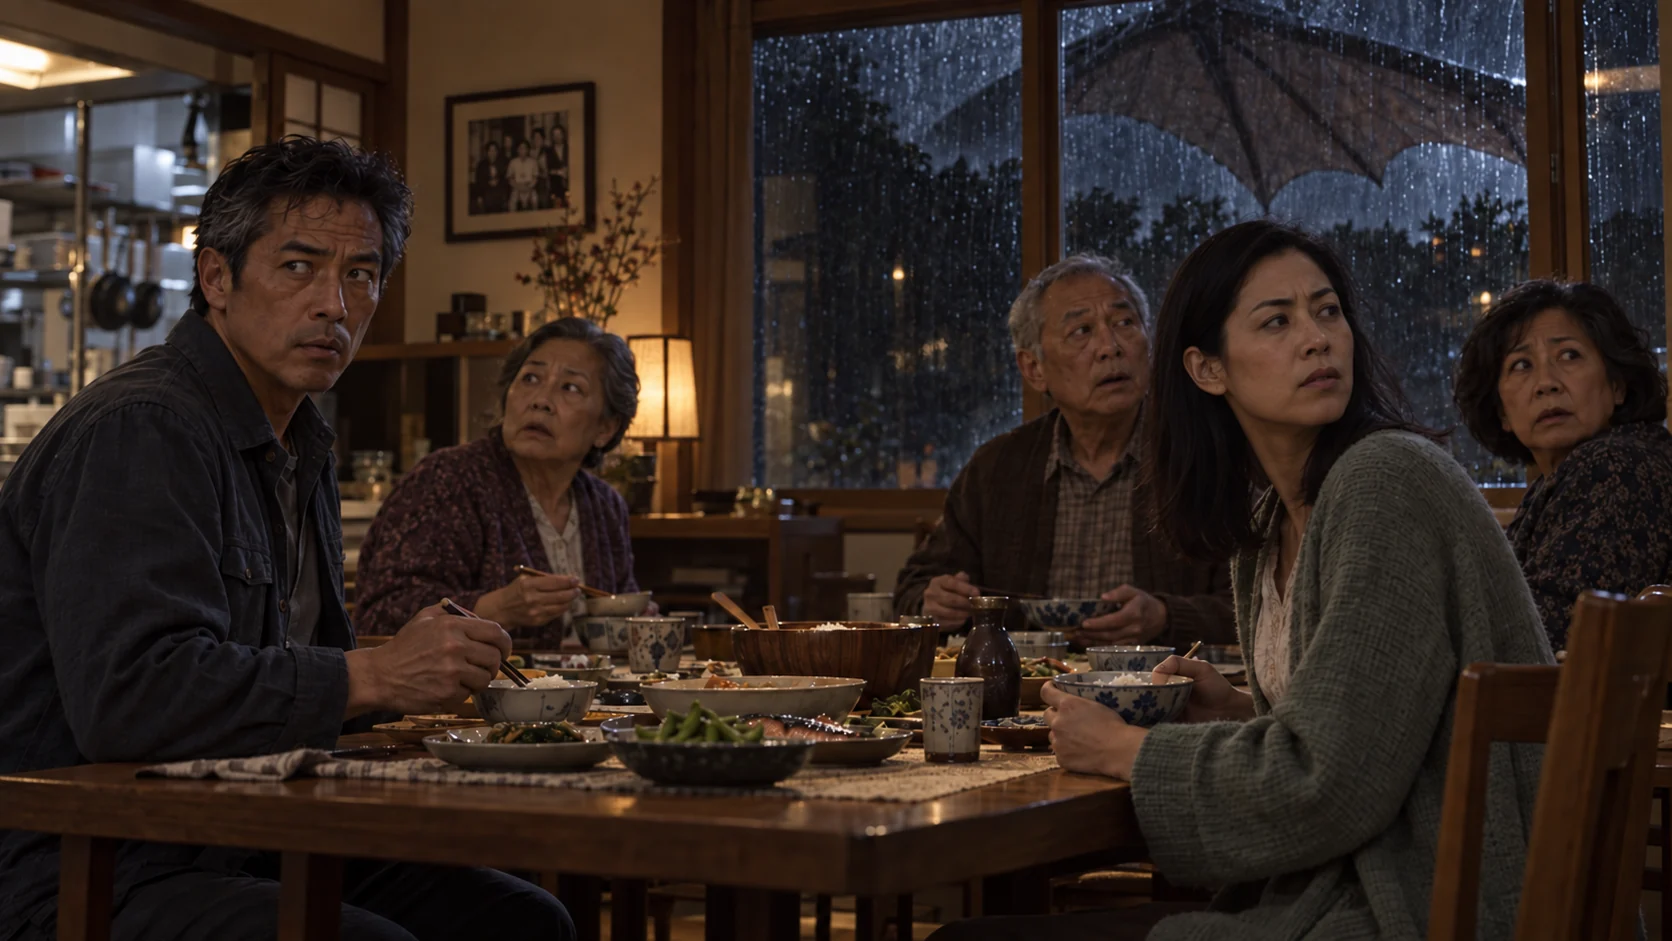
A glimpse of the Batsquatch’s wing outside the reunion dinner.
Read the related article"The Hollow Men"
Show image · spoilers
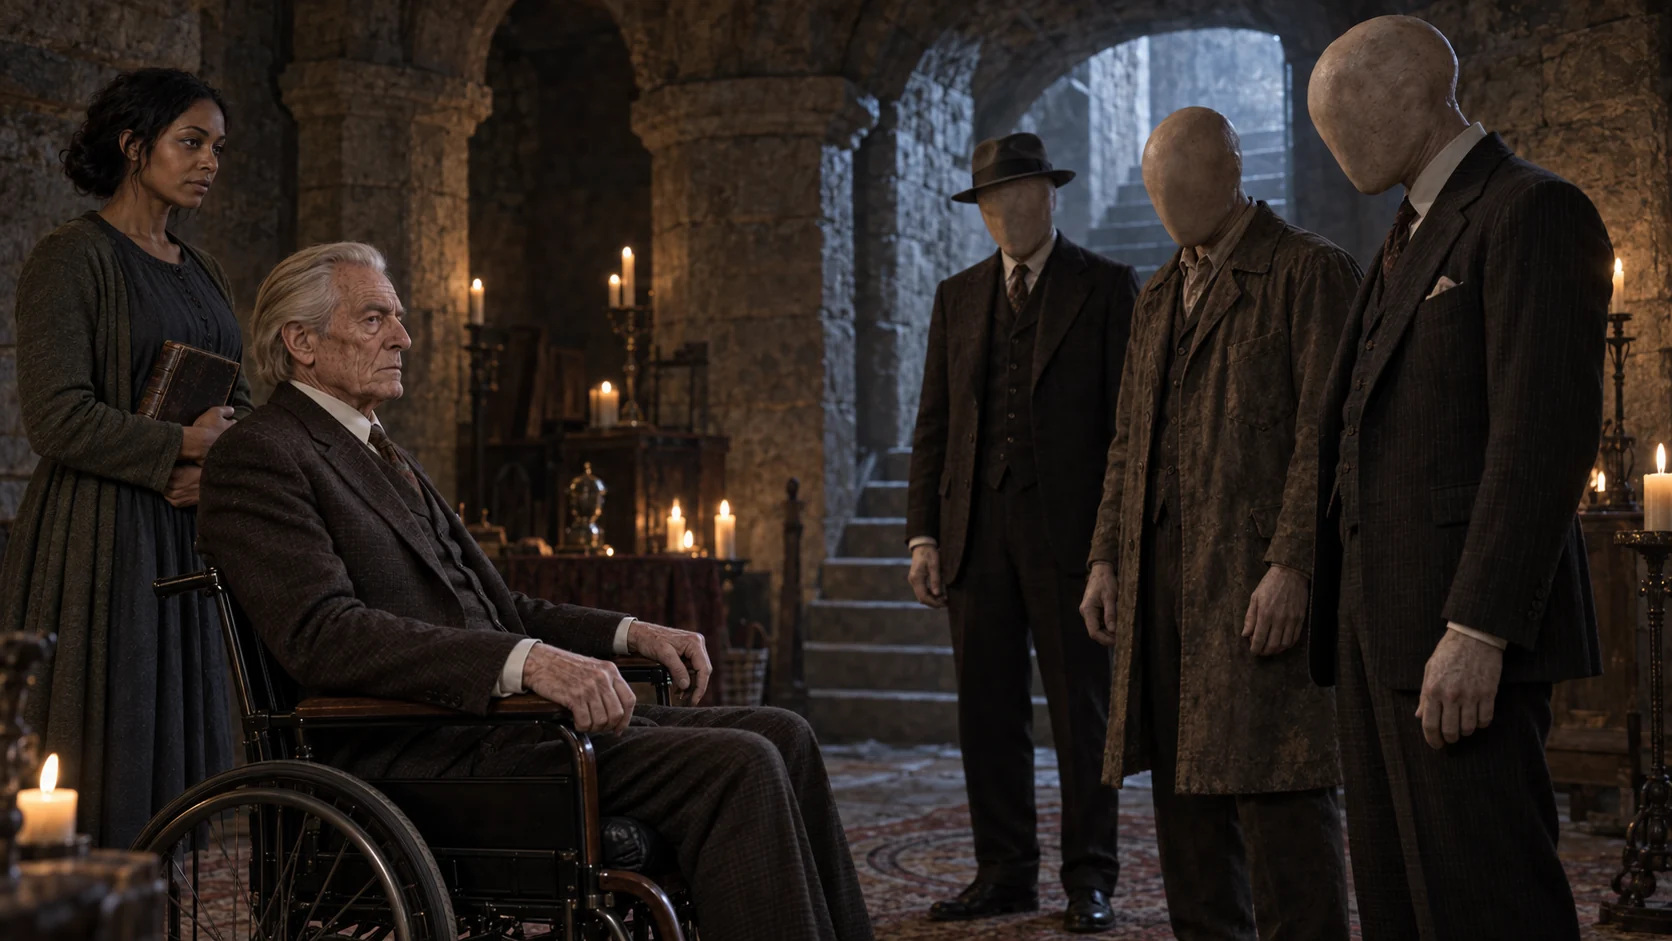
The failed immortality rituals return to haunt Thaddeus in the form of the Hollow Men.
Read the related article"Judgment Night"
Show image · spoilers
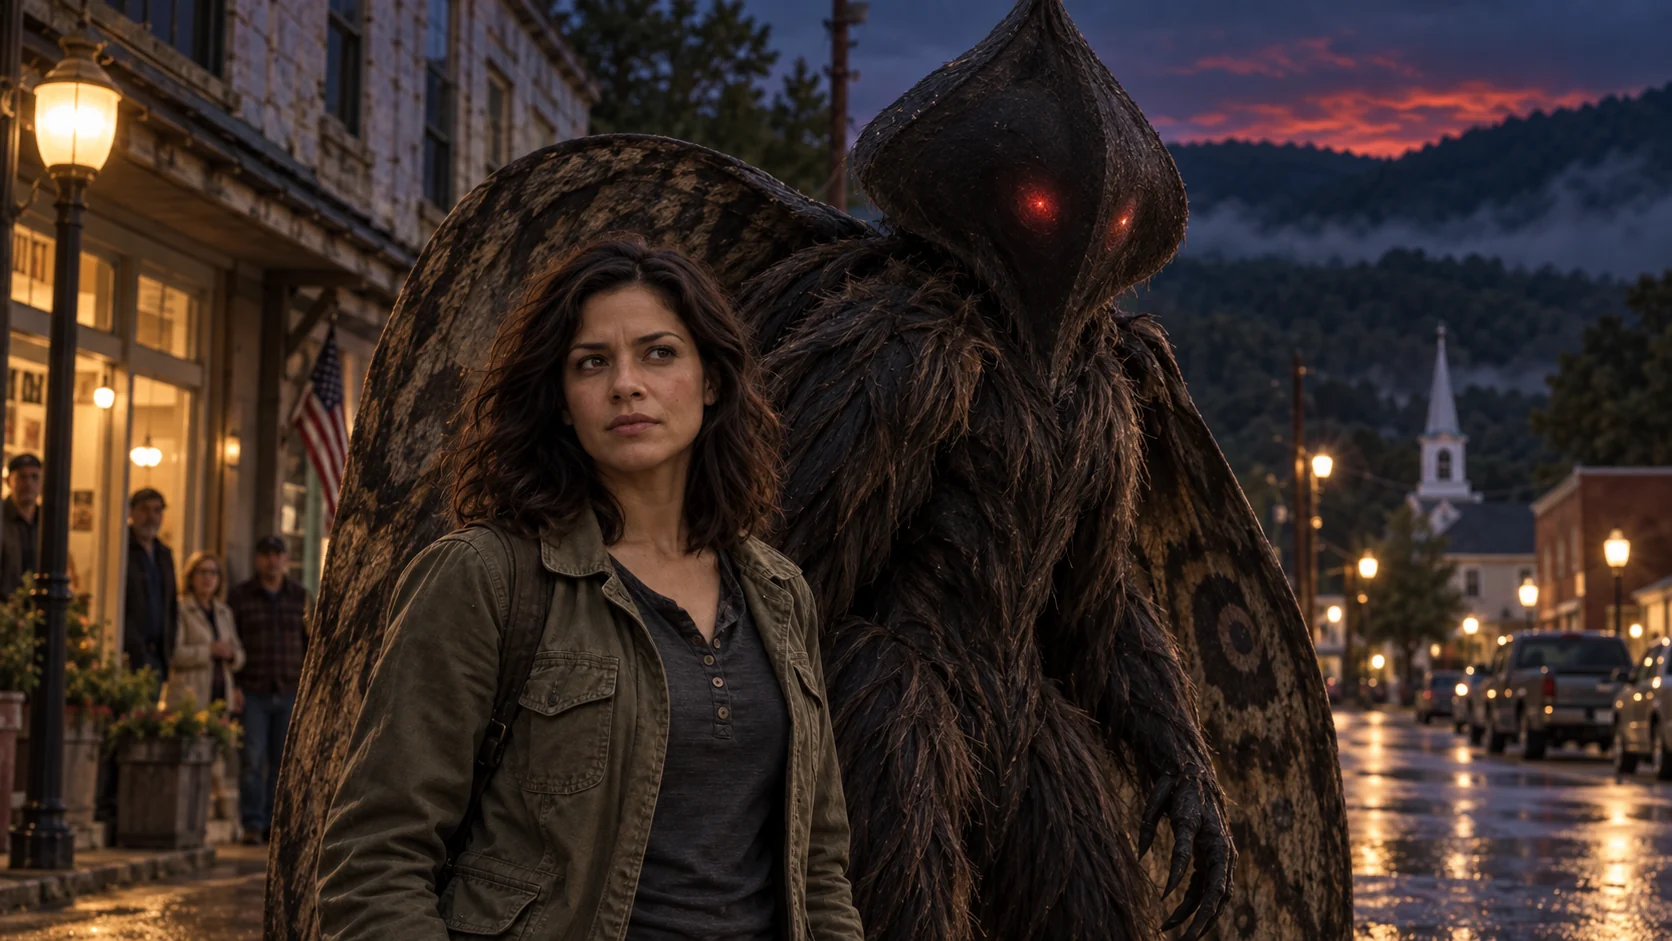
The hybrid stands beside Abigail as she reaches out to the creatures.
Read the related article"The Wendigo Awakens"
Show image · spoilers
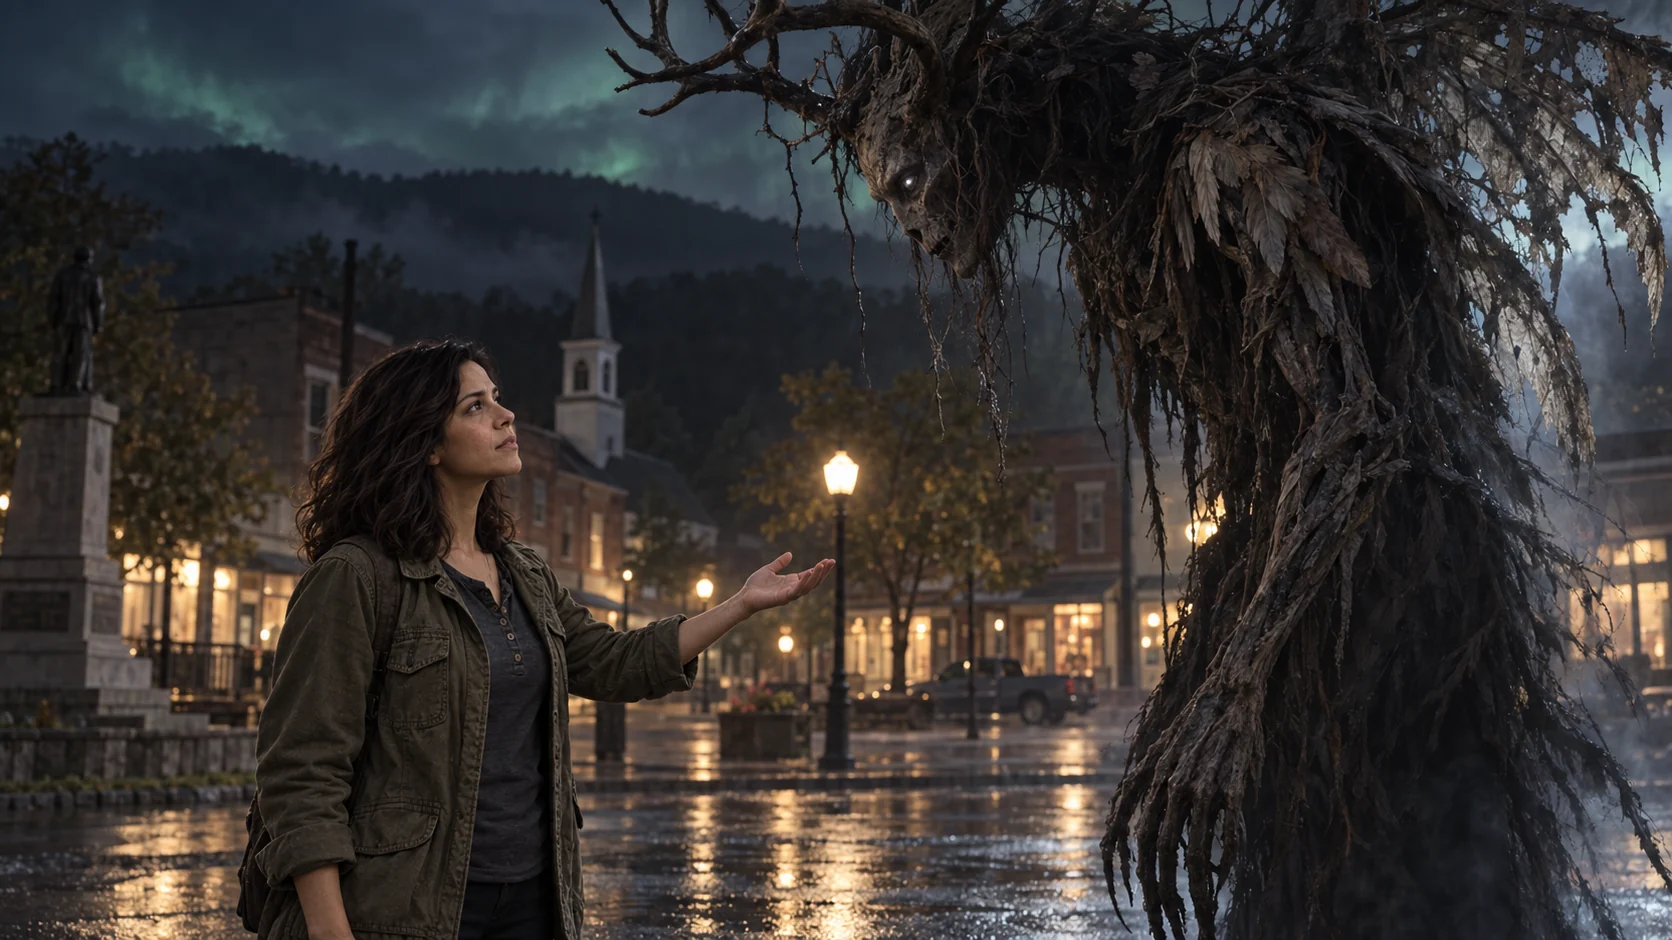
Abigail reaches toward the awakened Wendigo in the season finale.
Read the related articleBeaumont Manor
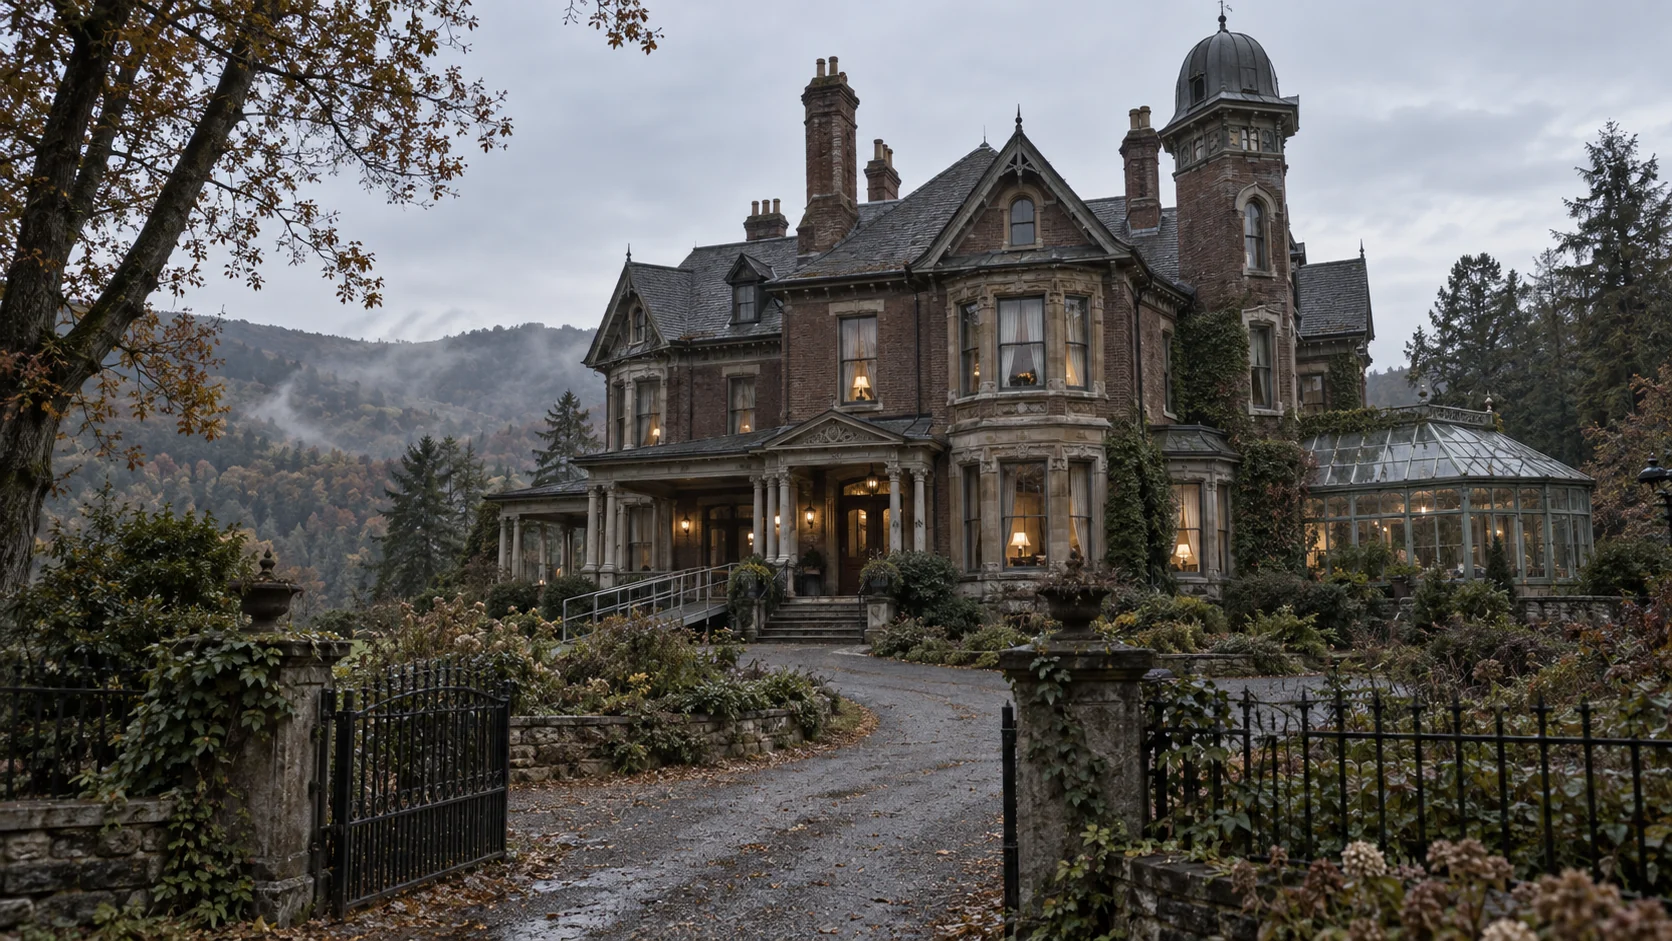
Beaumont Manor and its conservatory.
Read the related articleThe Big Ear
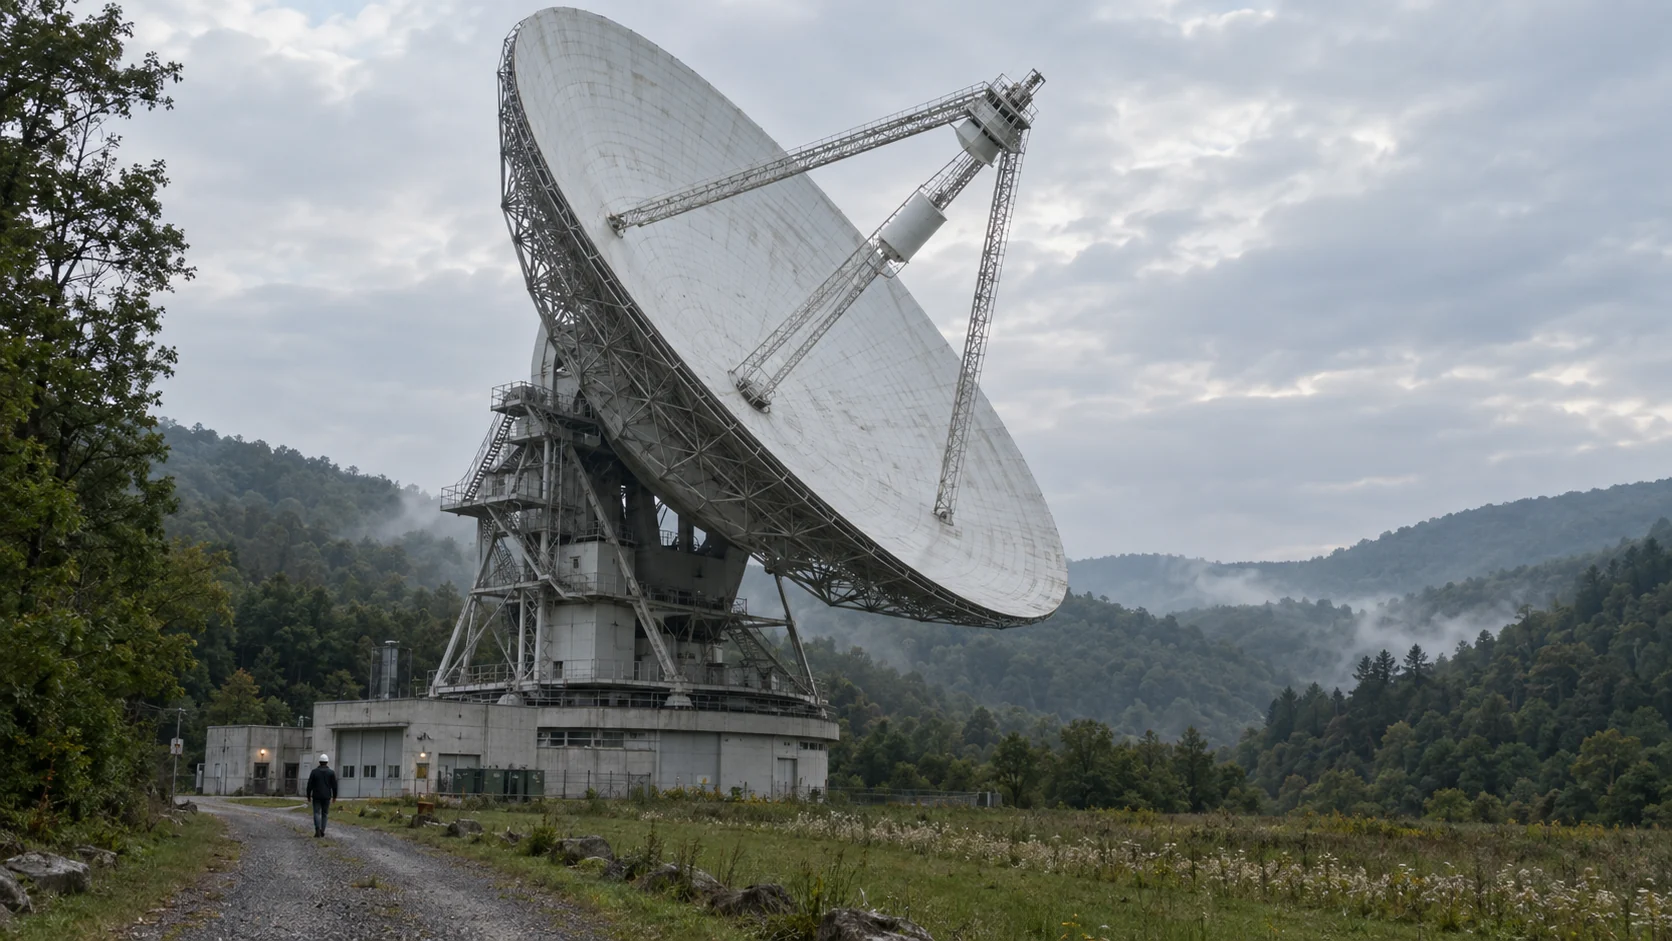
The Big Ear and its control building.
Read the related articleMargolis Video
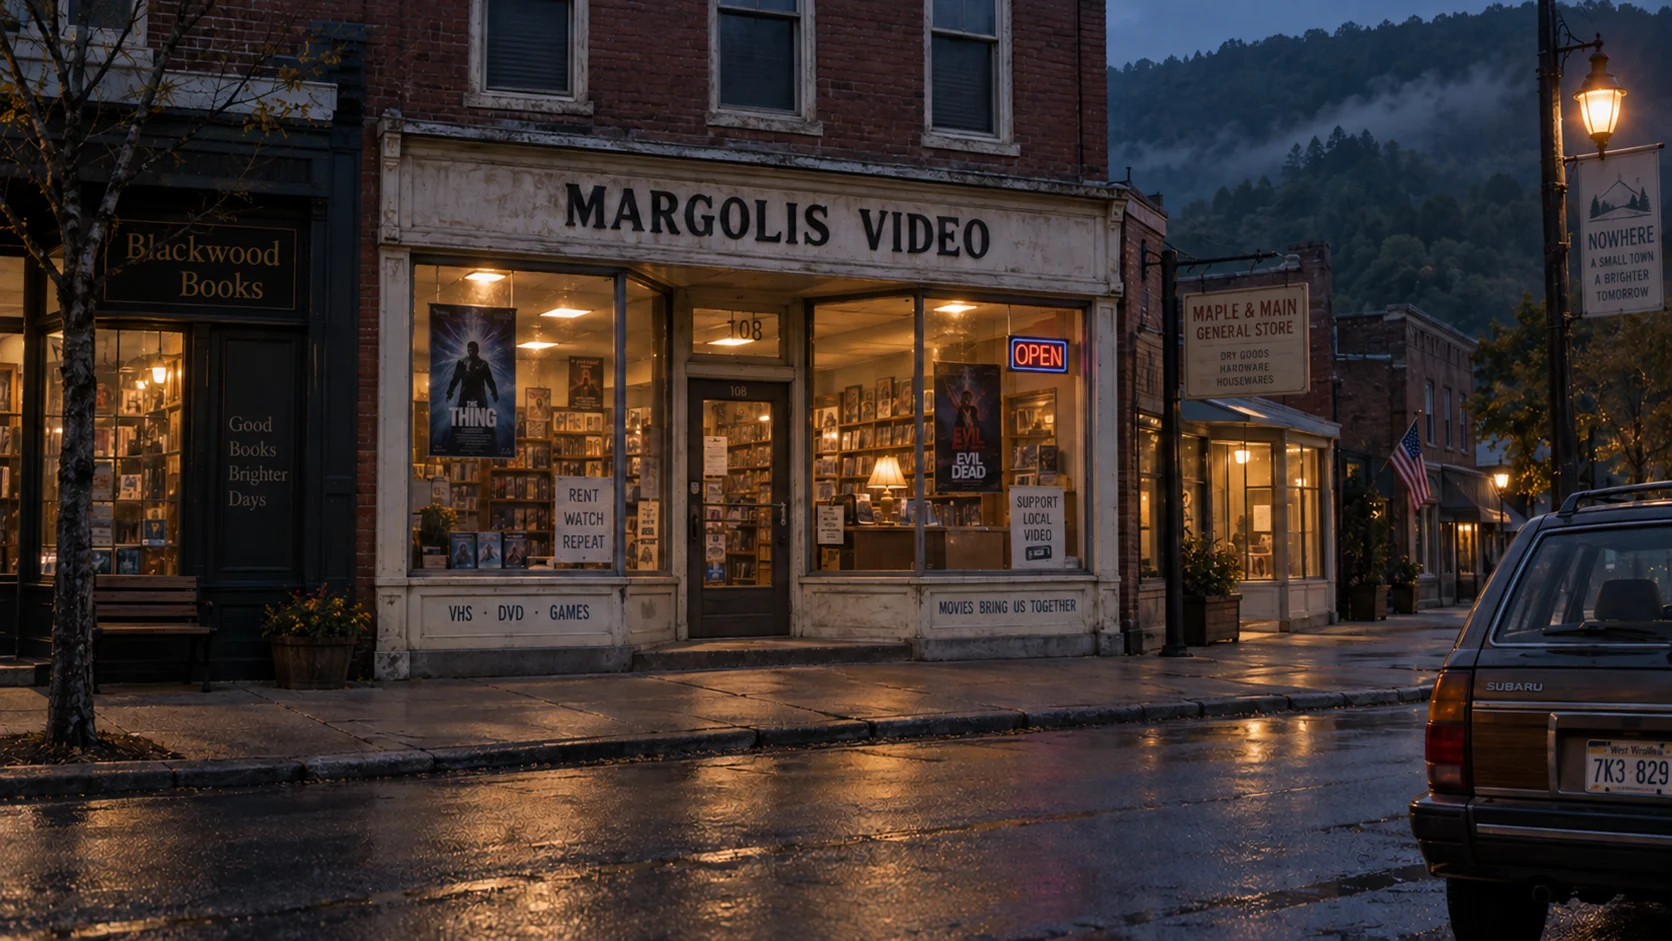
Margolis Video at dusk.
Read the related articleNakamura Family Restaurant
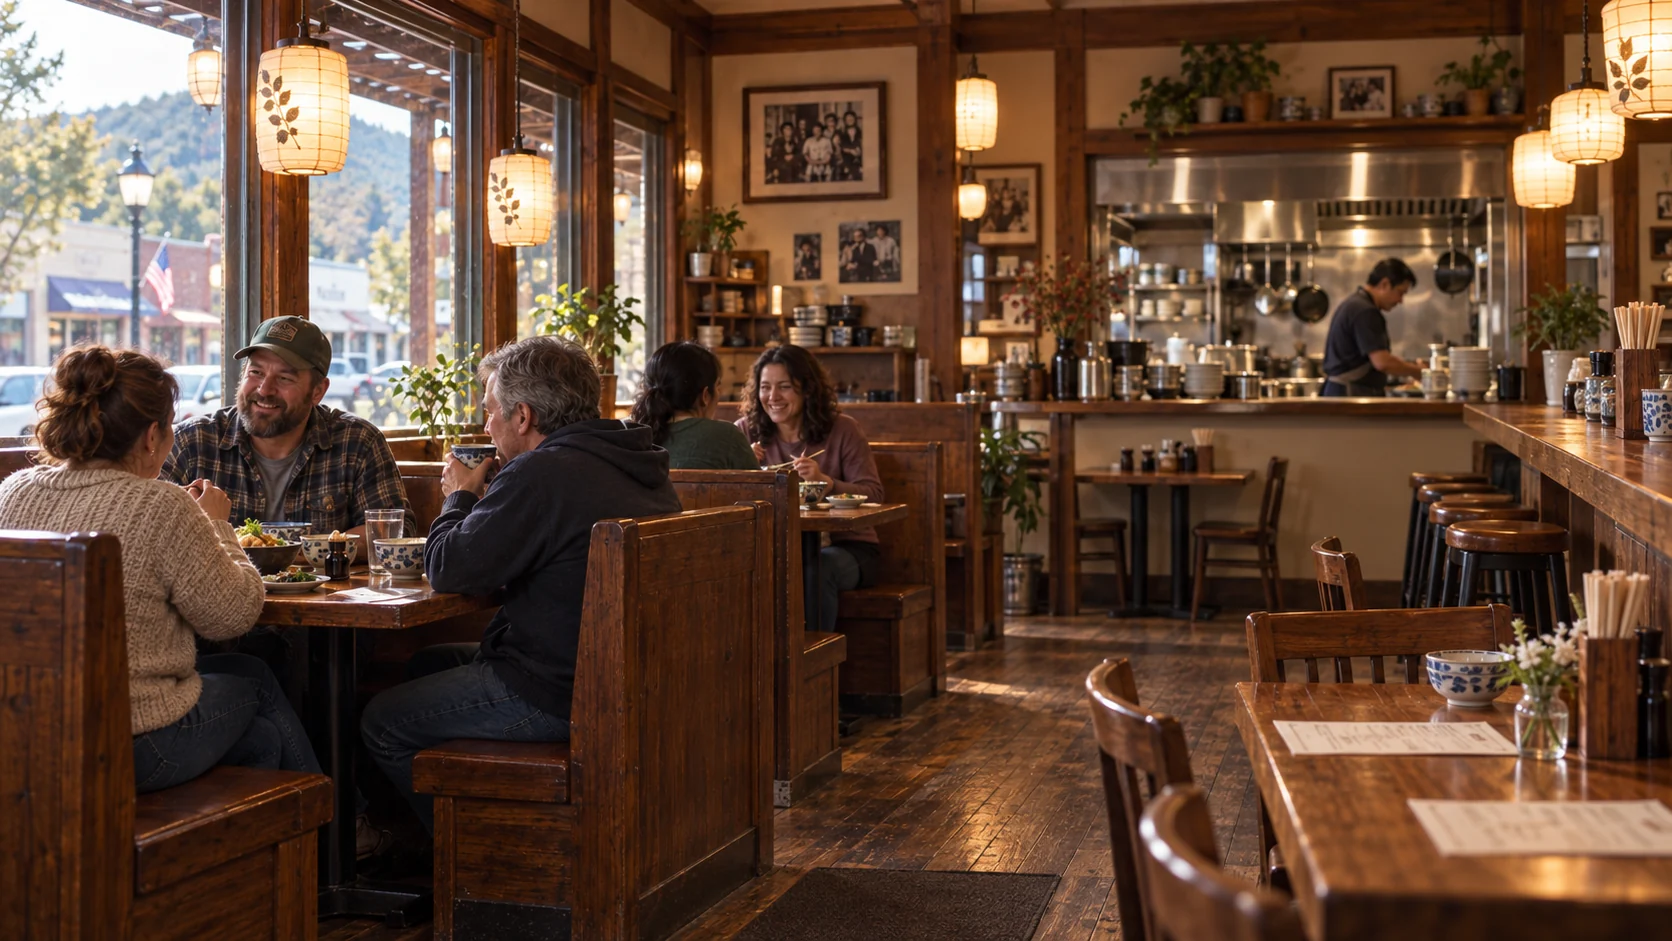
Lunchtime at the Nakamura Family Restaurant.
Read the related articleCreature Batsquatch
Show image · spoilers
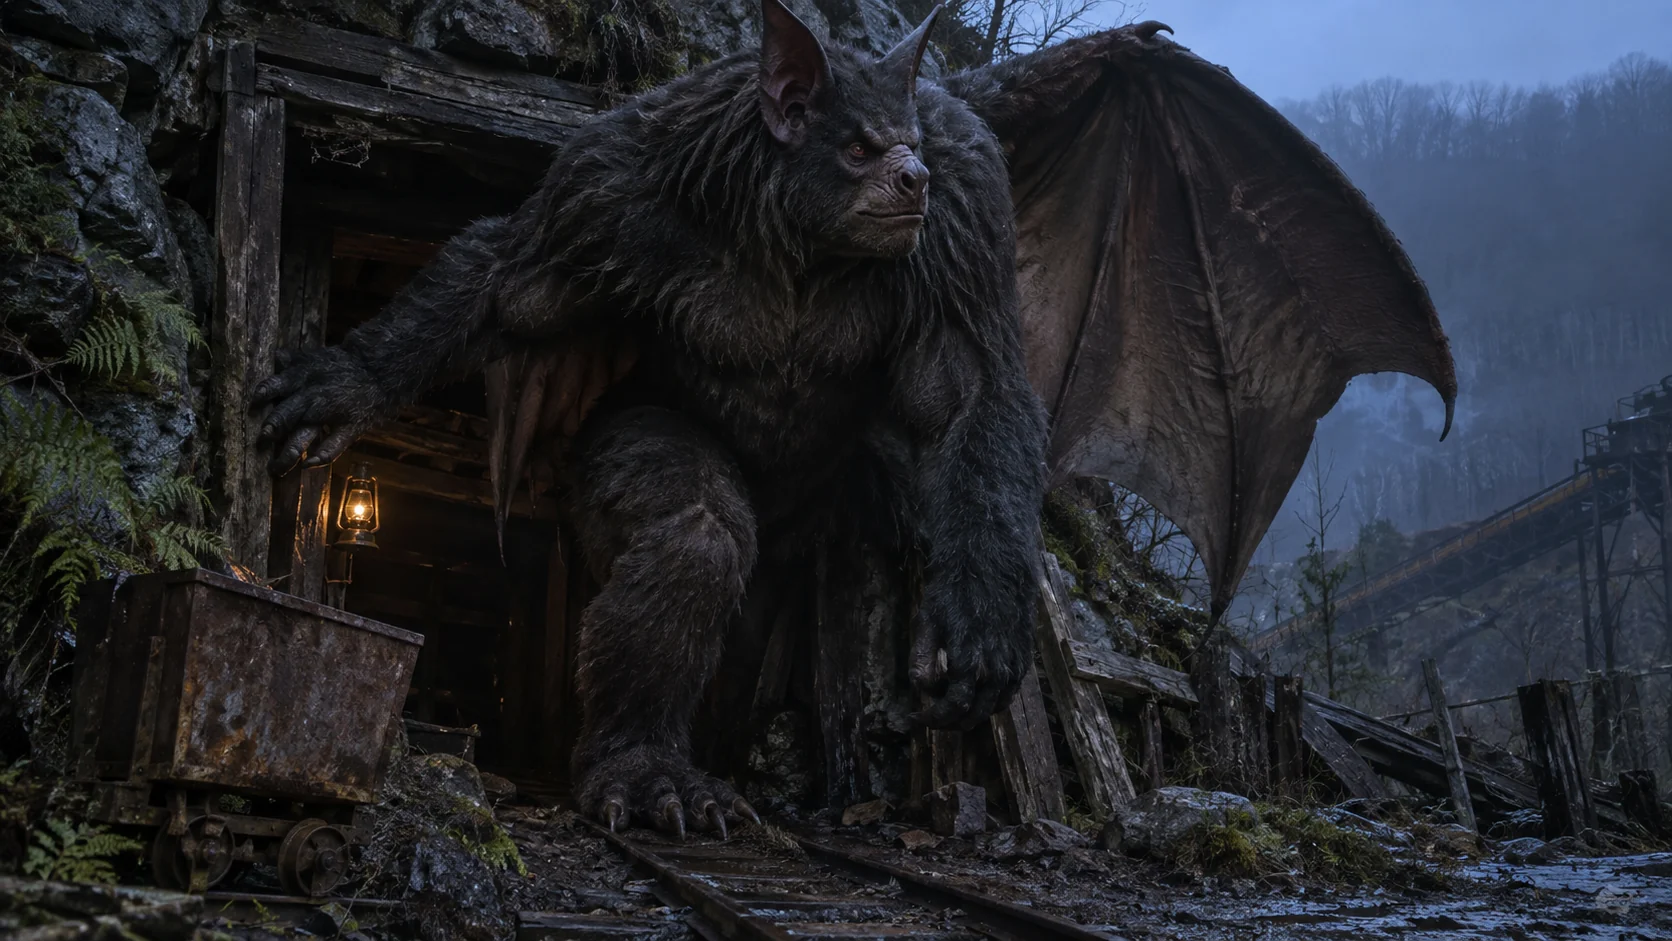
The Batsquatch emerges from the abandoned mine during the Nakamura reunion.
Read the related articleCreature Hidebehind Detail
Show image · spoilers
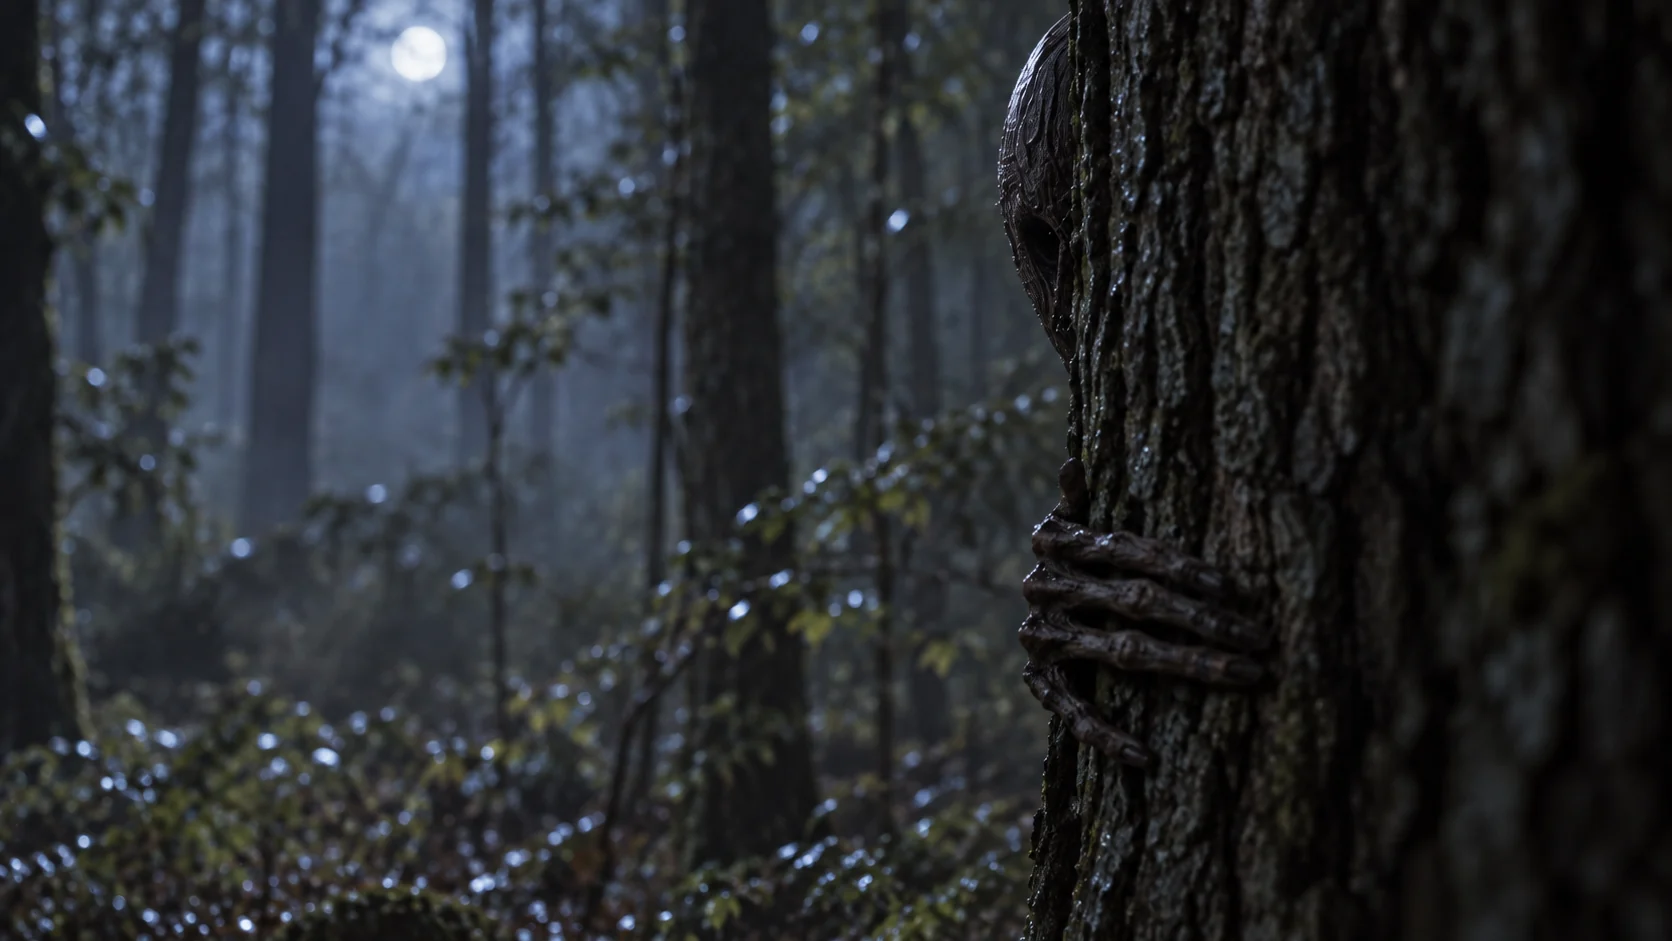
A narrow glimpse around a tree in the Whispering Woods.
Read the related articleCreature Jersey Devil
Show image · spoilers
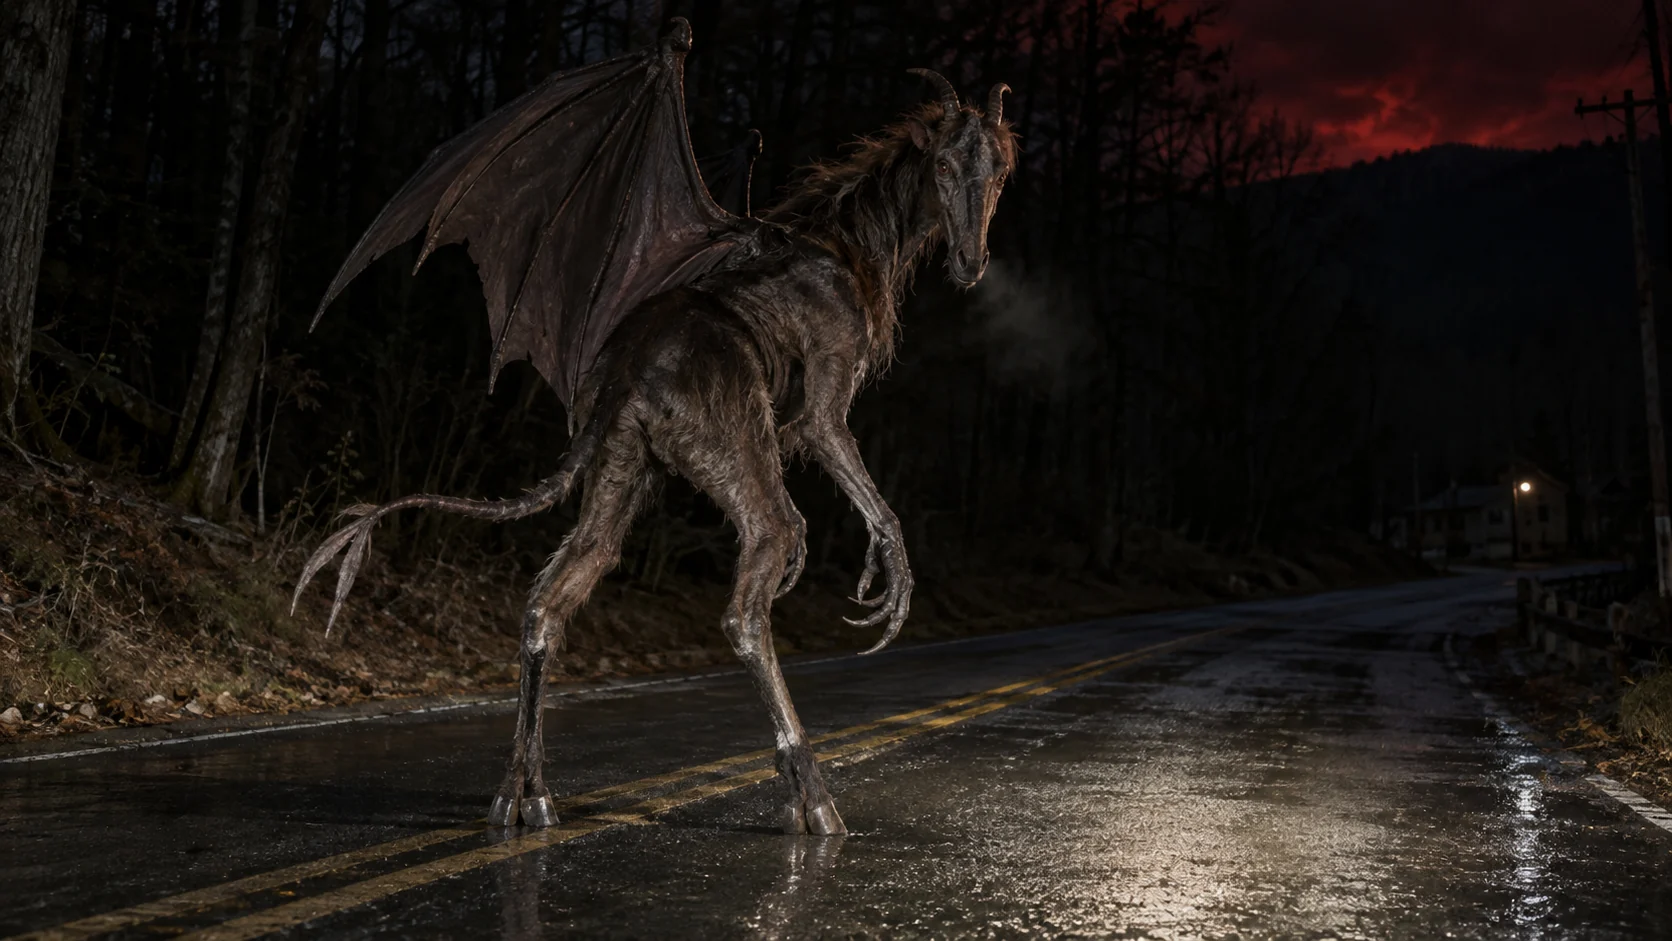
The Jersey Devil appears at the edge of town during Judgment Night.
Read the related articleCreature Snallygaster
Show image · spoilers
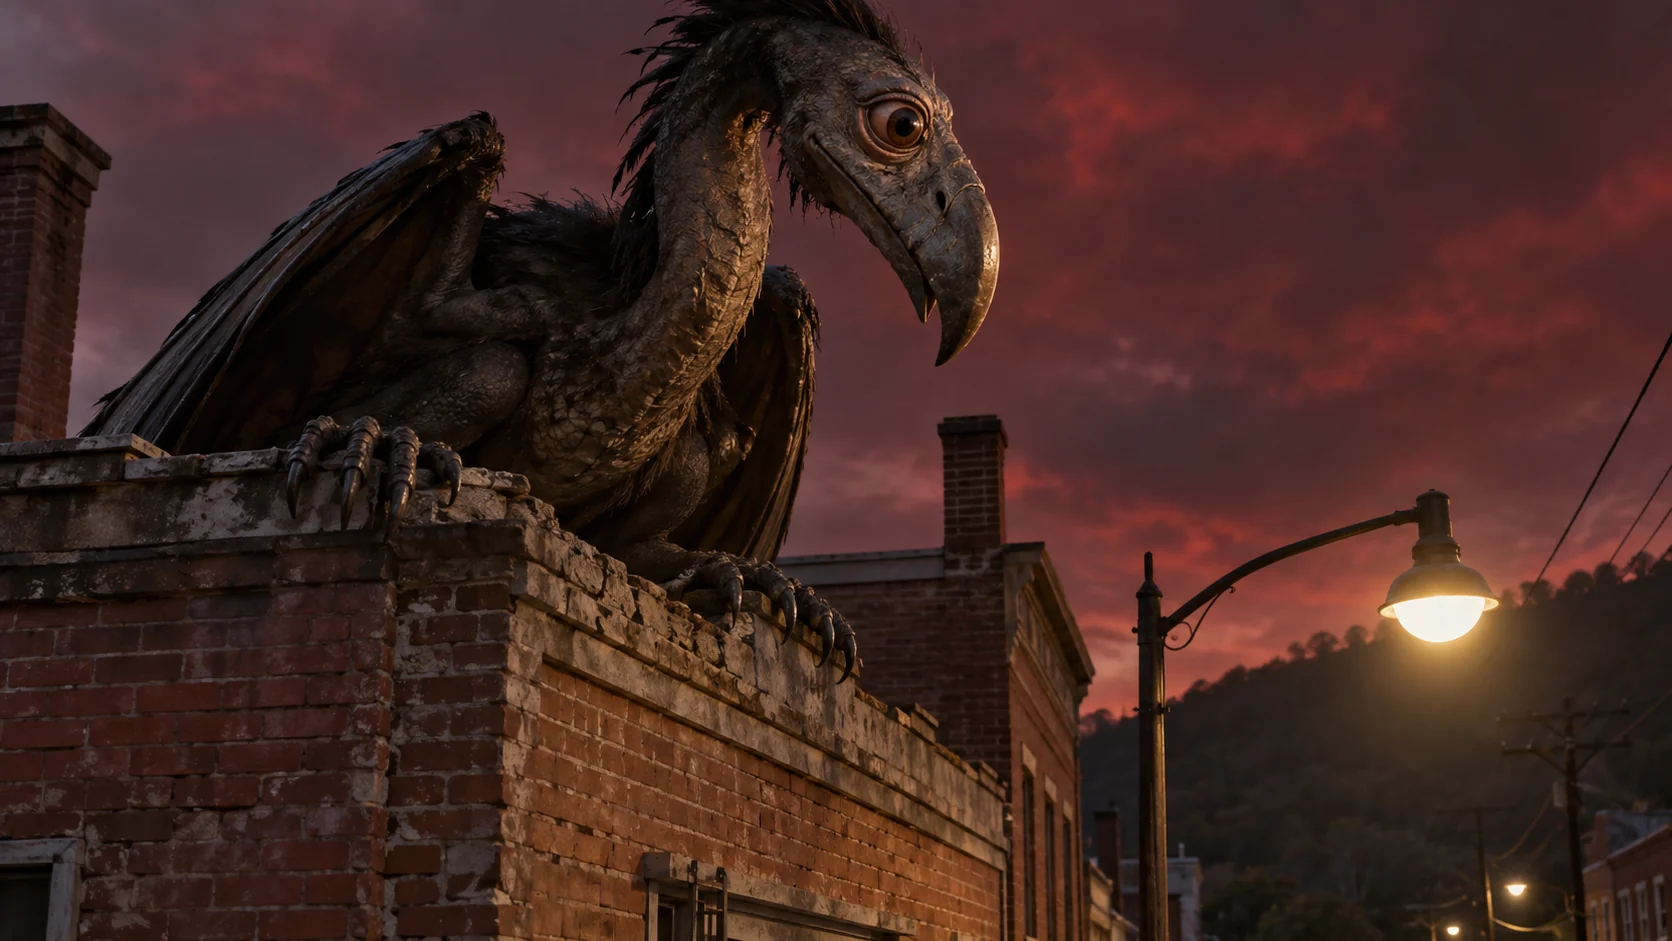
A Snallygaster watches the streets from a rooftop during the convergence.
Read the related articleCreature Thunderbird Piasa
Show image · spoilers
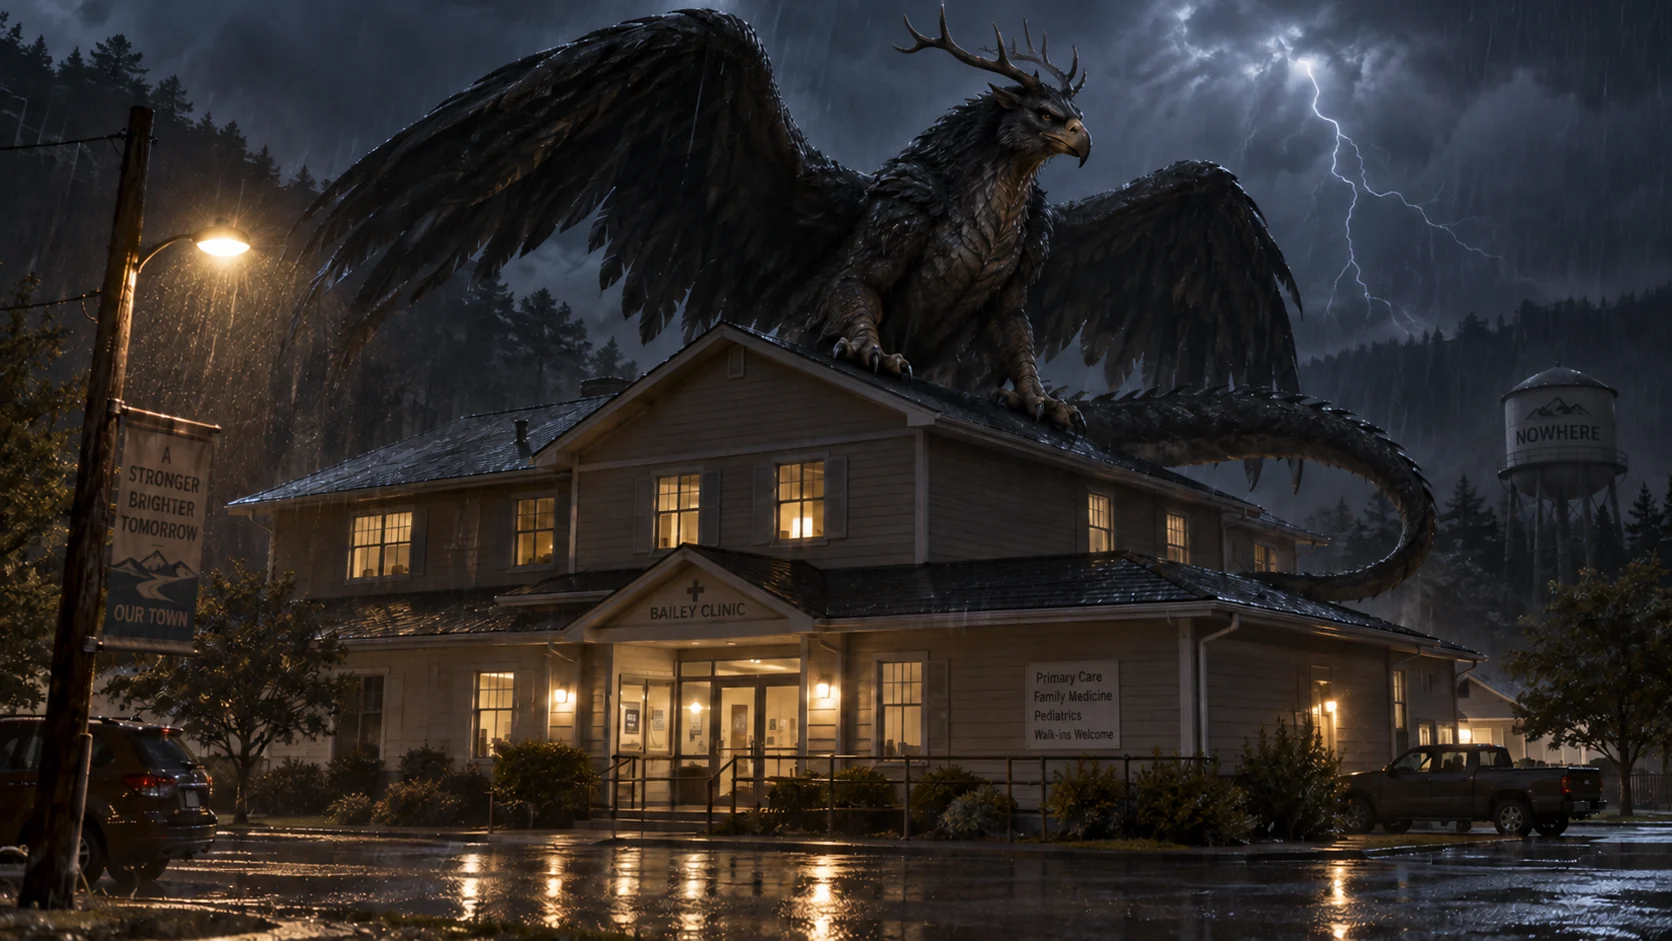
The storm creature perches above the Bailey clinic as the couple’s conflict intensifies.
Read the related articleProduction Hollow Men
Show image · spoilers
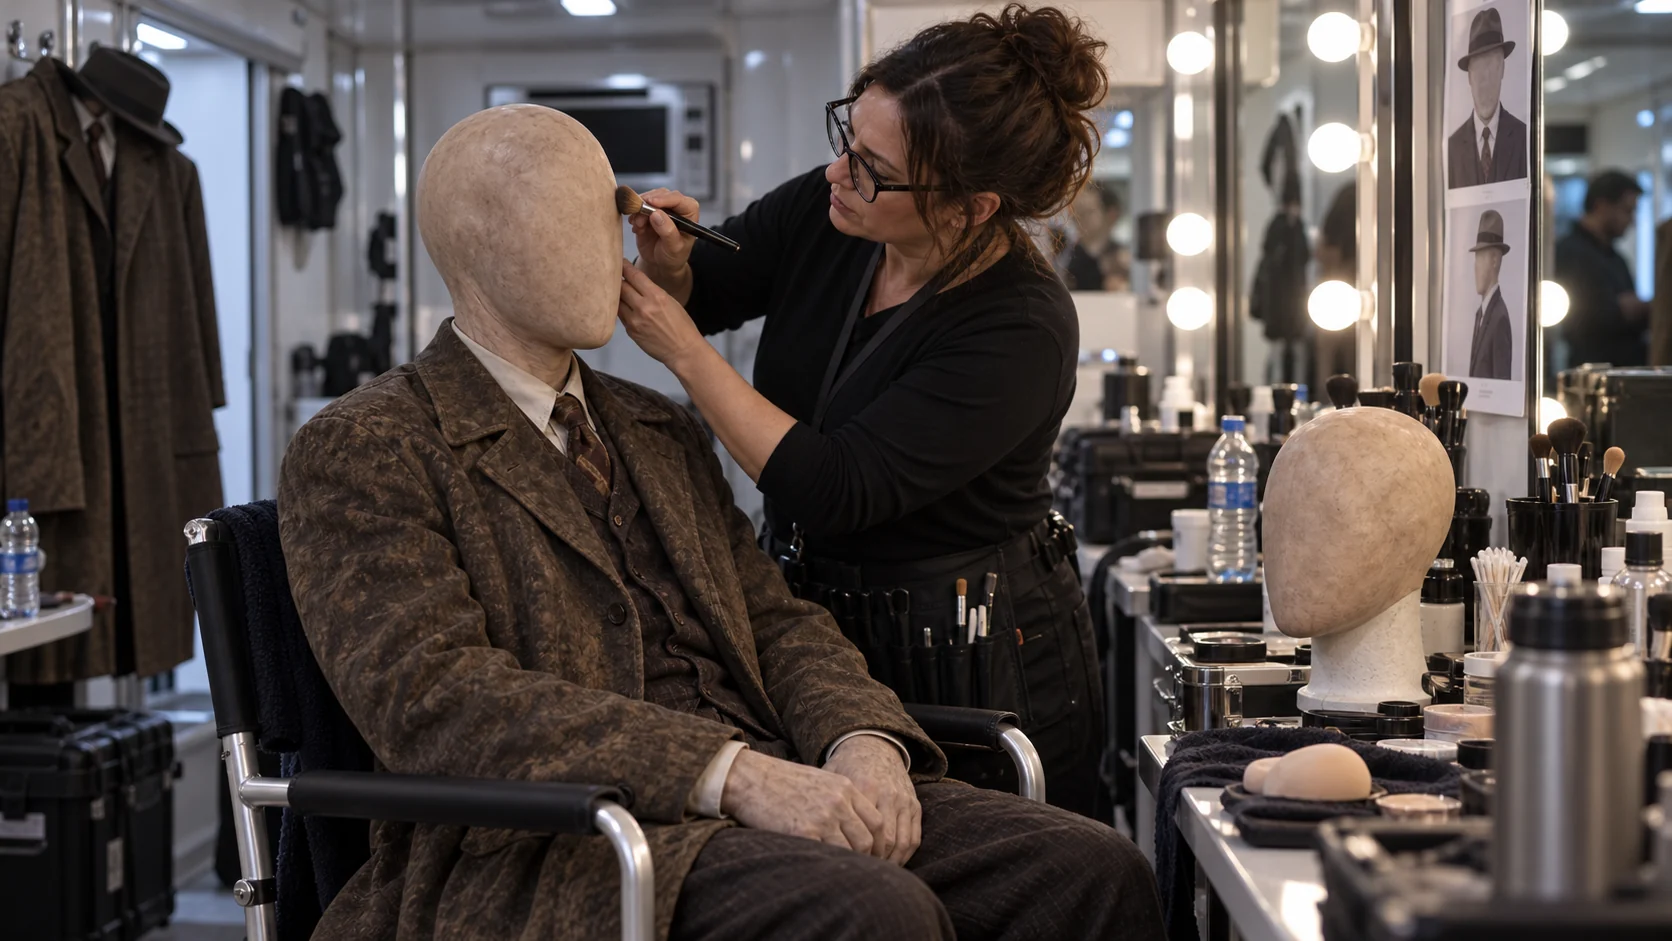
A touch-up to a Hollow Man’s featureless prosthetic.
Read the related articleProduction Prop Table
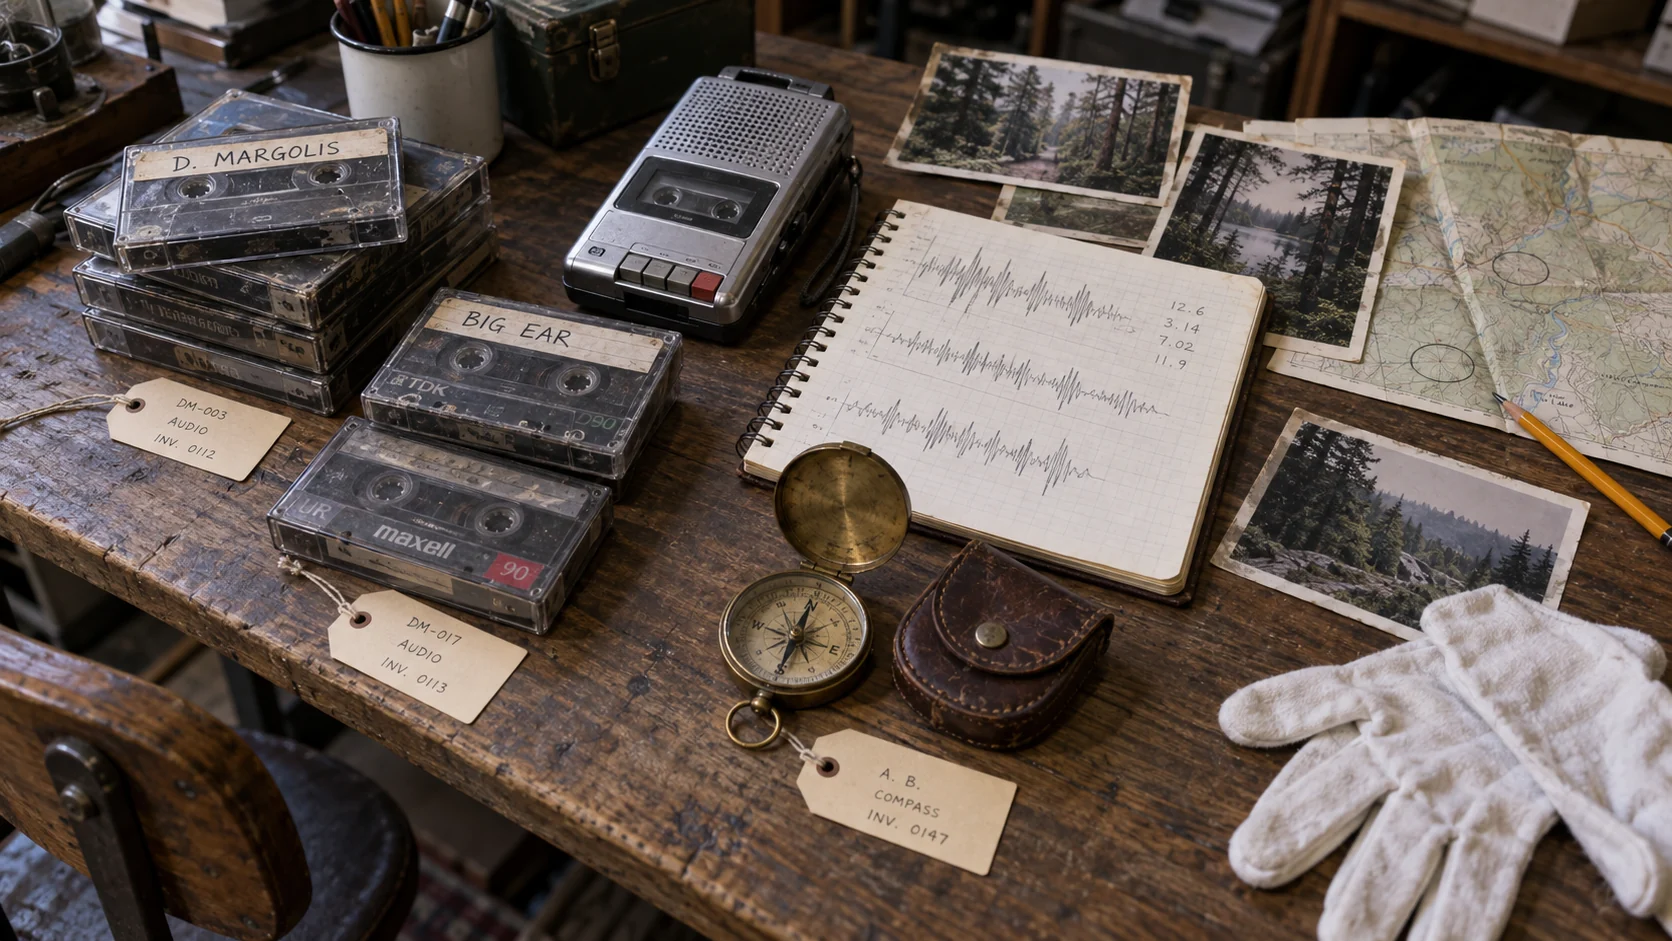
David Margolis’s research tapes, notes, and Abigail’s compass on the prop table.
Read the related articleProduction Video Store
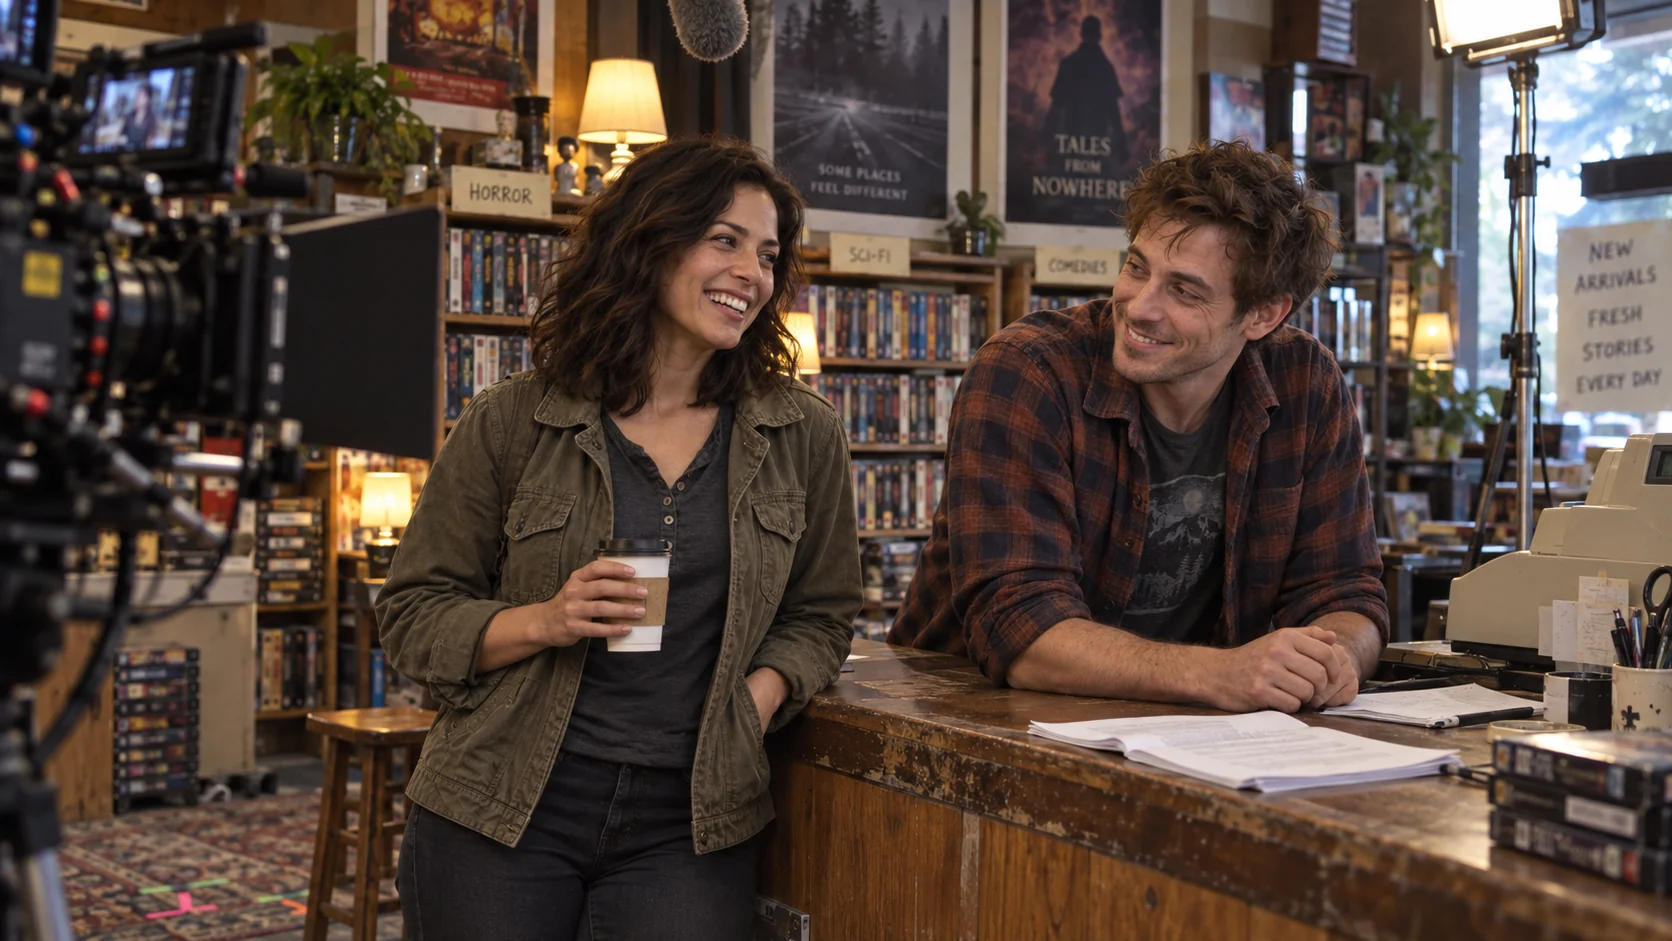
Between takes on the Margolis Video set.
Read the related articleEvidence Newspaper
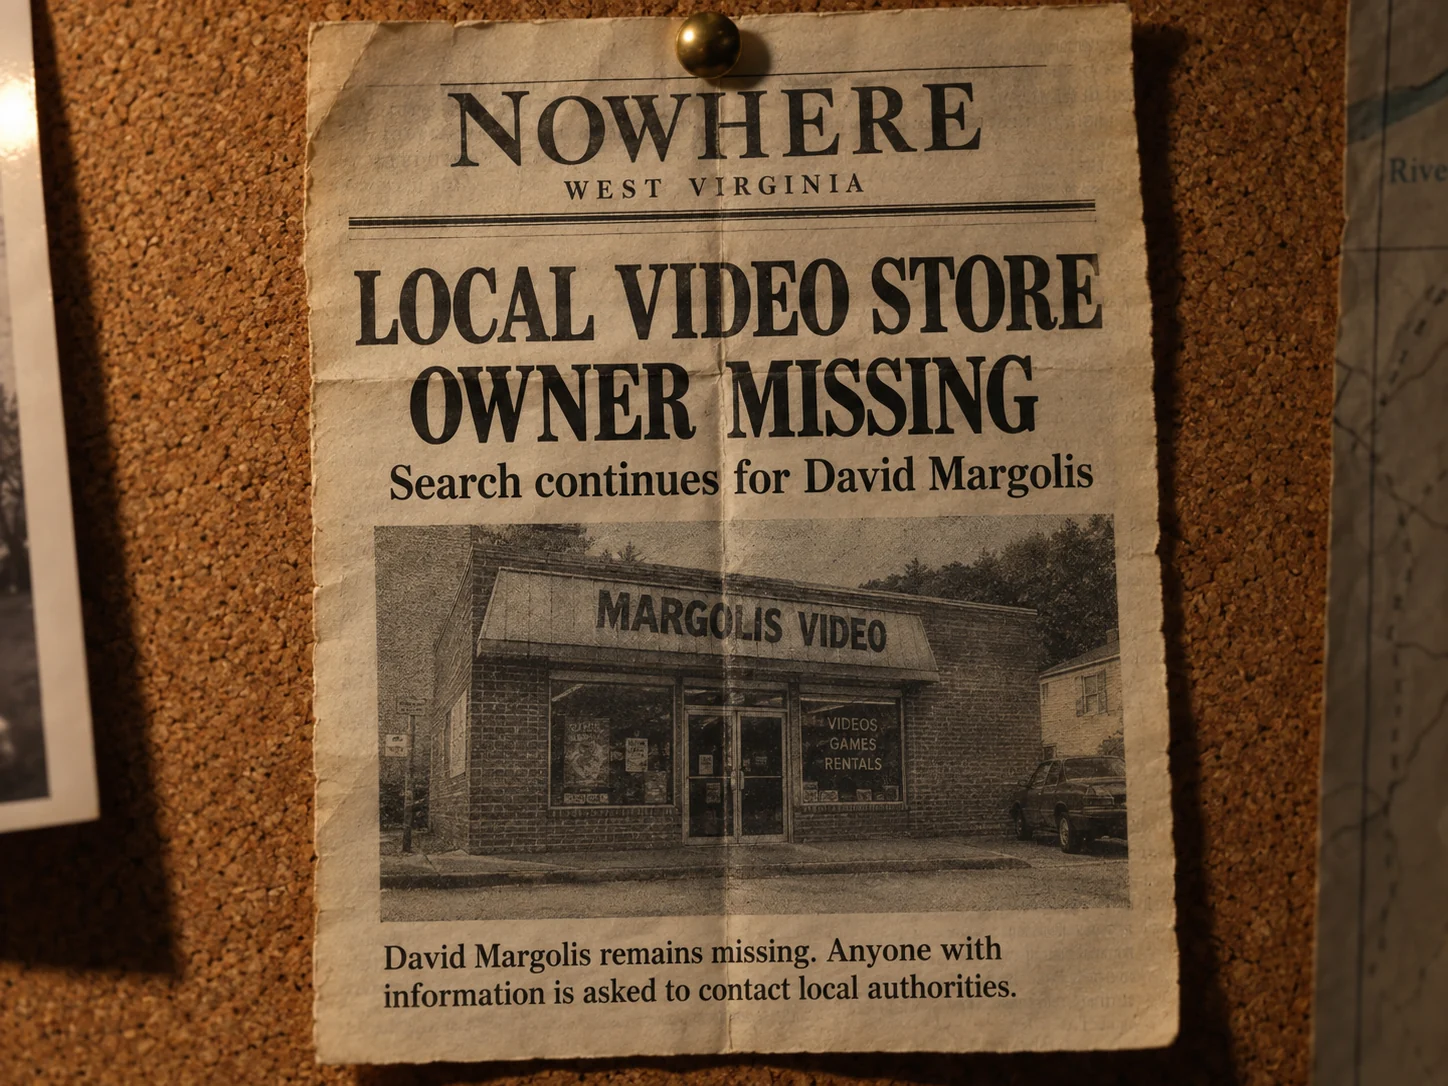
Local newspaper clipping about David Margolis’s disappearance.
Read the related articleEvidence Observatory Log
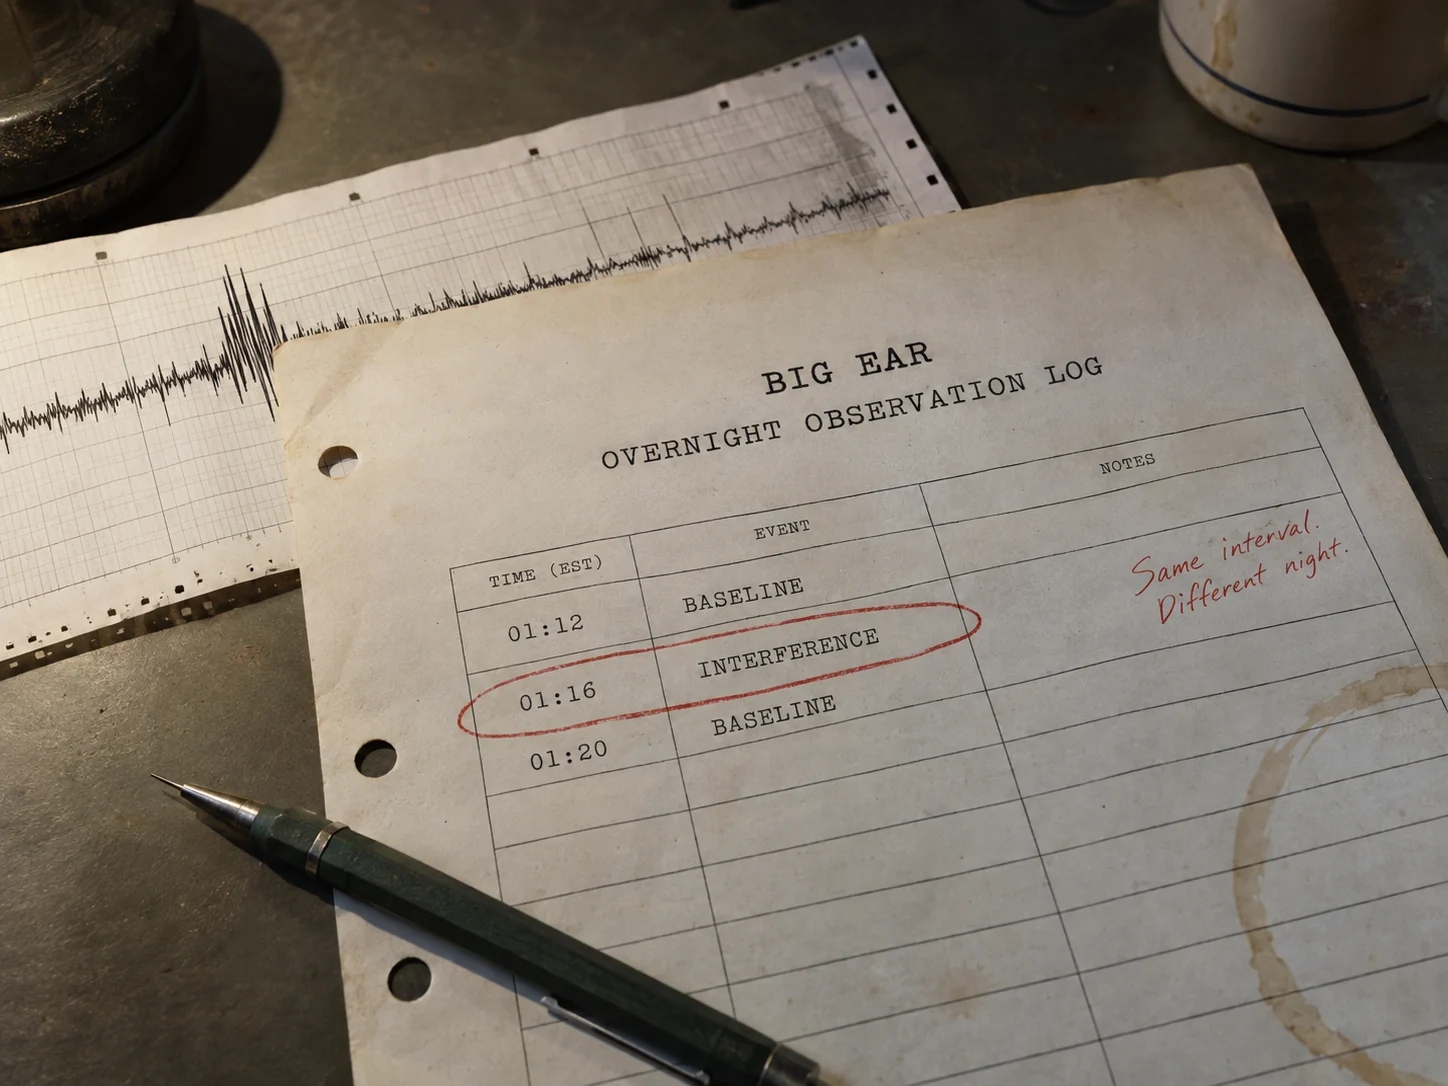
Big Ear overnight observation log, with a marked interference interval.
Read the related articleEvidence Research Tapes
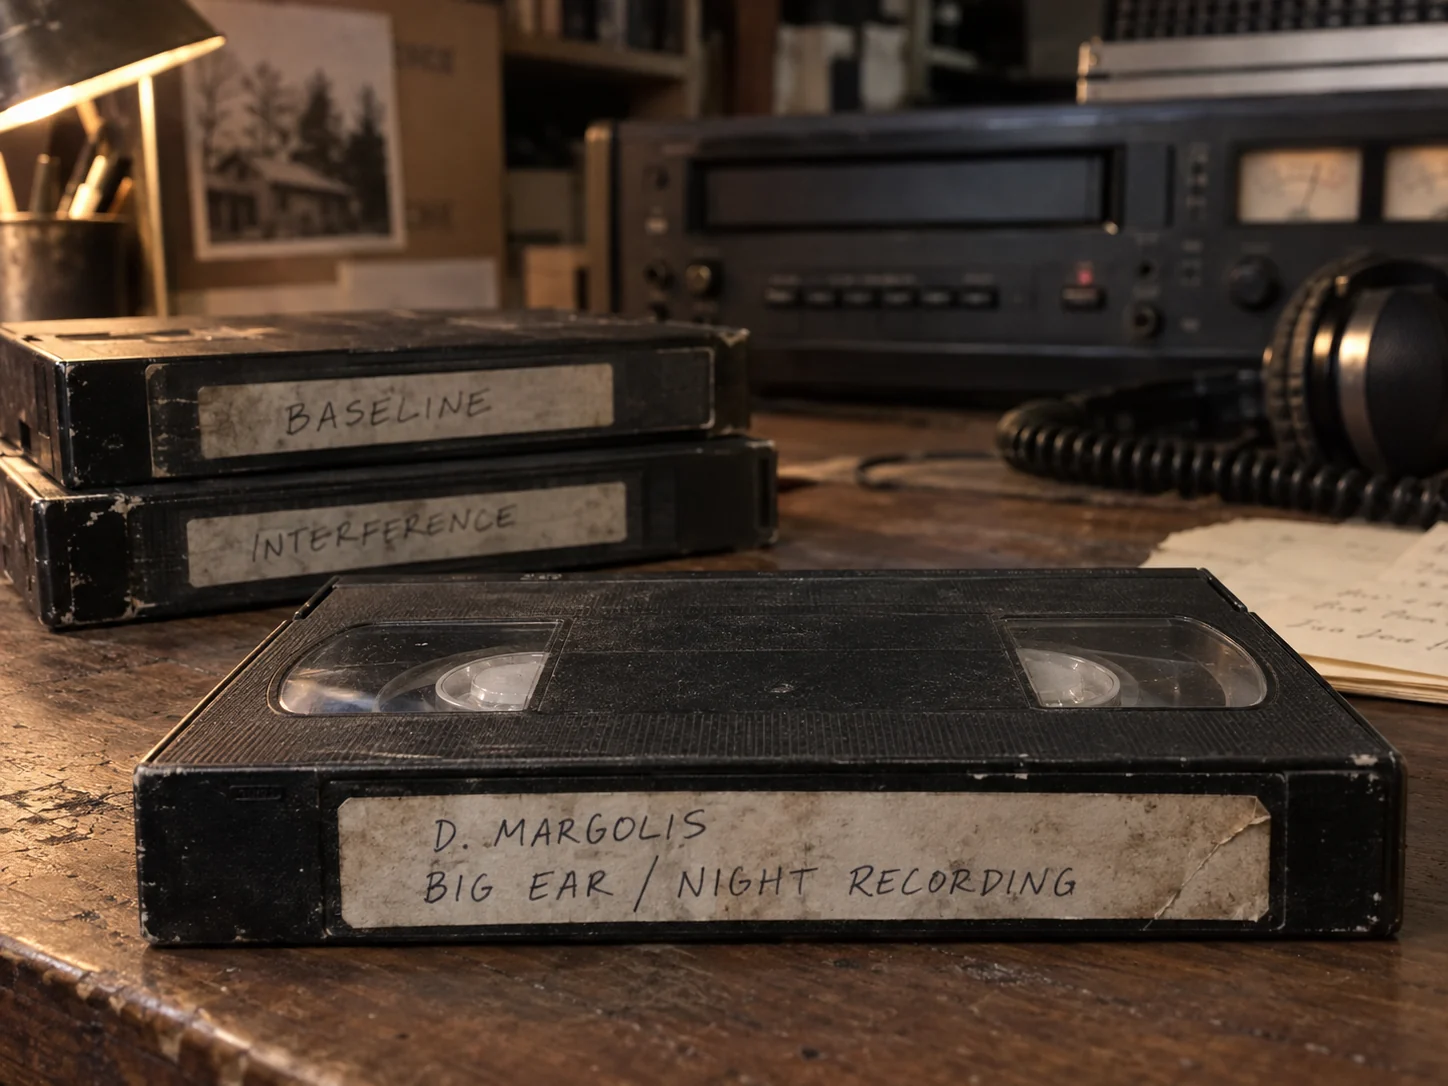
David Margolis’s labeled research tapes in the video-store basement.
Read the related articleOriginal promotional artwork

Earlier artwork, preserved in the archive. The homepage now uses the photorealistic arrival still.
Read the related article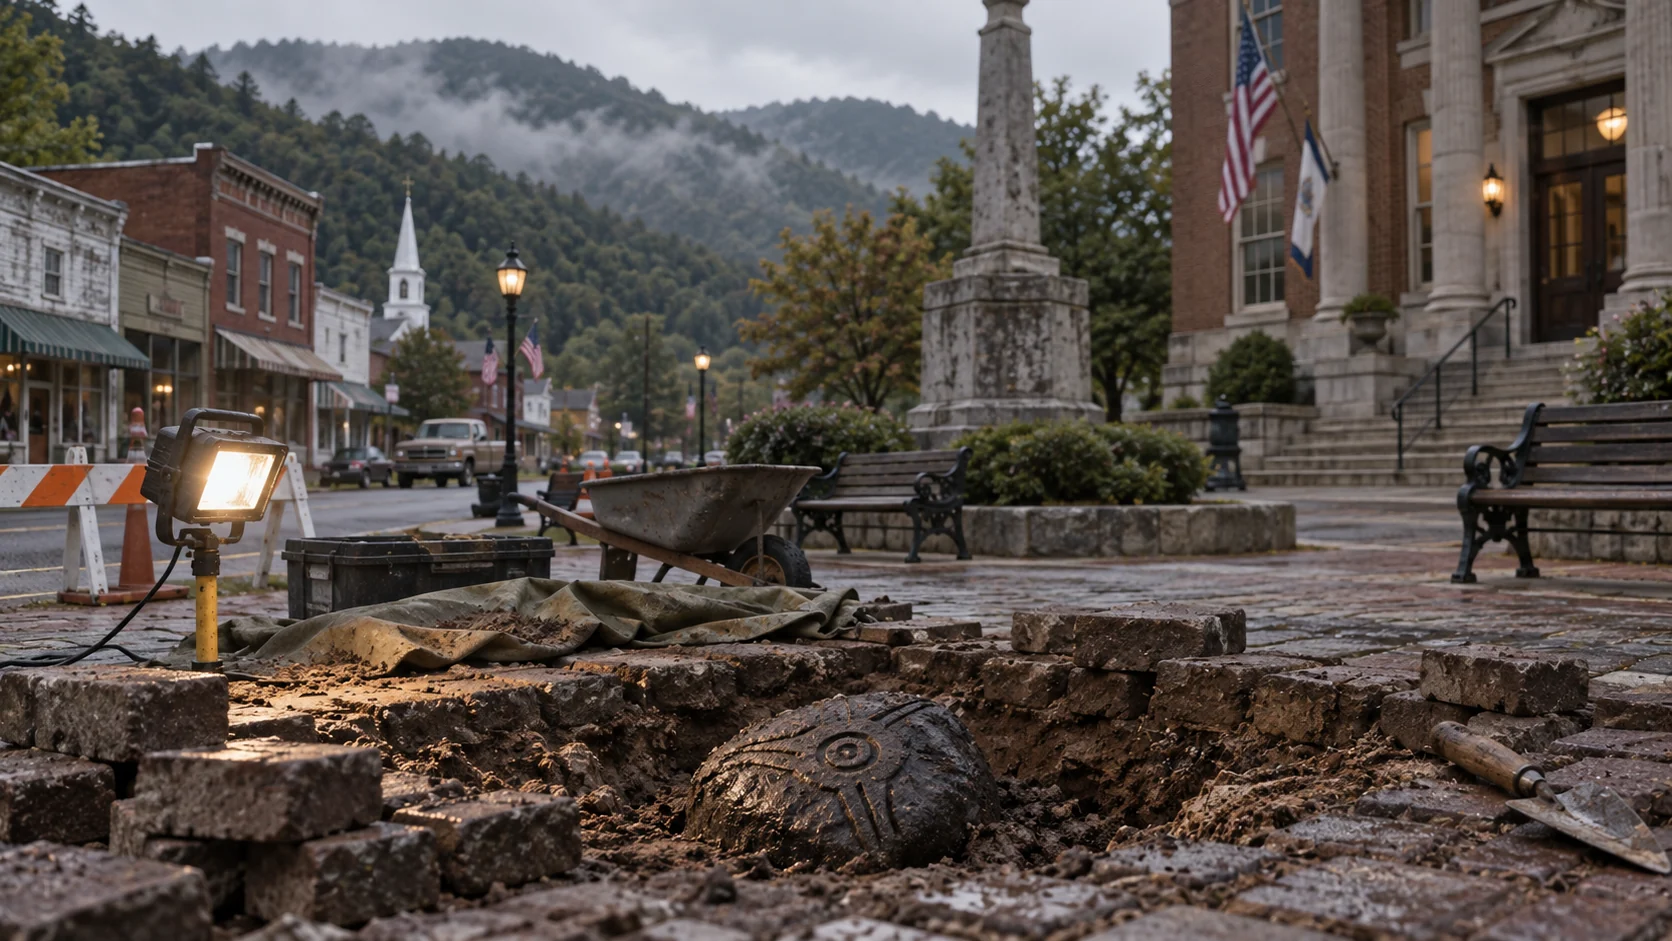
Town Square
Location of the ancient Algonquian artifact (Episode 2)
Read the location entryTown Square
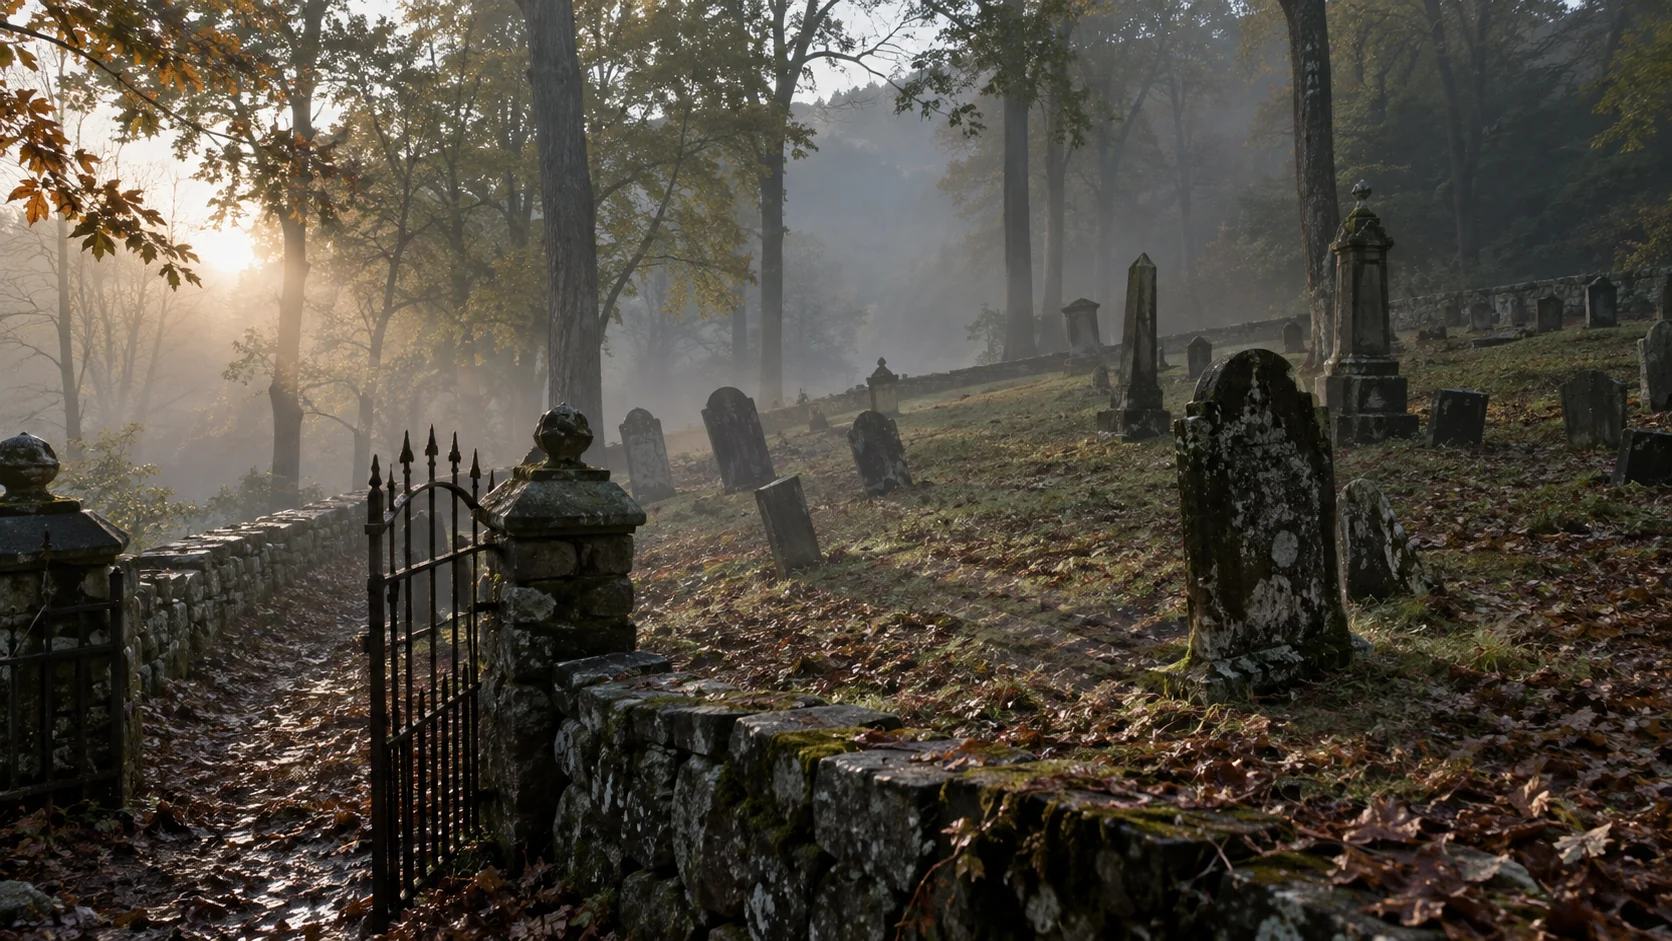
Old Cemetery
Where the veil between past and present is thinnest
Read the location entryOld Cemetery
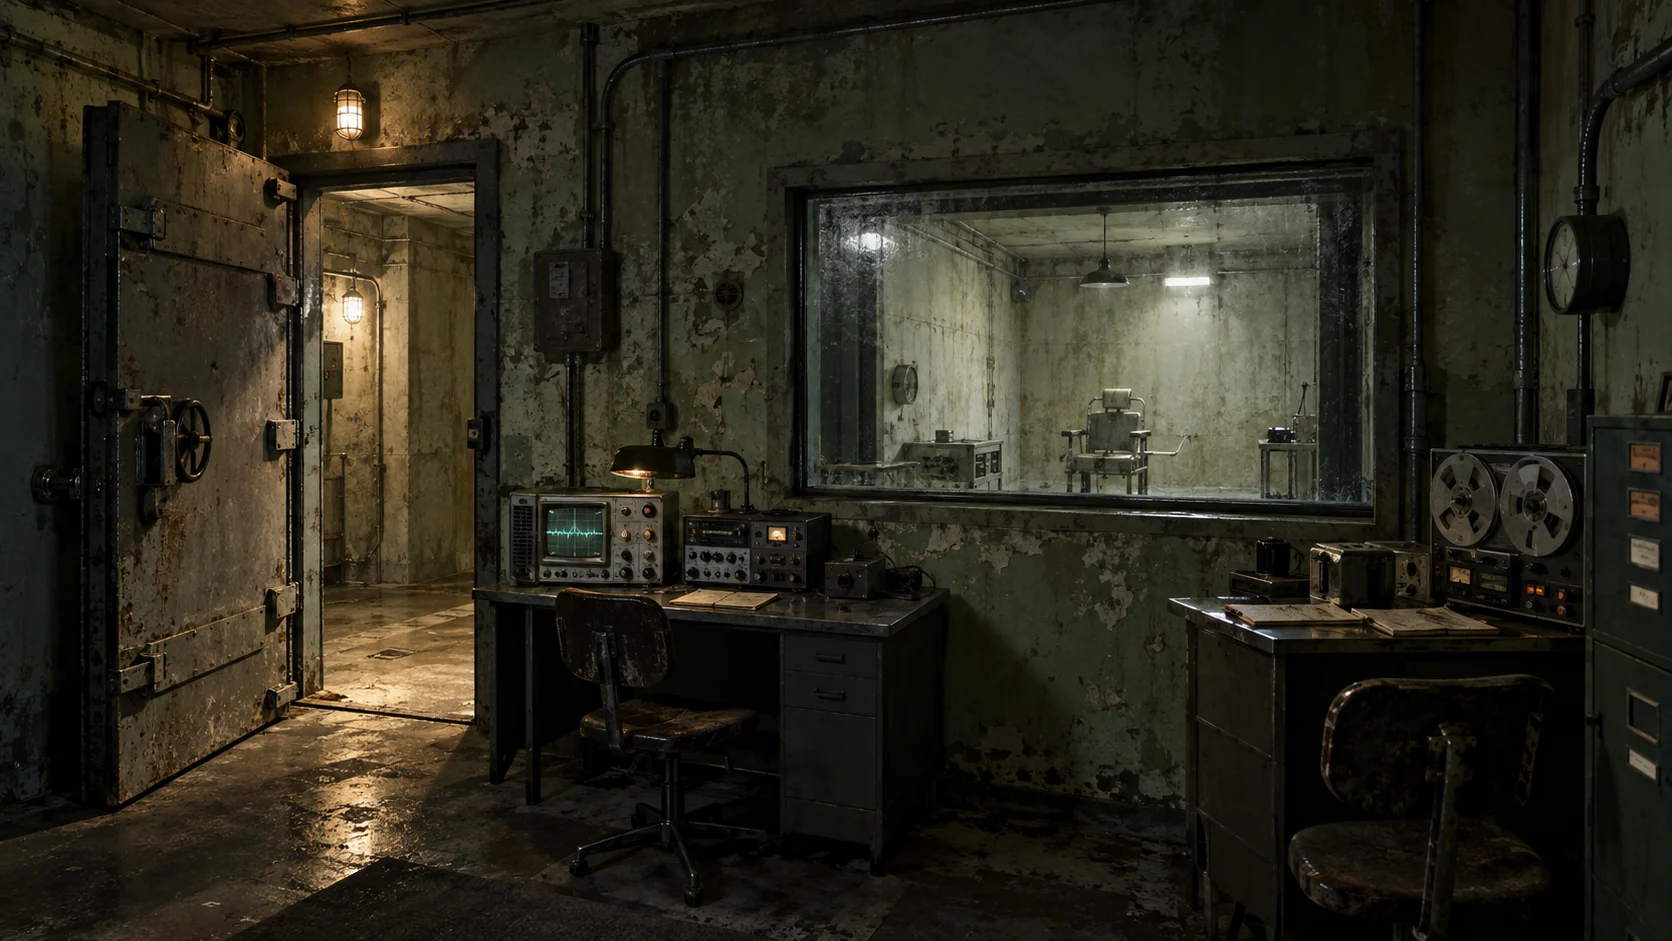
Abandoned Military Bunker
Site of Cold War paranormal experiments
Read the location entryAbandoned Military Bunker
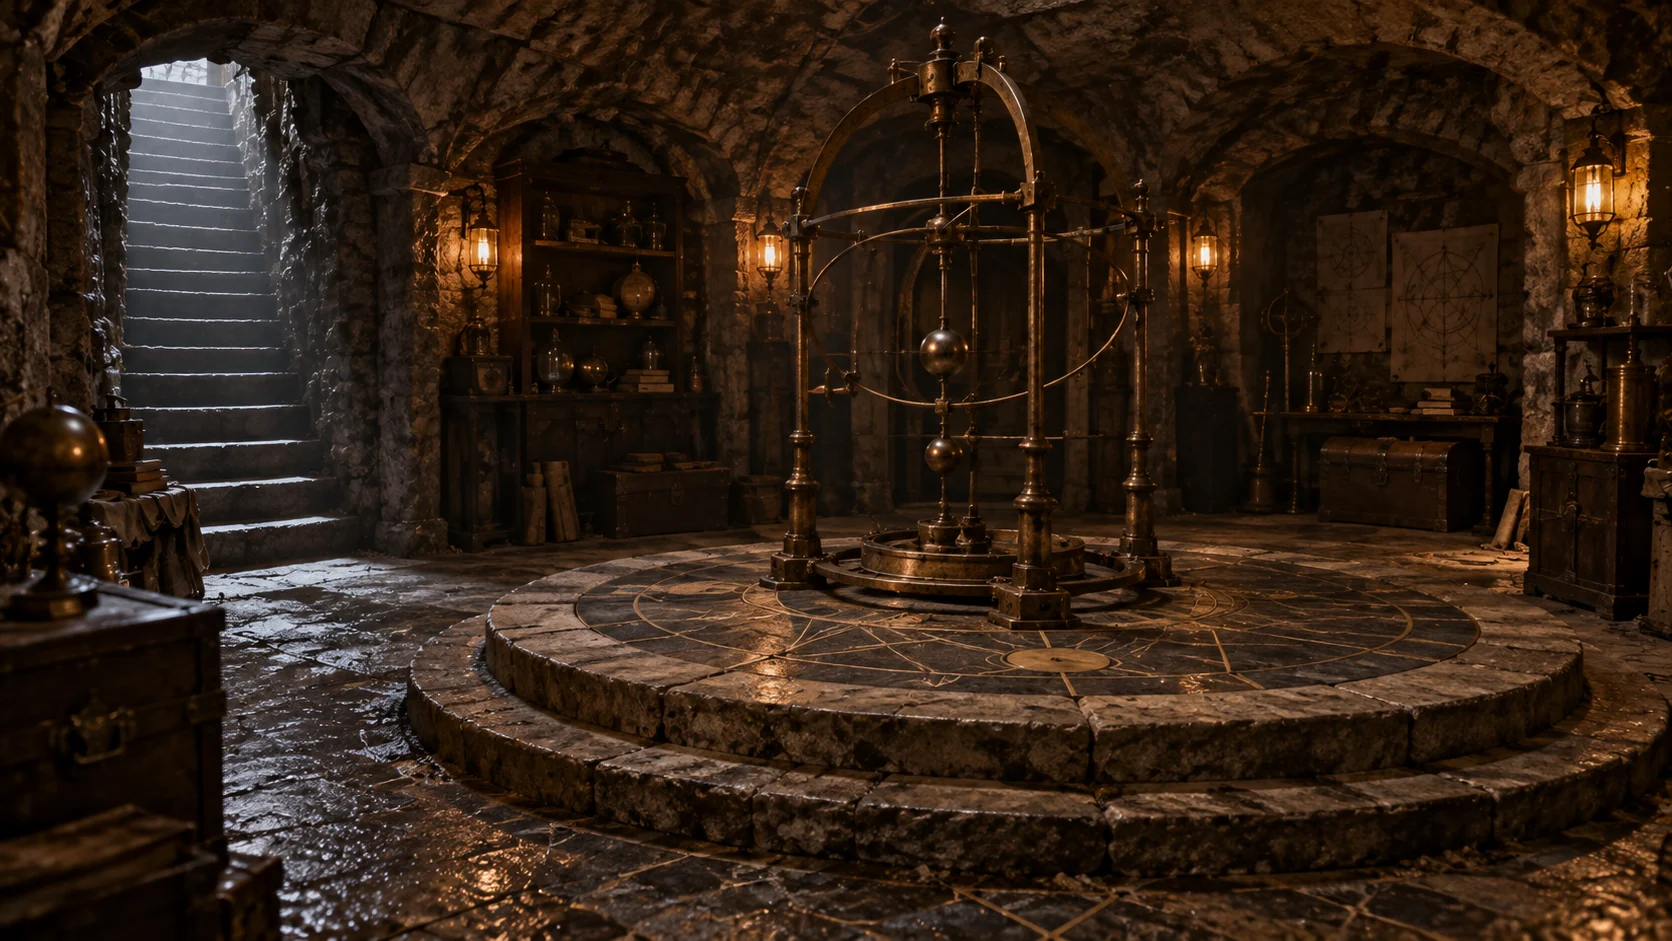
The Navajo Chamber
Hidden within Beaumont Manor (Episode 8)
Read the location entryThe Navajo Chamber
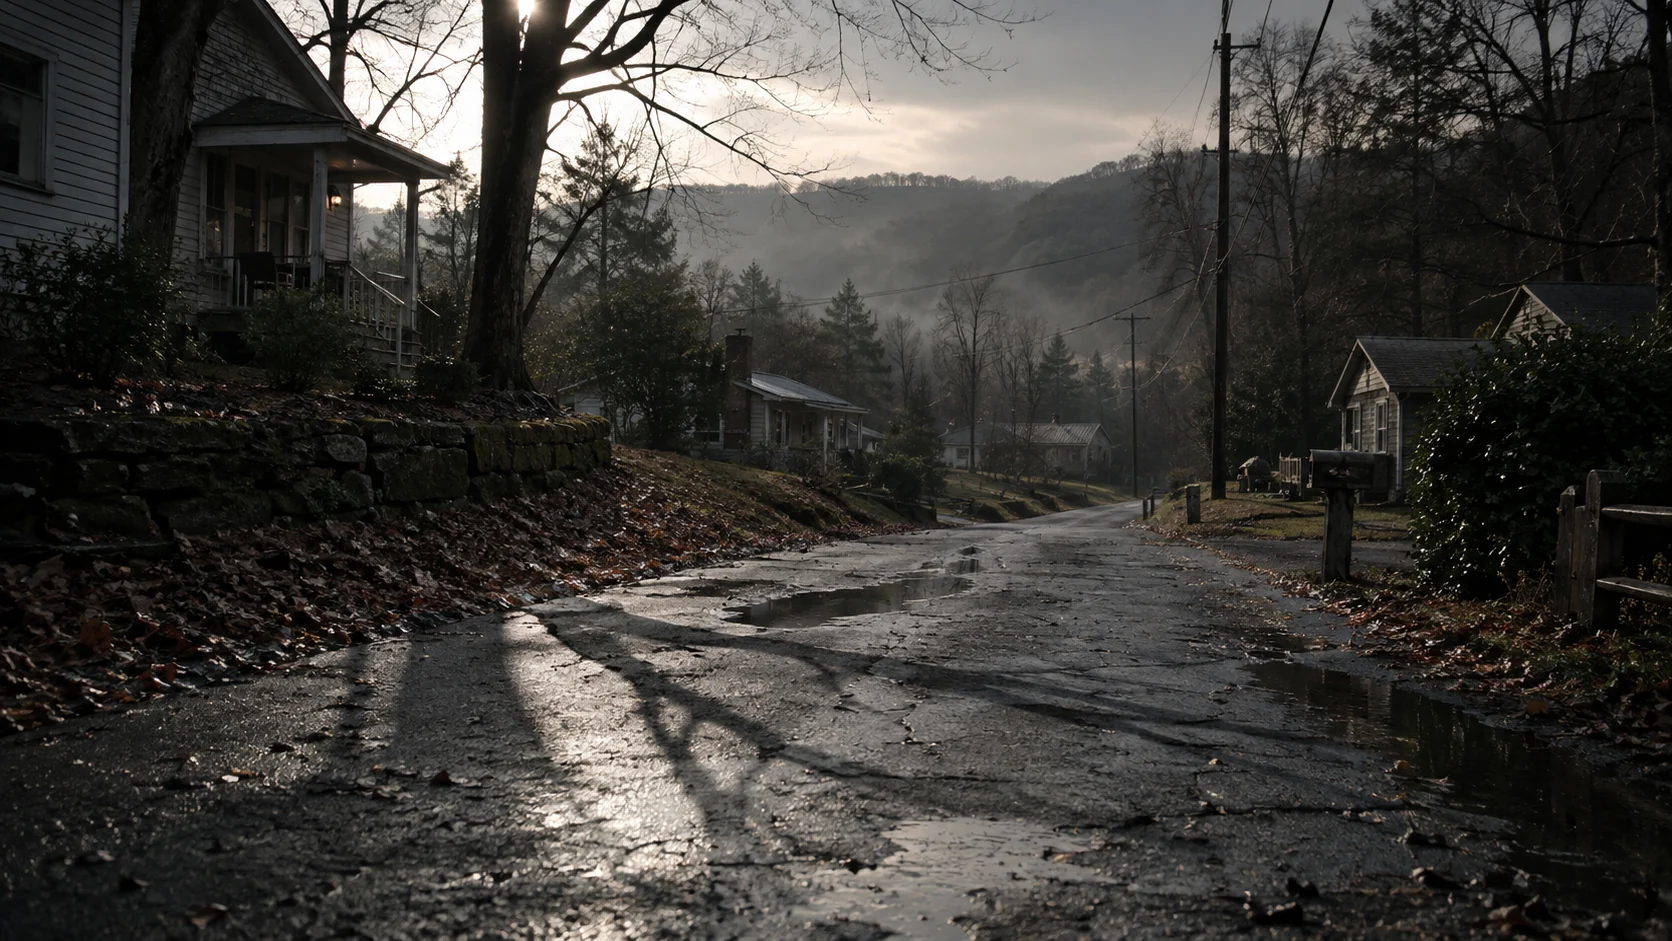
Hunger Zones
Areas where fears can still manifest (post-Episode 2)
Read the location entryHunger Zones
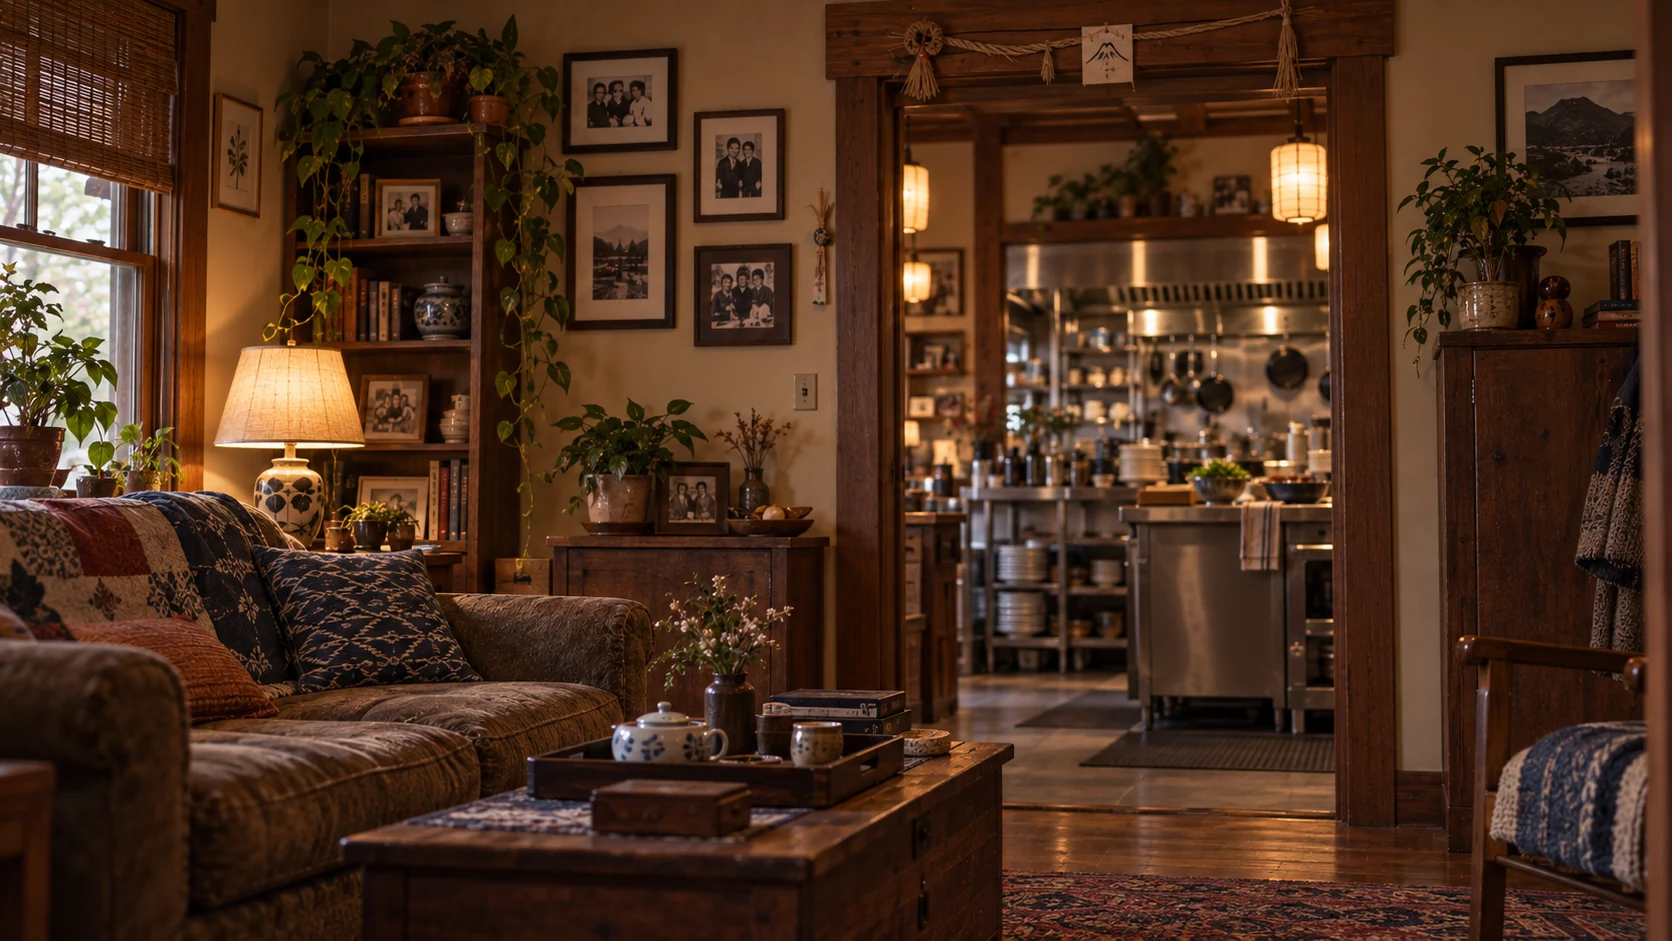
Nakamura Home
Connected to the restaurant, contains protective wards
Read the location entryNakamura Home
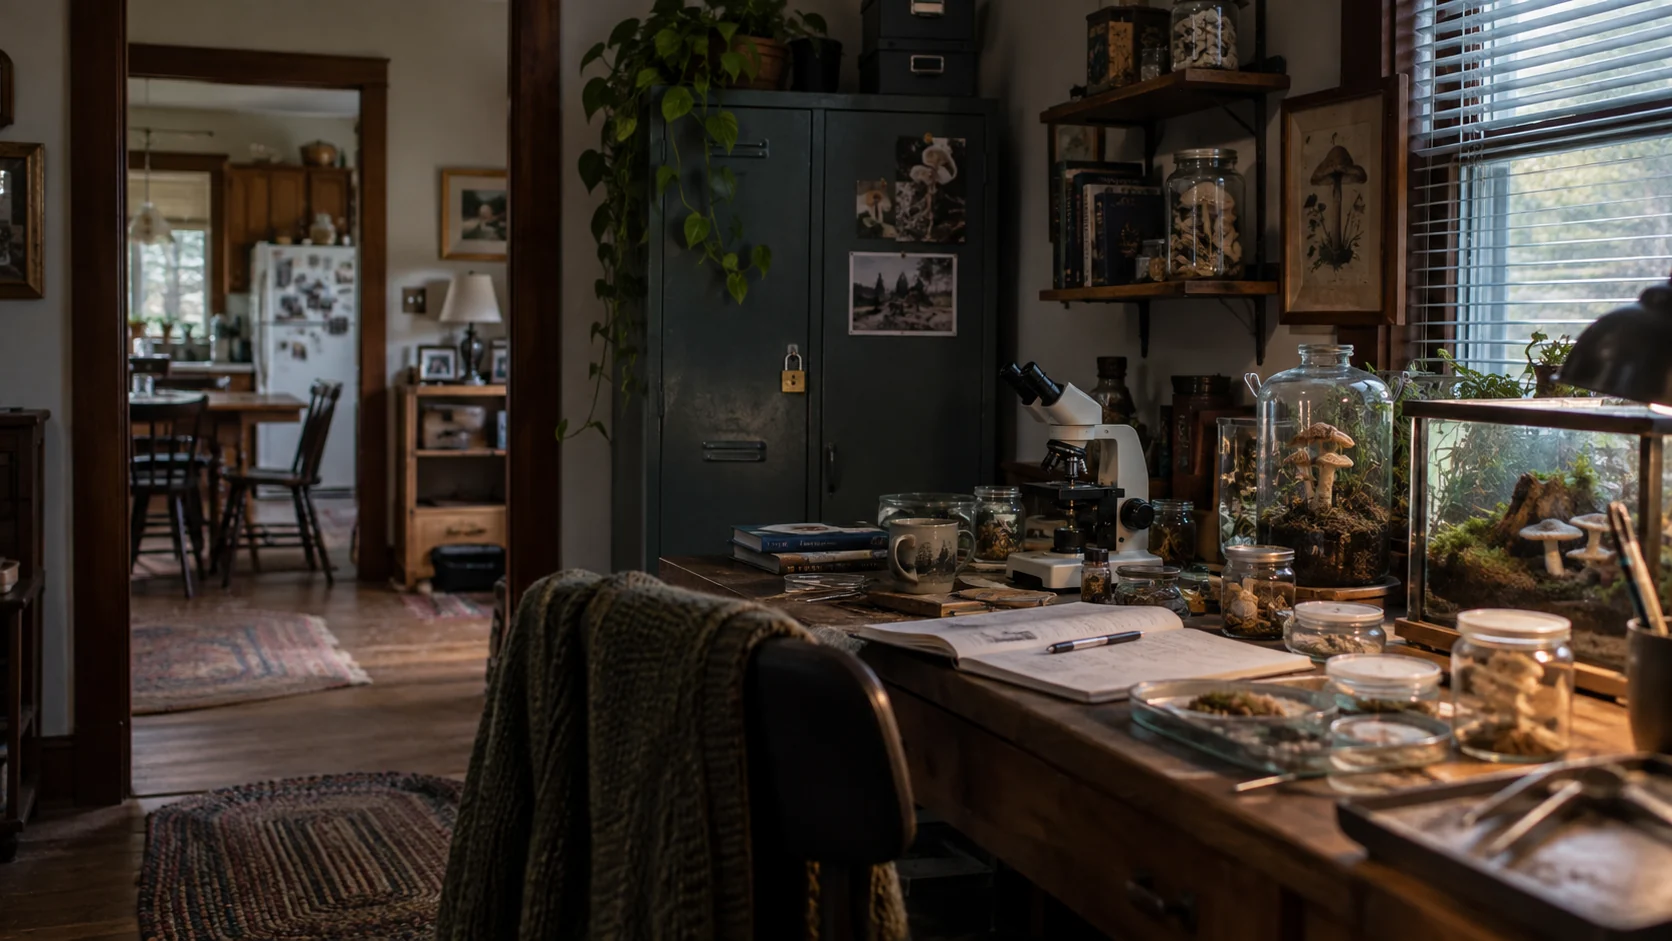
Bailey Residence
Where Dr. Ian conducts his fungal experiments
Read the location entryBailey Residence
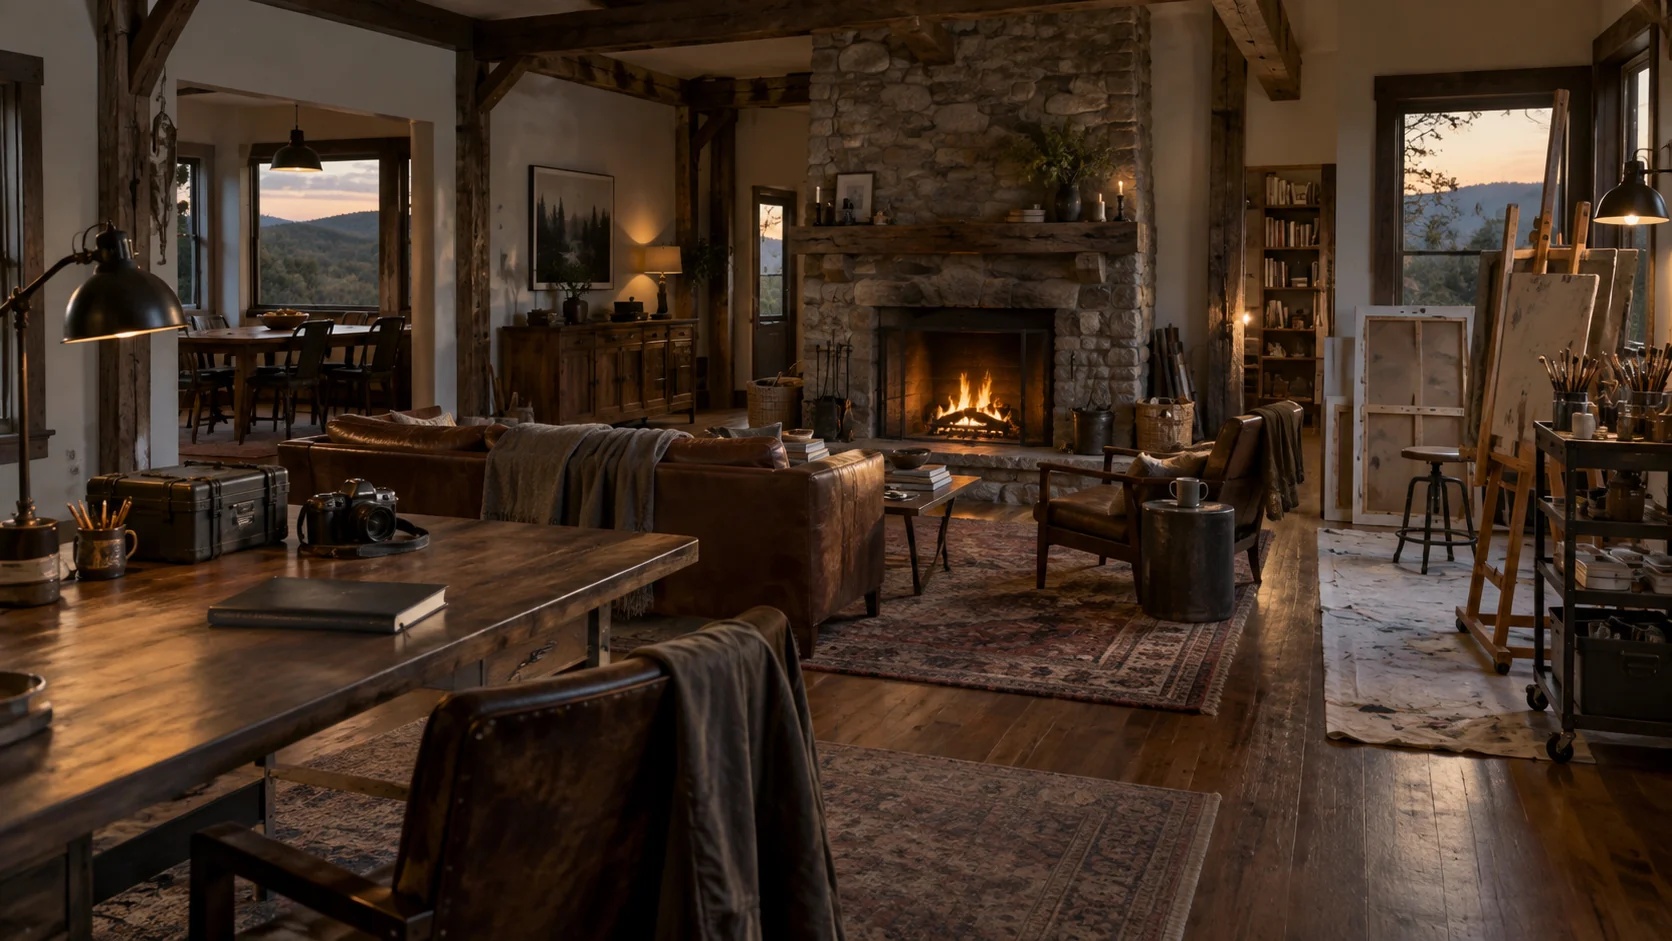
Drake-Black Residence
Asher and Sasha's modern-meets-rustic home
Read the location entryDrake-Black Residence
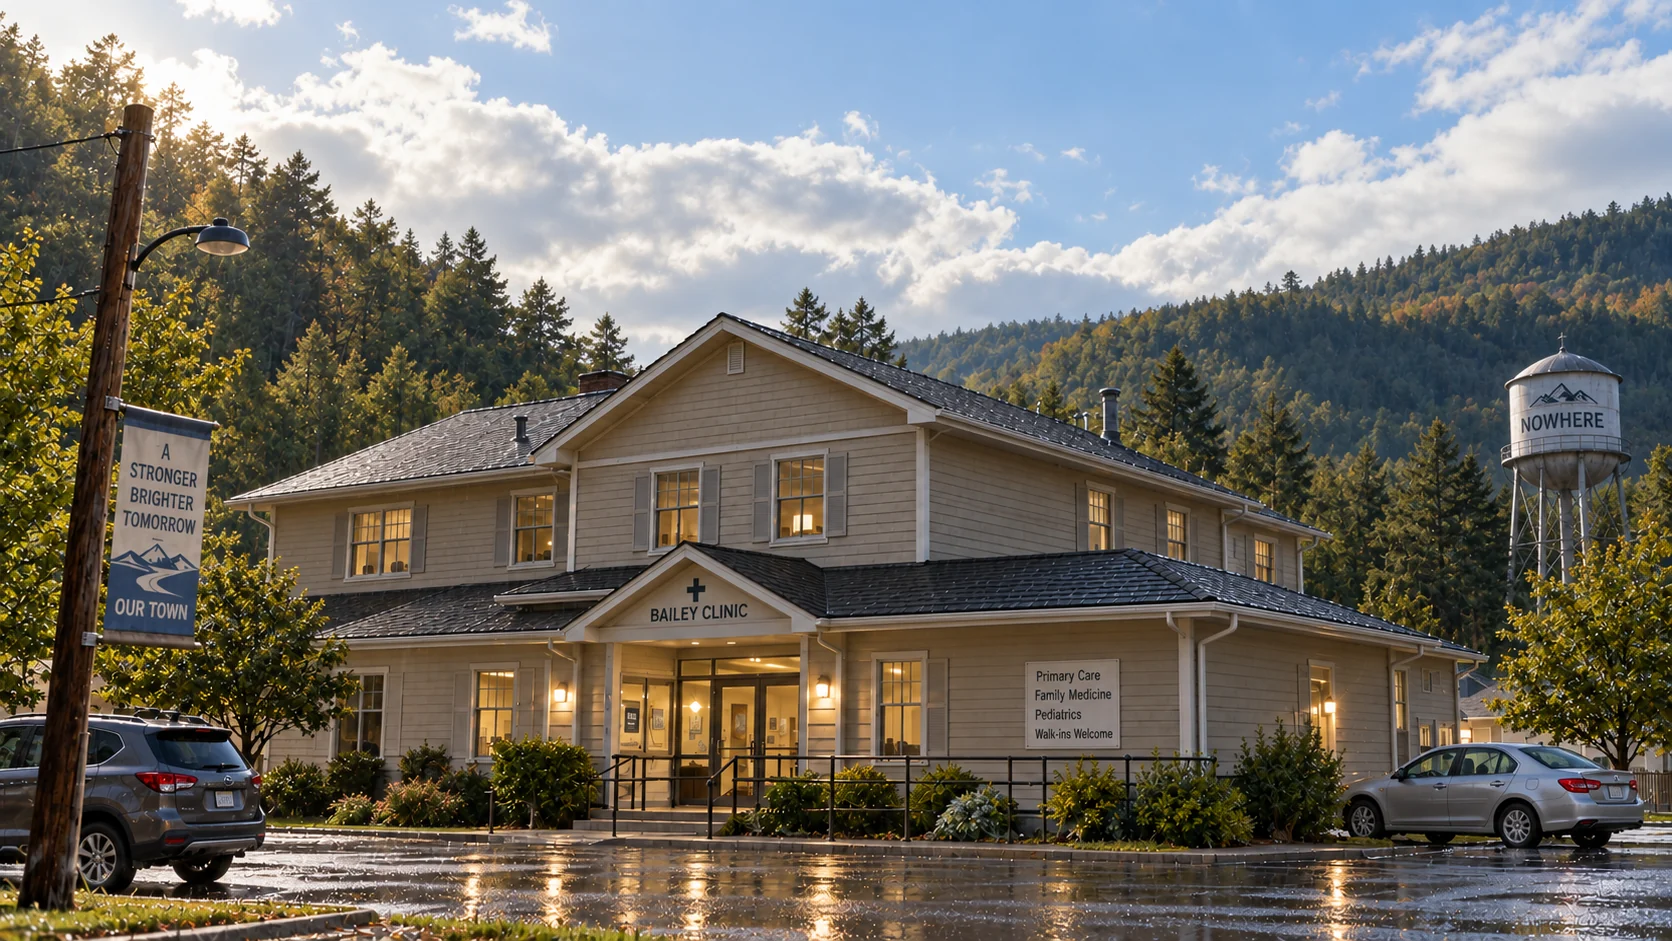
Bailey Clinic
Dr. Ian and Dr. Jenn's medical practice
Read the location entryBailey Clinic
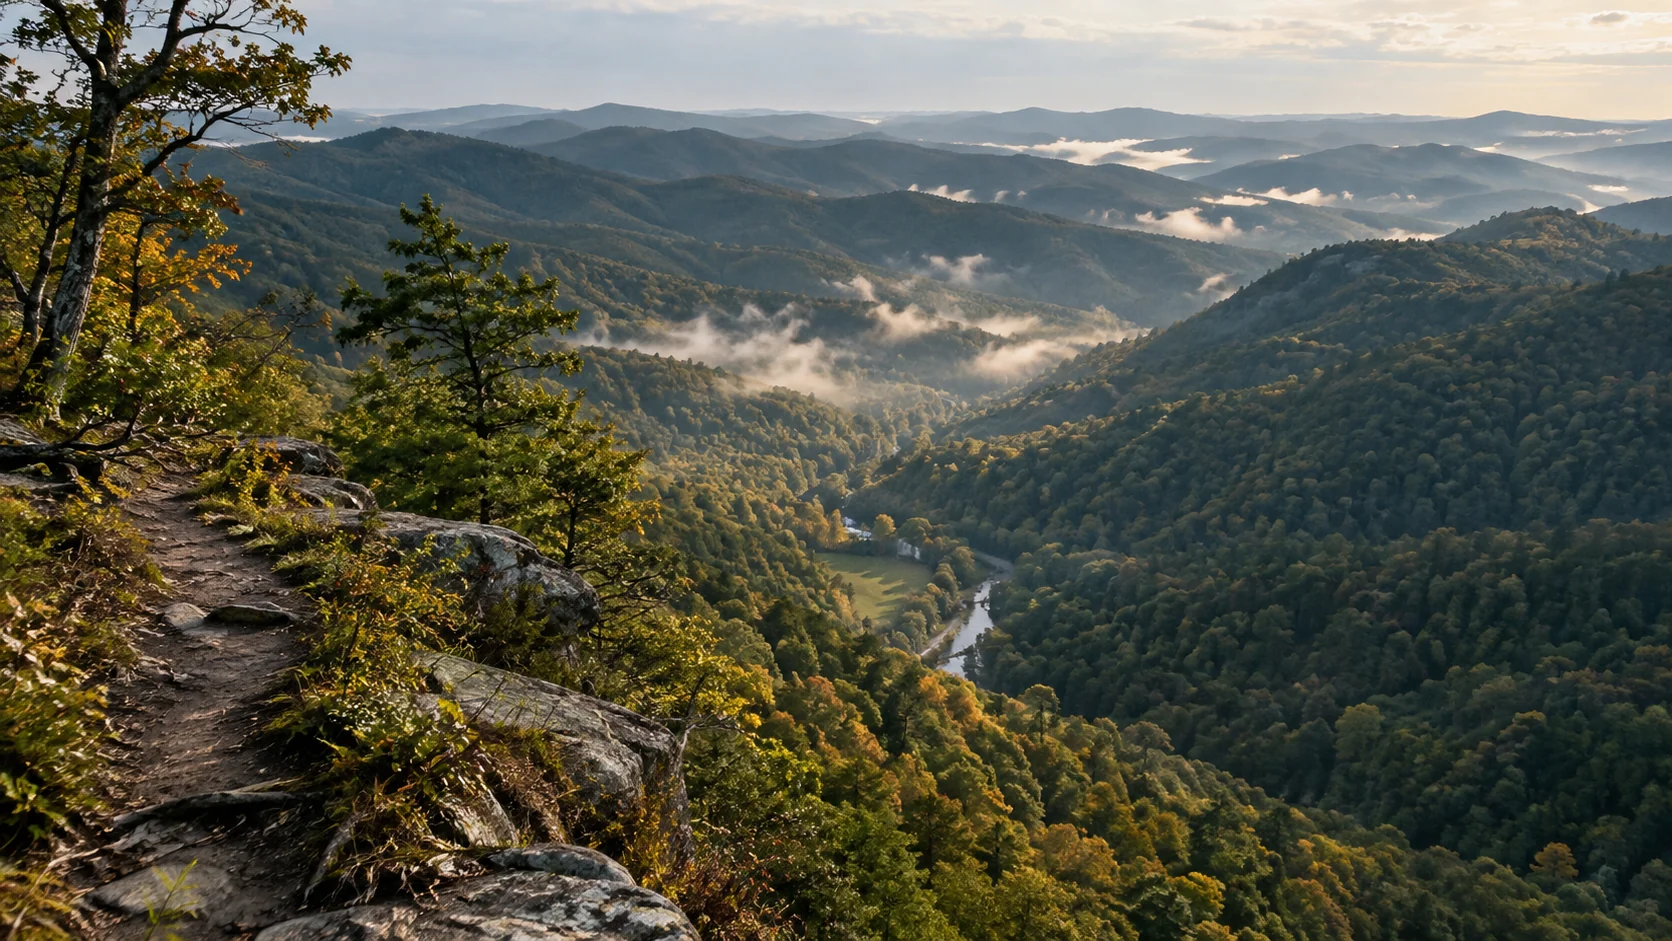
The Quiet Zone Wilderness
13,000 square miles of surrounding forest
Read the location entryThe Quiet Zone Wilderness
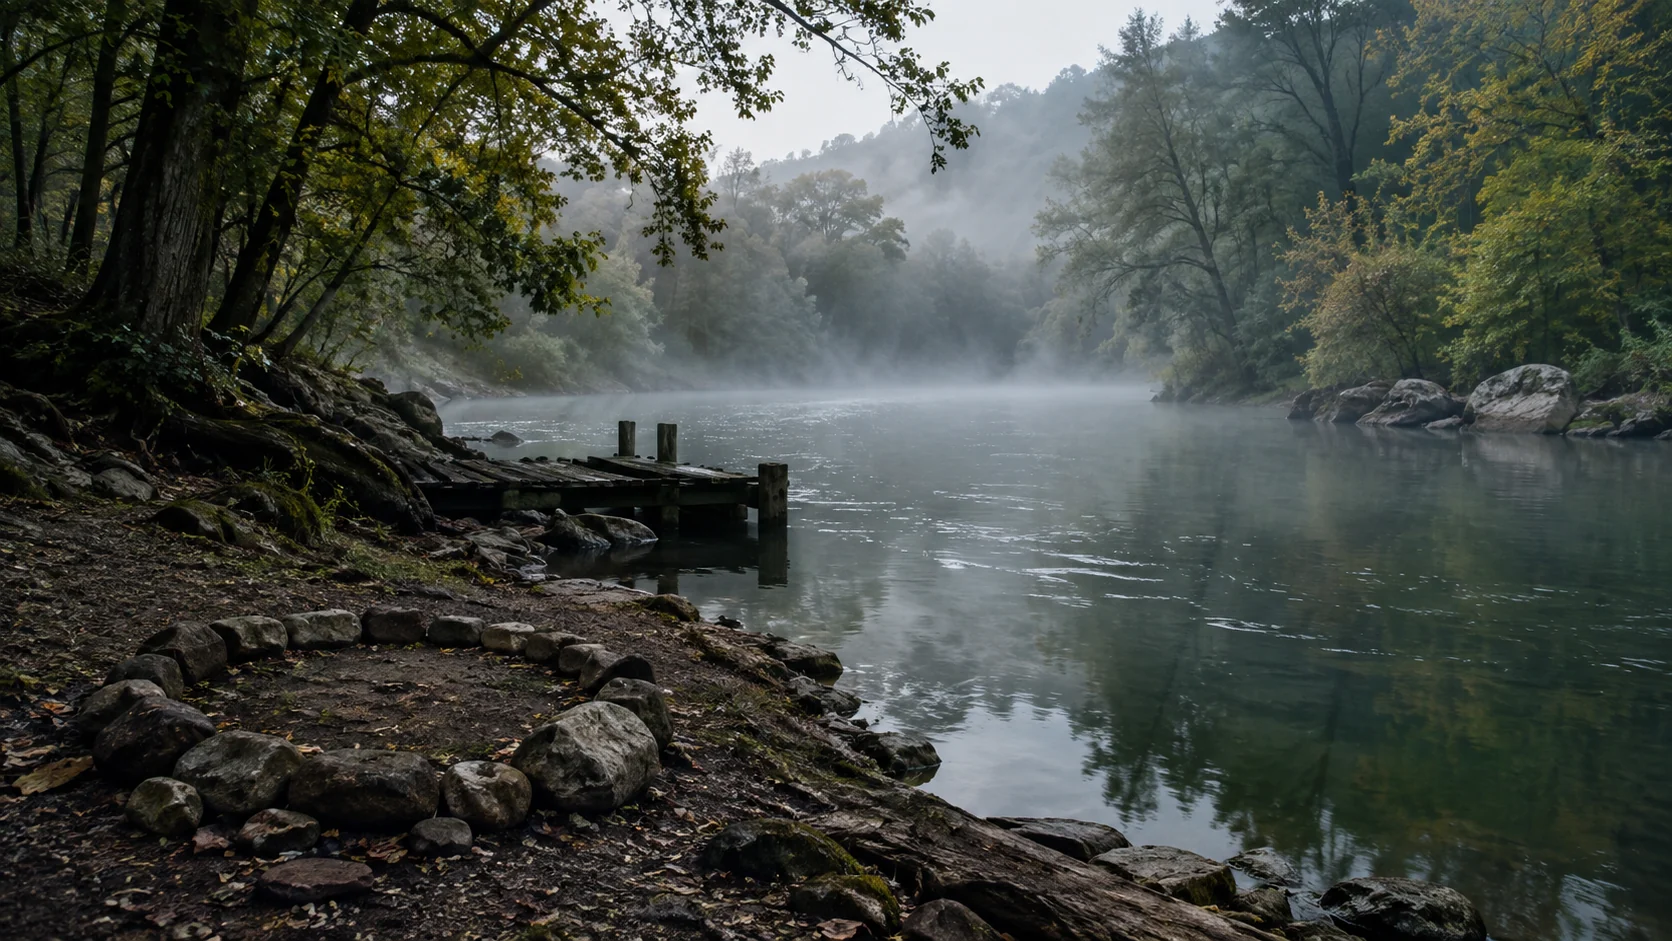
The River
Where Wampanoag rituals were once performed
Read the location entryThe River
Archive artwork is retained for reference. Interface icons and duplicate file formats are omitted.